Curving Text isn’t as easy as it might seem. It would help if you had the right tools to make the curve smooth and seamless. Using a tool that doesn’t quite fit can result in a ragged curve or, even worse, Text that is cut off in places, which can ruin your design.
Luckily, you don’t need to be a professional photo editor or graphic designer to know how to curve Text. We’ve put together a short guide on achieving this Effect. Read on for more details!
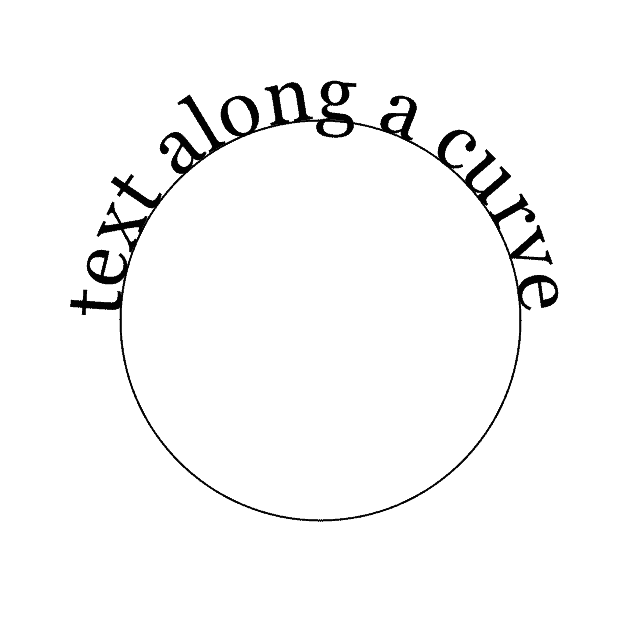


Curving Text in Pages is a great way to make your document stand out. Follow our step-by-step guide below to learn how to curve Text in Pages on Mac.
How To Curve Text In Pages?
To curve Text in Pages, you can use Microsoft PowerPoint, Microsoft Word, Google Docs, Keynote, Acorn, Photoshop, and various apps and online tools. However, the fastest way to do this is to curve Text in Microsoft PowerPoint. Add Text to your slide, choose Shape format Tab, and in Text Effects, choose Transform. You can get The best curve text if you select the Arch option.
Using PowerPoint can be the fastest method to curve Text, and the steps are relatively straightforward:
a. Open PowerPoint and create a new slide. b. Insert a text box and type your desired Text. c. Please navigate to the Shape Format Tab. d. Look for Text Effects and click on it. e. From the dropdown, choose Transform. f. Among the available options, Arch is usually the most commonly used for curving Text. Could you select it and adjust it as necessary? Once satisfied, copy and paste the curved Text into your Pages document.
Let us see the steps on how to curve Text in Pages using Microsoft PowerPoint:
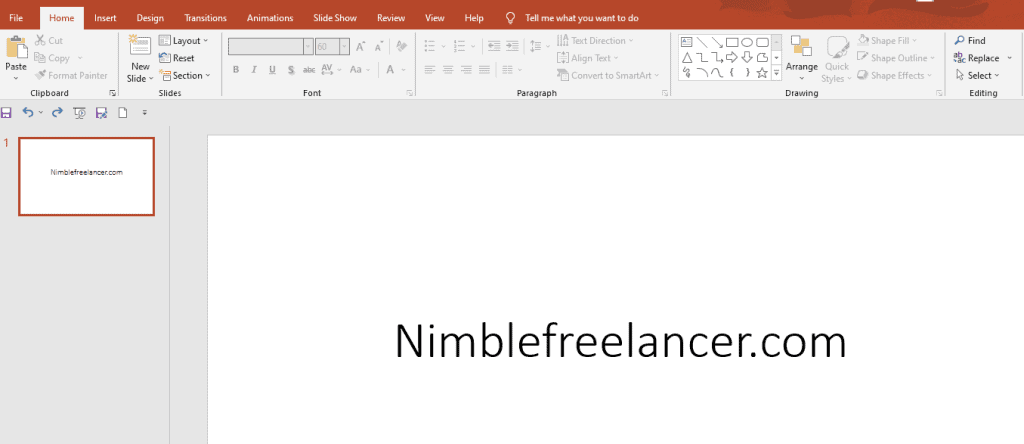
Step 1: Add Text to the slide.
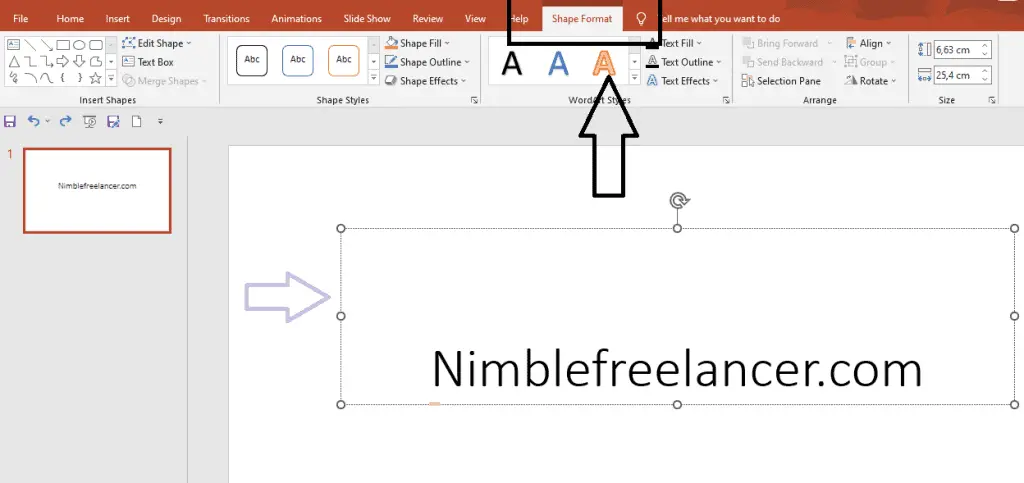
Step 2: Select the Text and then choose the Sharp Format Tab in PowerPoint:
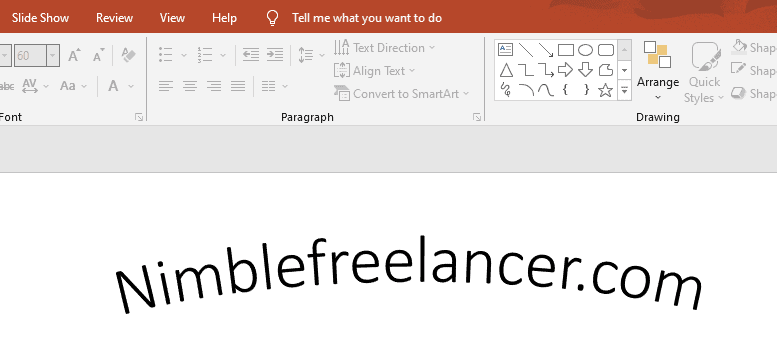
Step 3: Go to the Text effect option and choose “Transform.” The best results you can get with the Arch option:

Step 4: Curved Text is presented below:

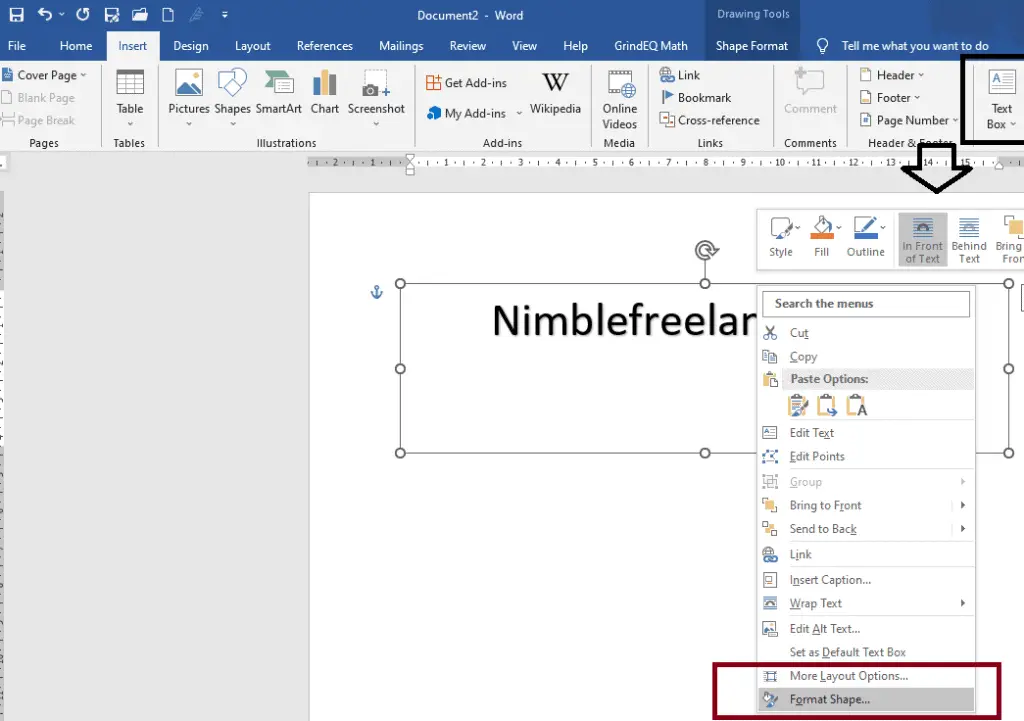
How To Curve Text In Microsoft Word?
- Go to Insert Tab and insert either Text box or Word Art.
- Write Text. Select the Text you want to curve.
- Press the right mouse button and choose the “Format shape” option from the list.
- Choose from the Shape format tab option “Text effect.”
- Choose the option to transform from the list and choose “Arch.”
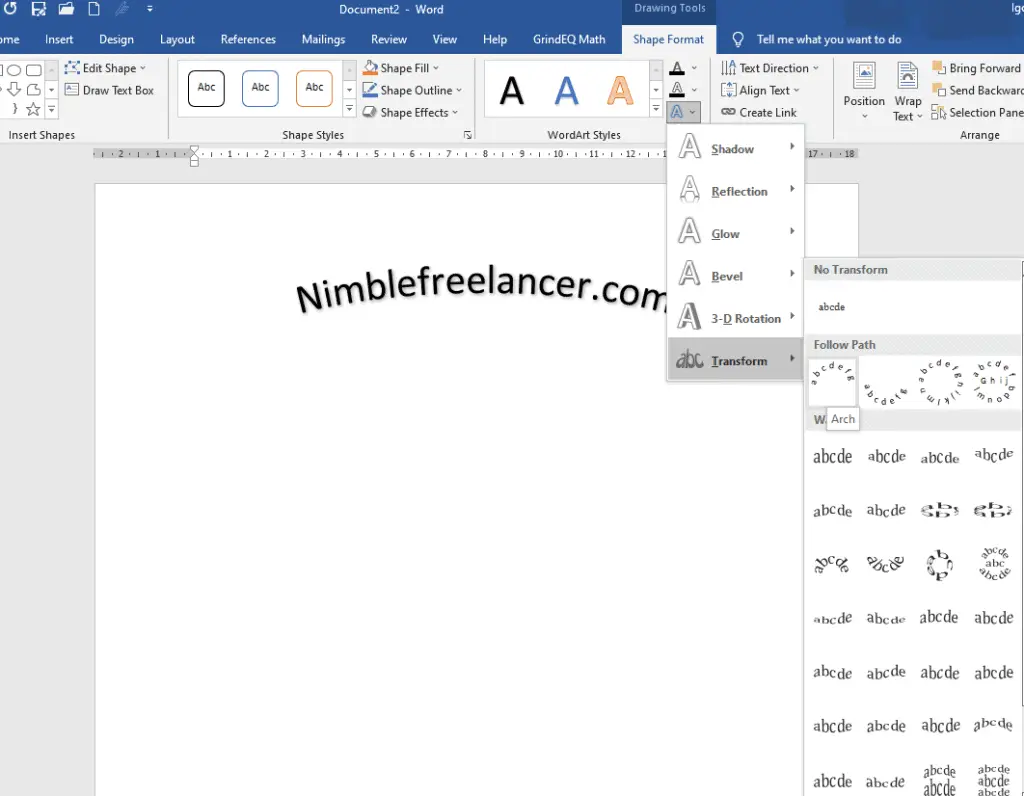
See the steps in the following screenshots:
Now, when you choose Format Shape, you need to select Text Effects>Transform>Arch:
Other Notable Methods
While PowerPoint is efficient, you might not have it readily available. Here are some other notable methods:
- Microsoft Word: Like PowerPoint, Word offers the Transform tool under the Text Effects menu. Once you’ve curved your Text, you can copy it to Pages.
- Google Docs: Although not as straightforward as the Microsoft suite, you can draw a curve and adjust your Text to fit along that curve.
- Keynote: Apple’s presentation software, akin to PowerPoint, provides options for text effects, including curving.
- Acorn: An image editor for macOS, Acorn offers text-on-path capabilities. These are more advanced and are typically used in graphic design.
- Photoshop: Adobe’s famous graphic design tool, Photoshop, provides a text-on-path feature. This allows for great flexibility but requires a learning curve if you’re unfamiliar with the software.
- Online Tools: Numerous web-based applications allow you to curve Text, which can be downloaded as an image and added to your Pages document.
Transferring Curved Text to Pages
After creating your curved Text in another application, copy it as a Formator format so Pages can display it correctly. To preserve clarity, it’s often best to use a high-resolution image format like PNG.
How To Curve Text In The Keynote?
With the help of Keynote, you can easily curve your Text. Just follow these simple steps:
- First, write your Text in Keynote.
- Then, click on the “Animate” tab.
- Click on the first animation button and choose “Curve Path.”
- In the next step, go to the “Build Order” tab and change the order of the Curve Path animation so that it appears before any other animations that may have been applied to your text objects.
Now click on the “Play” button and enjoy!
How Do You Curve Text On A Mac?
You have a few options for CurveTextt on a Mac. You can use a primary word processor like Pages, a graphics editor like Photoshop, or an online tool to create curved Text. Additionally, you can use Acorn or PowerPoint.
Pages: Draw a textbox, type your Text, and click the Text Inspector button in the top right corner of the screen. Click on the Text tab below the inspector panel and adjust the Arc slider until your Text is curved.
Photoshop: Open Photoshop and create a new document. Once the document opens, select the Type Tool from the left-hand toolbar. With that selected, type your desiredTextt onto the document using any font style or color you’d like. Next, navigate to Layer > Type > Warp Text… Choose an option from the dropdown list followed by “OK” to curve your textine. Tool: Check out https://www.helloartsy.com/curved-text-generator if you want to generate curvedTextt online without installing additional software.
Is There Word Art In Pages?
Yes, Pages does have word art. Word art is a typography that can be used to make a more graphic representation of a text or headline, like the stylizedTextt in the example at the top of this page.
To create word art in Pages, open an existing document or create a new one and select the Text tool from the toolbar. Use the Aa dropdown menu to choose a font and size, then type your desired Text into the document. Once yourTextt is entered, please select it and choose Format > Text > Text Style > Show Fonts. The Text pane will appear on the right side of your document with several options; under Effect, you can choose from several different effects to apply to yourTextt (including Glow). In addition, you can change other settings like color and alignment and add effects like shadows by clicking on the corresponding icons from within the Text pane.
Note: If you have those adjustments saved in another Pages document and want to use them again, click “Import…” next to “Styles” at the bottom of the Text pane.
How Can I Curve My Text Online For Free?
Curving your Text for free can be a headache, but it’s not impossible. You can use several methods to create curved Text, each with pros and cons.
The first method is to use an online tool. The web tool should allow you to insert yourTextt into the text box and then manipulate the curve, font size, and font style until you’ve found the perfect look. While it might be convenient and easy to use, this program does not allow you to see what your image will look like in real-time as you make changes.
The second method uses a program that gives you more control over the image development. Adobe Illustrator is a popular choice among designers because it lets you see your image as you edit. However, this program is expensive and requires a learning curve.
The third method is to create your curvedTextt using Photoshop or another editing program. You can find step-by-step instructions on how to do this on YouTube by searching “curved text in Photoshop.”
How Do I Use Consistent Text Formatting In Pages?
You can use the font toolbar at the top of Pages to apply consistent text formatting to your document. It’s essential to apply consistent text formatting throughout your document.
Here are a few simple steps to help you get started:
- Click on the first character of the first sentence in your document
- Use the font toolbar at the top of Pages to select the font type, size, color, etc., that you want to use for your Text
- Click on Format > Style > Add to Style Gallery (or hit Command + Shift + S)
- Name your style (e.g., Body Text), add a description if you’d like, then click OK
- To apply this style to other parts of your document, highlight the text section on Format > Style > Body Text.
What App Can I Use To Curve Text?
If you want to curve Text, you can use many apps, such as Photoshop, Google Docs, Pages, etc., and you can even do it online!
CurvedTextt can be used to make the page layout more interesting. It can also be used to highlight important information—the curvecurved textften combined with a picture. The picture and the curvedTextt are used together to make the page more interesting.
How Do I Curve Text In Pages on iPad?
To curve Text in Pages on an iPad, you must first download the app “Text” from the App Store. However, you may use other apps that can curve Text. Curve Text is a free app that allows you to write Text and then change the curve of that Text by moving the slider. This can be used to create a more attractive look in your documents.
Once downloaded, you can open Pages and select the shape tool to create a shape for your curvcurvedt.
Then, open the Textup text type and put whatever you want into it. You can then select “curve” and adjust the amount of curvature on your Textt using the slider bar.
Finally, yourcurve curveddtexturess on Pages inside an oval shape created with the shape tool.
How Do I Add Text Formatting to Pages?
You can add text formatting to your documents on Pages by clicking the “Format” tab at the top of the window, then selecting from the options on the left side of the page or from the Format bar above your document. Format options include font, alignment, spacing, and list type.
Alternatively, if you’re in a rush and don’t want to take your hands off the keyboard, you can use the shortcuts listed under ‘Format’ in the menu bar.
Can You Arc Text In Pages?
You cannot natively arc text in Pages. However, there are workarounds that you can use to create arcedTextt.
To do this, all you need is the Text Box tool, the first option on the toolbar under the Format tab.
Click and drag the Text Box tool to create a large box for your Text. Enter and format your Text. Then, click on the shape of your text box.
On the right side of your screen, you’ll see three tabs: Style, Arrange, and Format. Click on Format. Under the Shape section (the second section from the top), click on Edit Points (the second option). Click on that icon to turn it blue—you’ve turned edit points on.
Now, you can click and drag those points to create curves or arcs out of yourTextt! Use these arcs to make diagrams or flyers more exciting or add some flare to an essential document.
Conclusion
More and more people use curvedTextt these days, and many do so because they like how it looks. So, when you are curvingTextt, remember that the way your readers view the website should be your priority, not the aesthetics.
While it’s unfortunate that Pages doesn’t offer native support for text curving, the methods mentioned above provide ample alternatives. Given its simplicity and efficiency, PowerPoint is a top choice. However, choose the method that best aligns with the software you have at hand and your comfort level. Once mastered, curvicurving textbecome a go-to design element in your document creation toolkit.
I hope this article helps answer some of your questions!


Learn more about authors in Nimblefreelancer's team biography page.
- 6 Proven Ways SaaS Founders Actually Get Customers (With Real Examples) - December 17, 2025
- Facebook Ads to Get Followers! - December 27, 2024
- ClickUp vs. Slack - December 20, 2024