Digging steps into a hill can add more interest and appeal to your landscape. Not only does it create an attractive visual aesthetic, but it can also make navigating the hillside easier. If you’re looking for an exciting landscaping project, then digging steps into a hill might be just what you need!


How to Dig Steps Into a Hill?
- Step 1: Gather the necessary materials for the project, including a shovel, hard hat, personal protective equipment (PPE), and any other materials needed depending on the hill’s soil type.
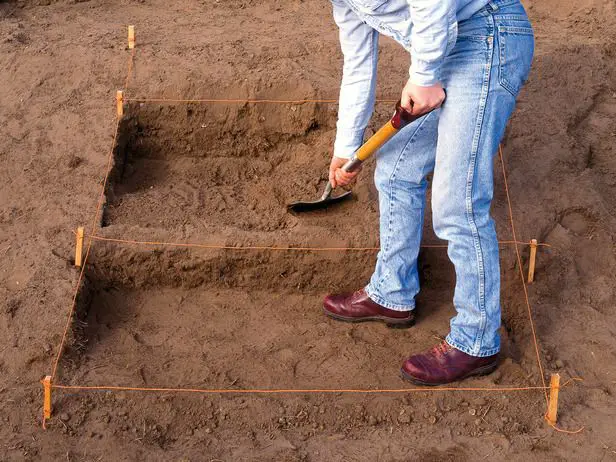
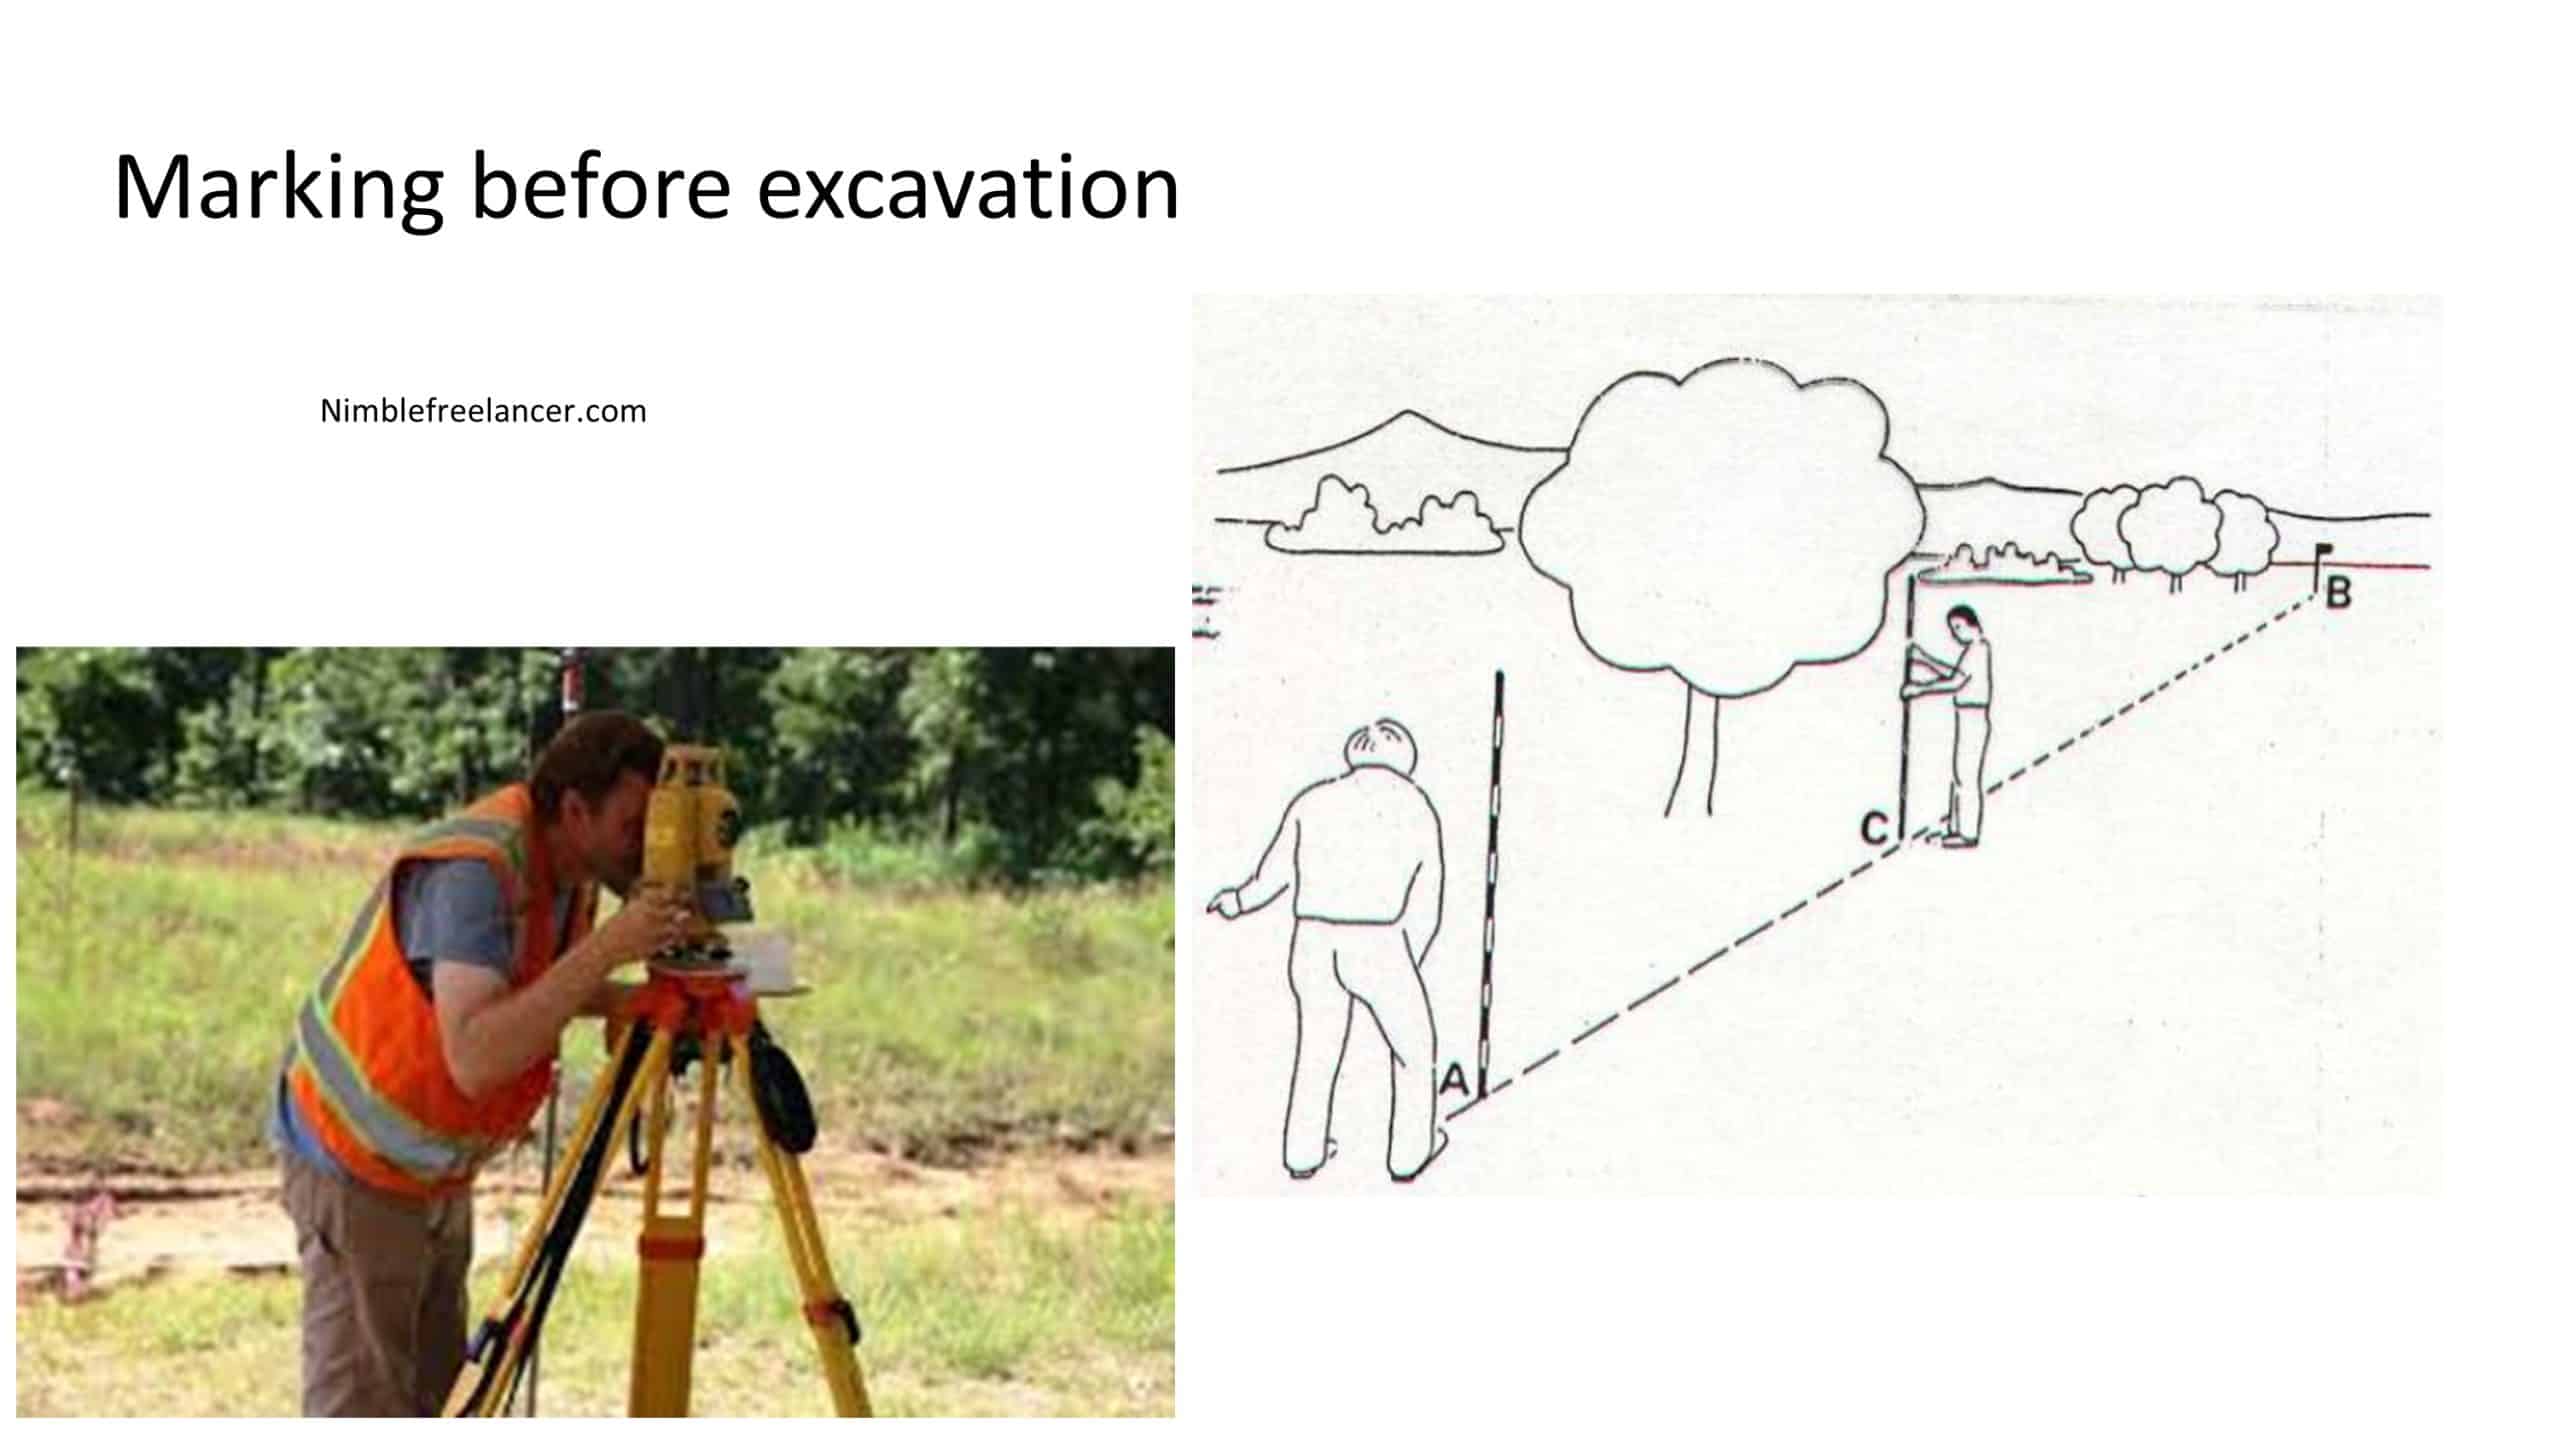
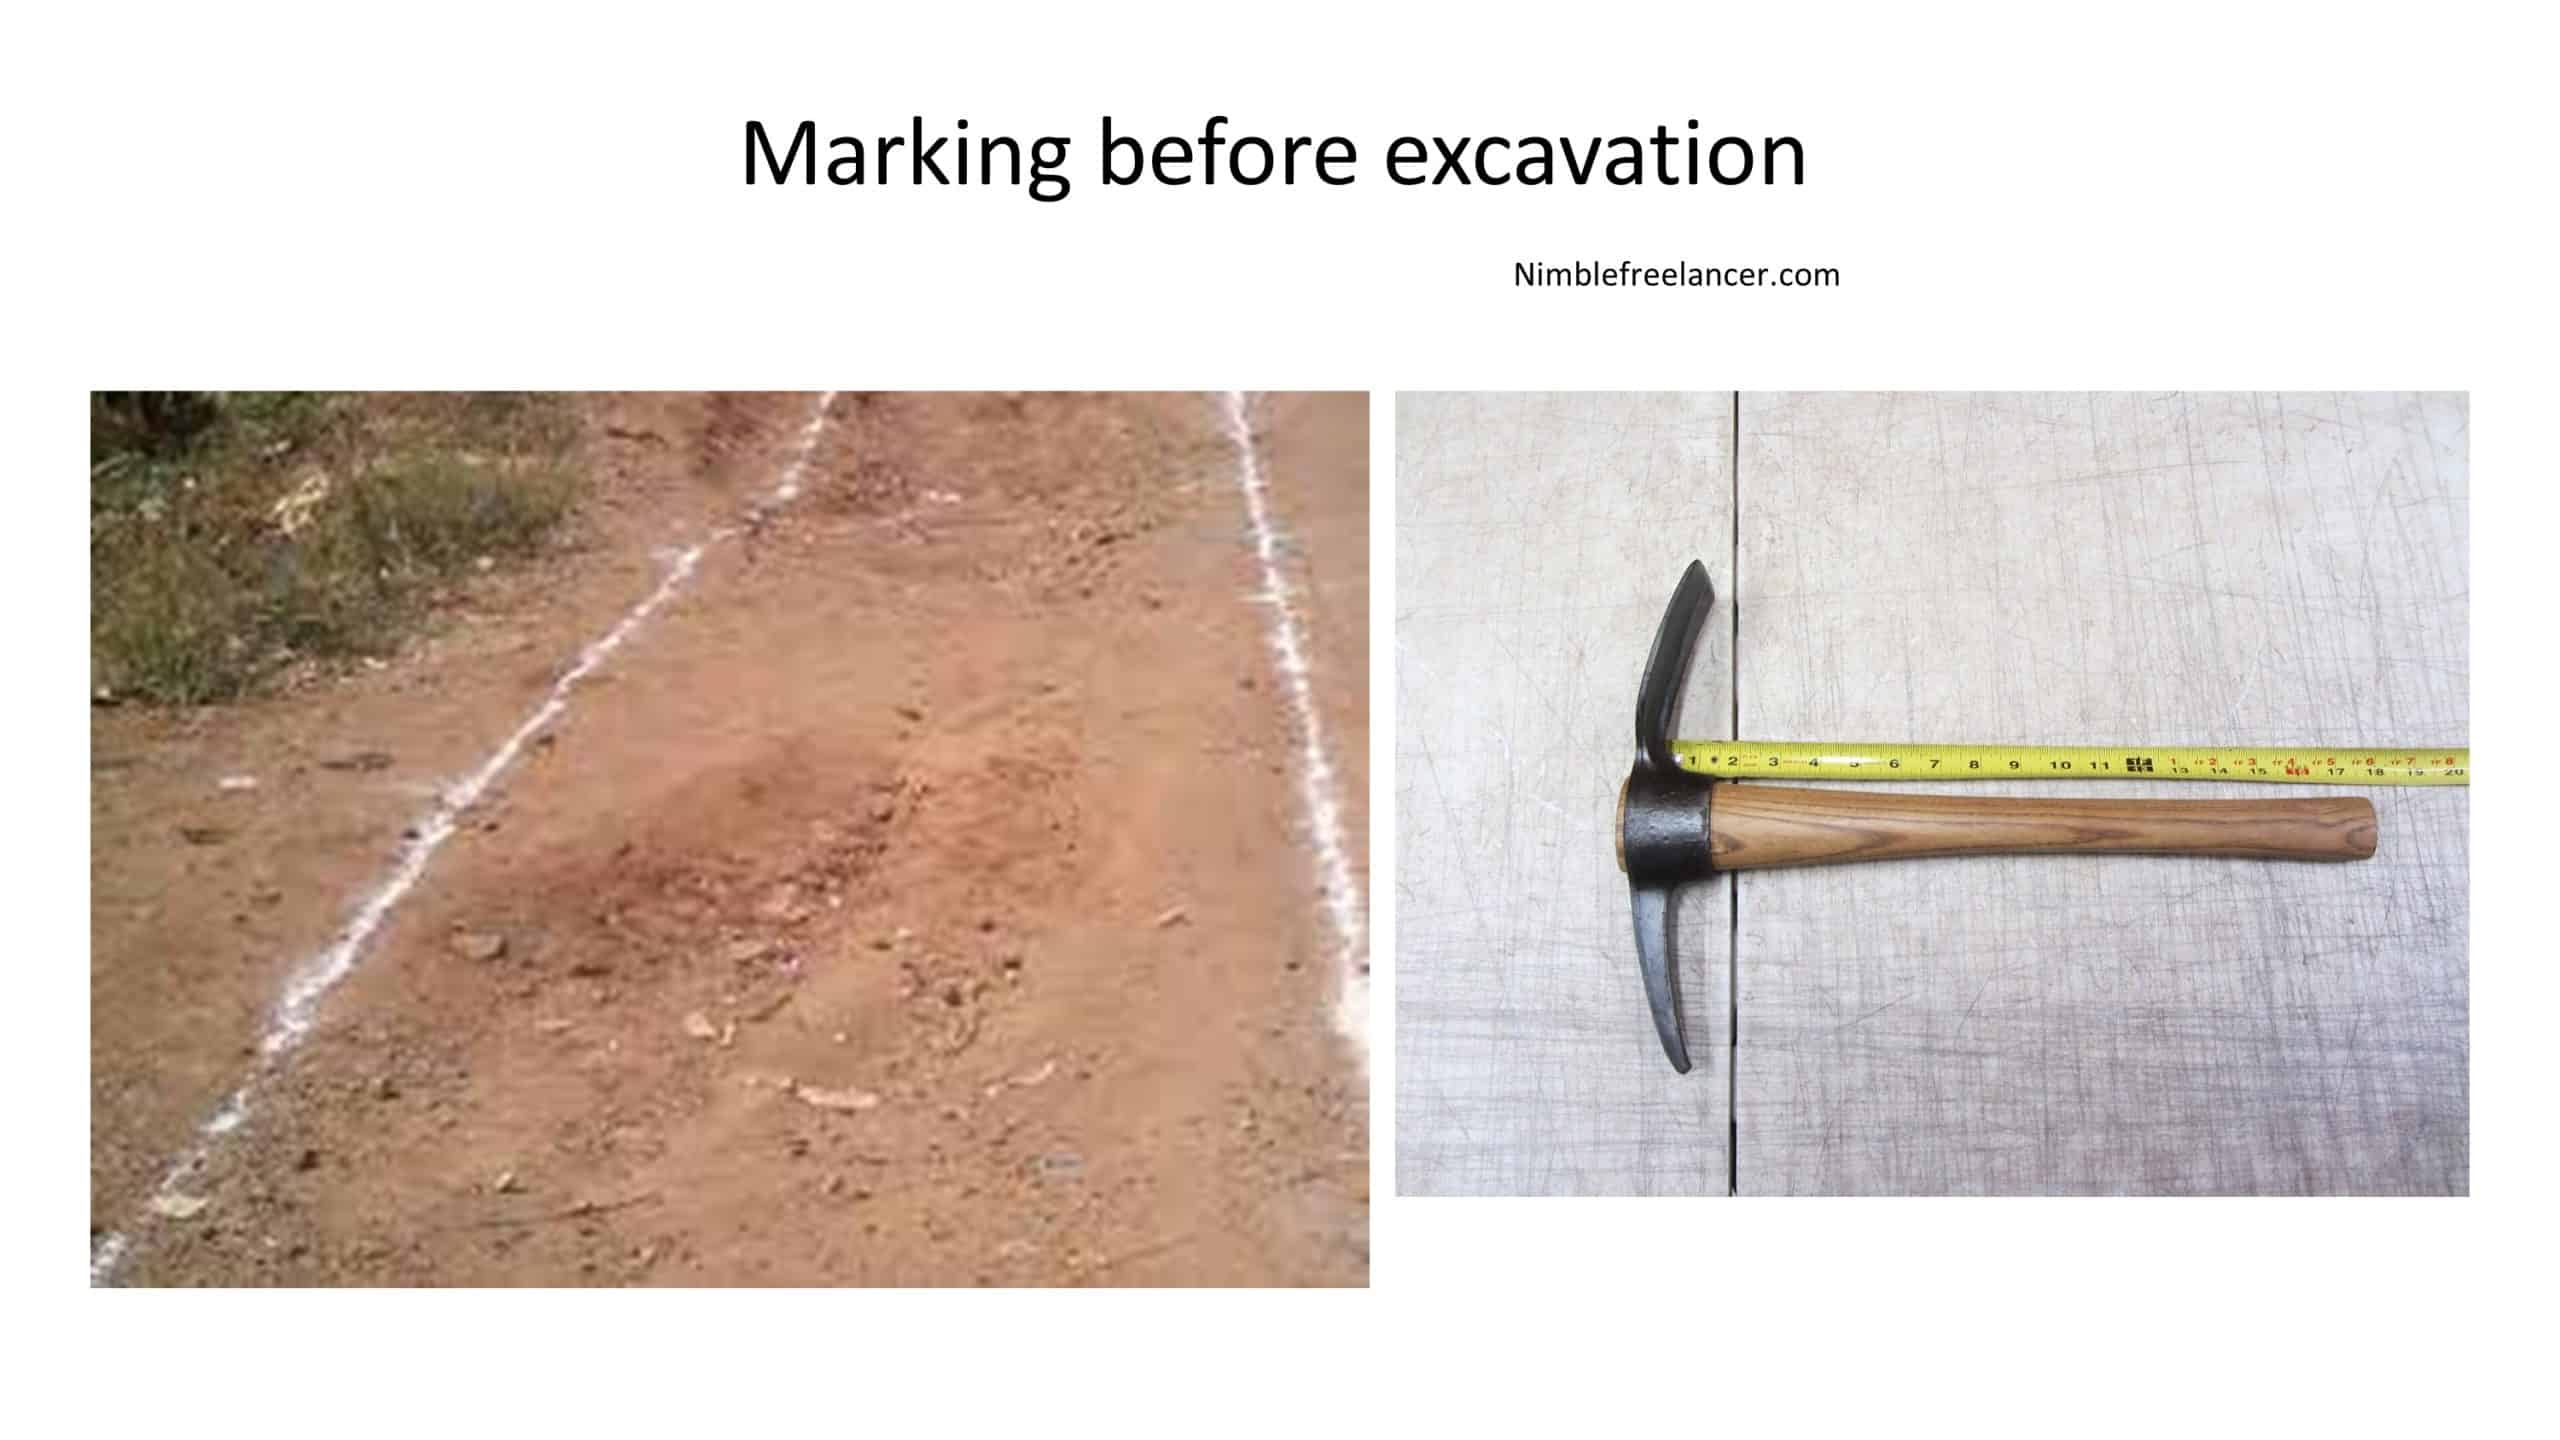
- Step 2: Mark out where the steps will be placed using stakes, string, and spray paint. Measure thoroughly before staking so that each step is even with its neighbors.
- Step 3: Set up a safe work site with plenty of room to move around as you dig and construct your steps. Use caution tape or other barricades to alert passersby of potential danger.
- Step 4: Dig into the hill at one end of your marked-out area with your shovel, paying attention to how deep you’re digging and how wide the steps are becoming. Both treads and risers must remain consistent throughout all steps so that each step is level when completed.
- Step 5: Once each step has been excavated, clear away any extra dirt or rocks around the edges so there are no tripping hazards.
- Step 6: Measure the height between each riser and the depth at which they’re placed within each step. Adjust accordingly if measurements vary between steps or if unevenness is causing a safety hazard during excavation.
- Step 7: If desired, line up stones along the sides of each step to provide stability, support, and added strength to your finished stairs. The rocks should be closely fitted together without too much space between them. Otherwise, they may shift after installation, resulting in an unfinished look or, even worse, a safety hazard during use.
- Step 8: Once all steps have been dug in and stones (if desired) have been added, fill in any gaps around the edges with dirt or gravel for added stability. Pat down dirt firmly with hands or feet until all edges are level with the surrounding ground and gaps have been filled in completely. This will help ensure that your stairs don’t erode over time due to rainwater entering crevices between materials used for excavation and finishing touches, such as stones or gravel, alongside them.
- Step 9: Double-check all measurements once just for good measure before moving on to final touches, such as adding handrails (if desired). Make sure everything looks even from the top view – this helps create a visual aesthetic that makes stairs look professionally constructed while providing functional safety benefits through increased stability when using them in everyday life!
Before getting started with this ambitious task, there are some essential things that you should keep in mind. First and foremost, you must understand the hill’s terrain before embarking on your project. Depending on where you live, different soil types may require other techniques to dig out the steps. Clay-heavy soils may require more pre-treatment than sandier soils to ensure your staircase doesn’t collapse or become too damaged over time. Understanding the terrain will help guide your action plan when attempting to dig steps into the side of a hill.
It would be best if you prepared the following tools:
Colors for marking the area are:
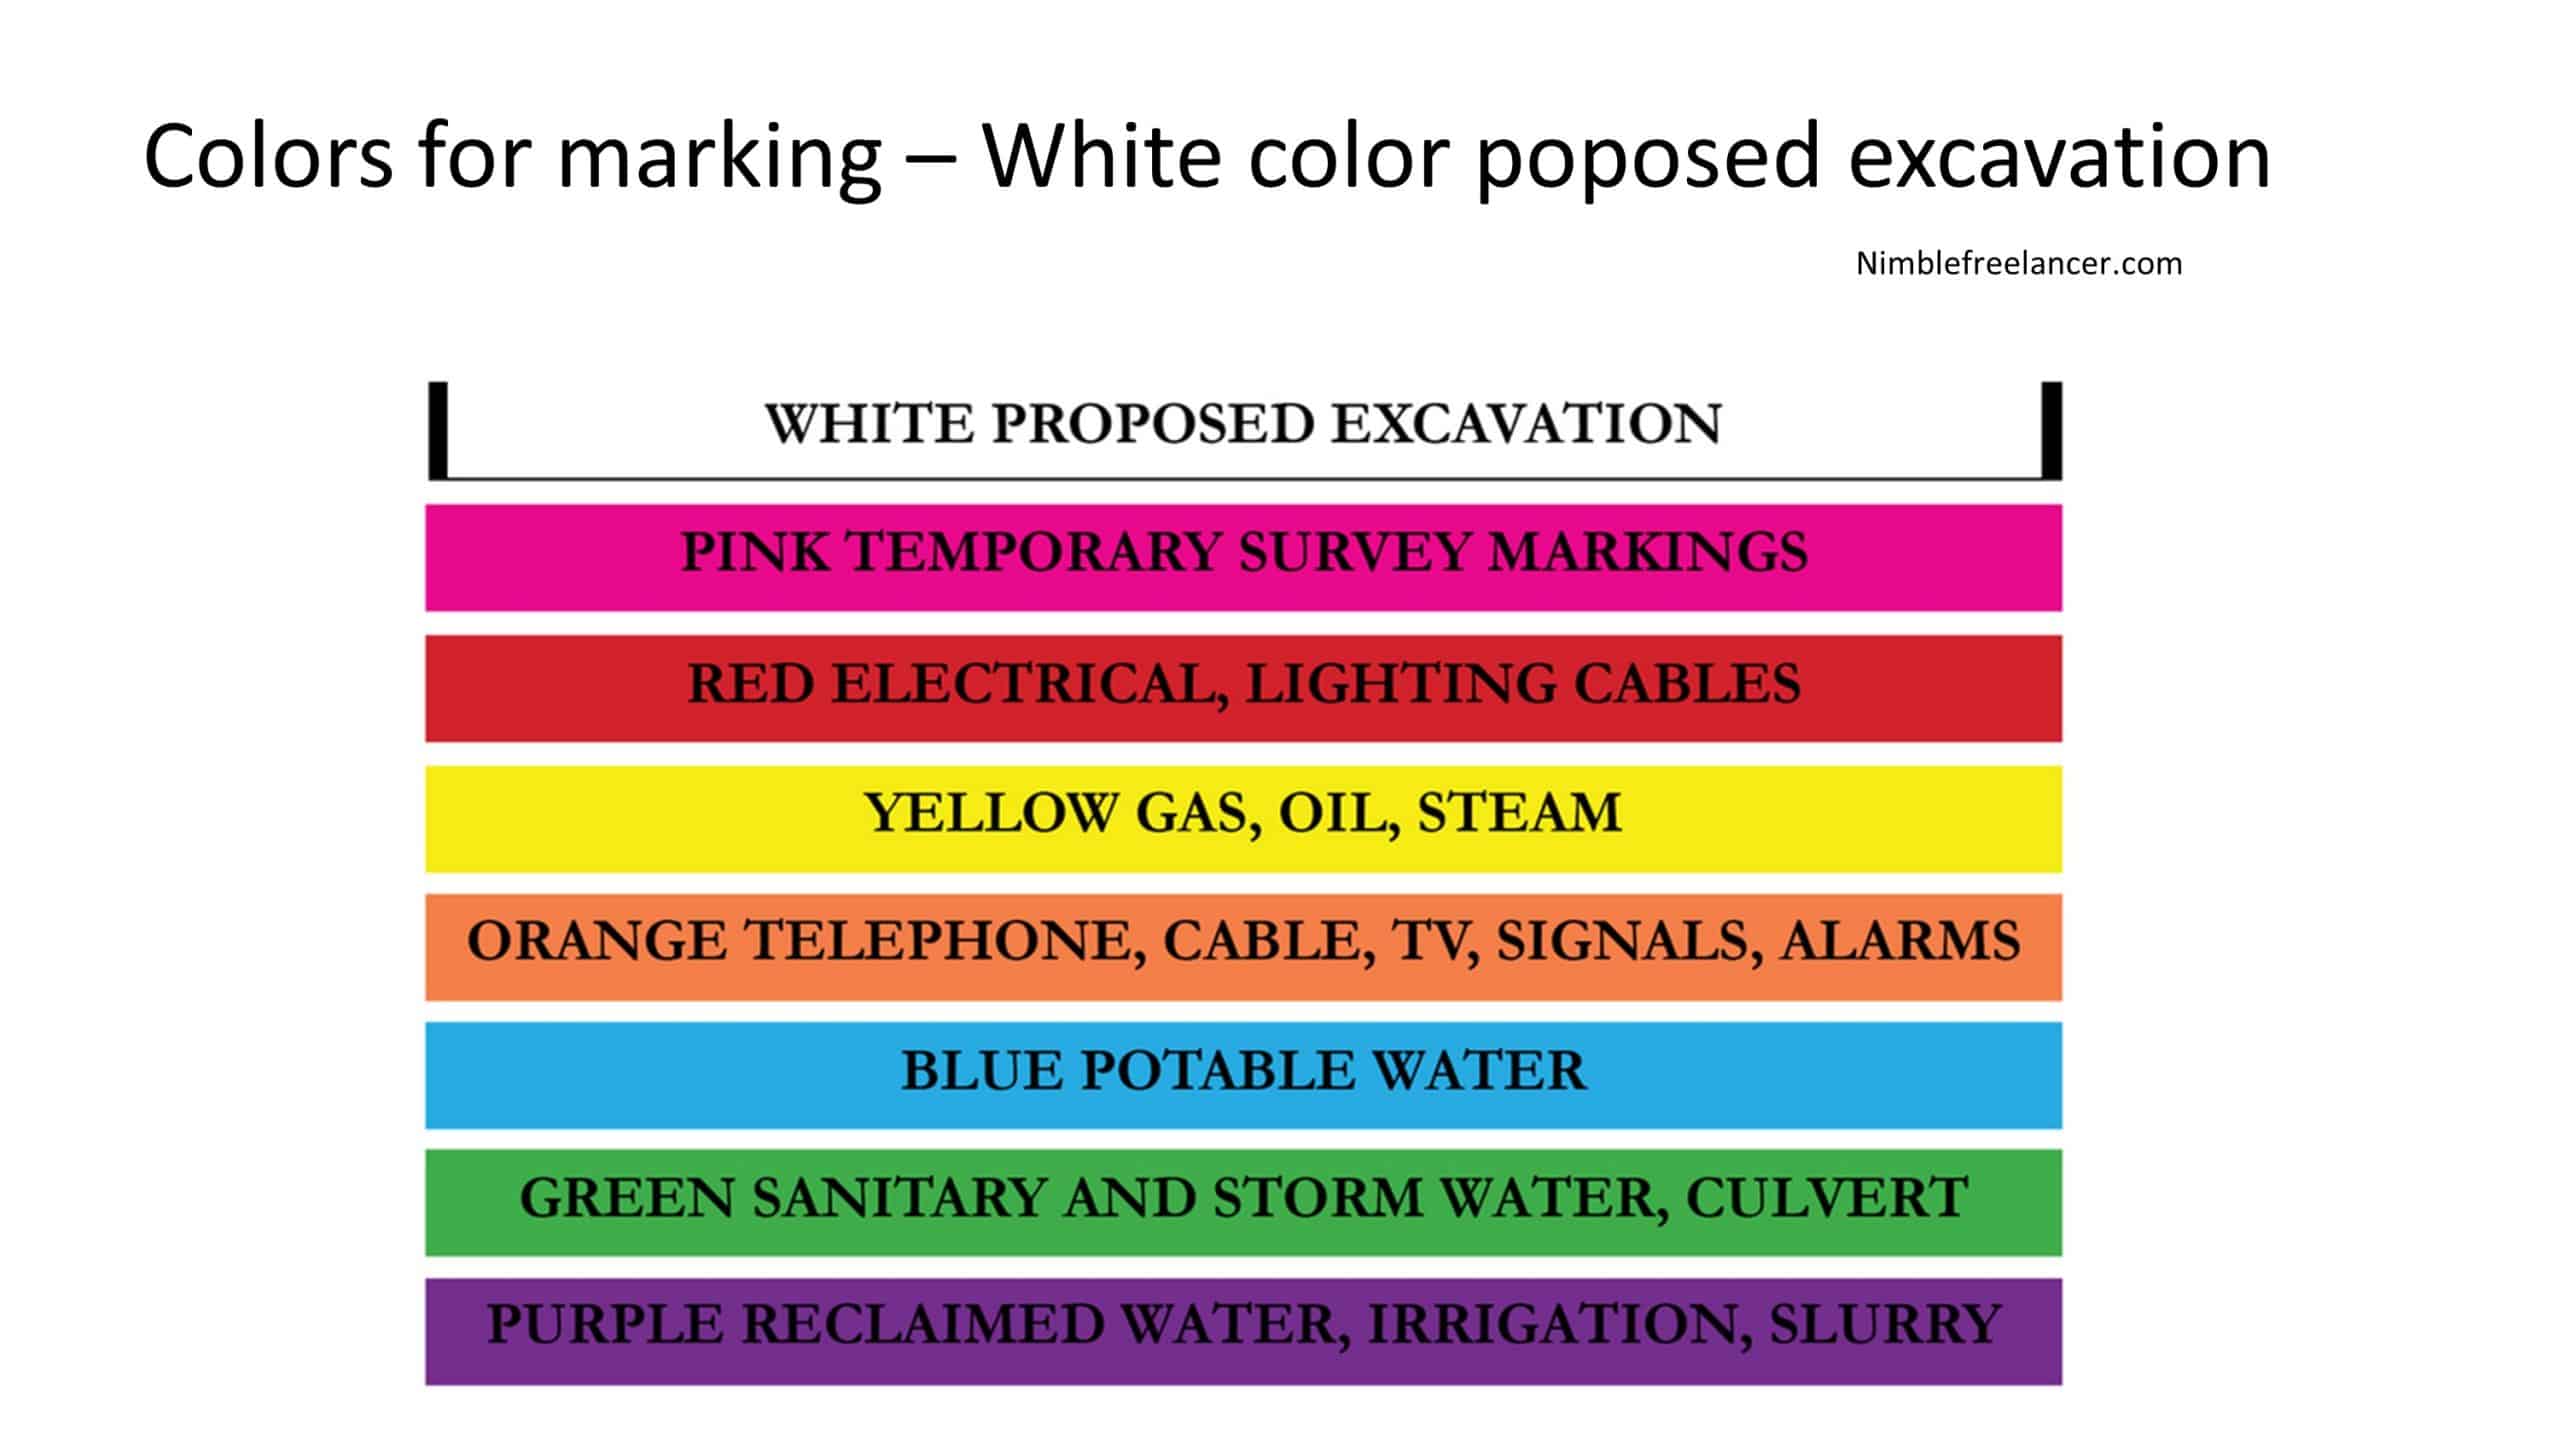
Do not make a mistake and cut the utility line :

Once you understand the terrain, it’s time to begin developing your plan for digging steps into a hill. The first step will be determining how many steps are needed and at what height each successive step needs to be placed for maximum safety and ease of use. You will also want to decide on how comprehensive each step should be; this will depend mainly on how much space and mobility is desired from one side of the staircase to the other. Once these measurements have been taken, you can begin digging out each step using either hand tools or power tools such as a drill or jackhammer, depending on the type and hardness of the soil.
Remember to measure twice and cut once! When using hand tools such as shovels or picks, careful attention must be given when digging out each step. Hence, it does not cause structural damage or over-excavation, which could lead to instability if not done correctly. Also, consider that if using power tools, caution must still be taken concerning underground utilities like gas lines or electrical wires, which may lay beneath the surface in certain areas. So always contact your local utility companies before proceeding with any excavation work!
Don’t forget about drainage! Proper drainage is essential when constructing stairs in a hilly area; otherwise, water can collect within each stairway, leading to erosion and potentially collapsing over time. To prevent this from happening, ensure adequate drainage measures are put in place, such as lining each stairway with gravel or another porous material and adding small drains adjacent to each section if possible so that water can safely flow away without causing any damage along its path downhill.

Once all those preliminary tasks have been completed, it’s time for the finishing touches! Consider adding decorations such as plants around each stairway section, stones at intervals along its length for added stability/support plus railing along one side of all sections (especially those located higher up) for extra safety measures against slipping/falling off course – as well as for aesthetic purposes too!
With all these tips in mind, constructing staircases into hillsides can prove both enjoyable and rewarding—so start creating yours today!
Before digging, call 811 and check the frost line by zip code.

From 2022 onwards, Mark has also been contributing author of home repair articles at nimblefreelancer.com.
Read more on Mark Brown's biography page.
Contact Mark: mark@nimblefreelancer.com