In the previous article, we learned about frost line zip by code and that each US state has a minimum digging level correlated with frost temperature.
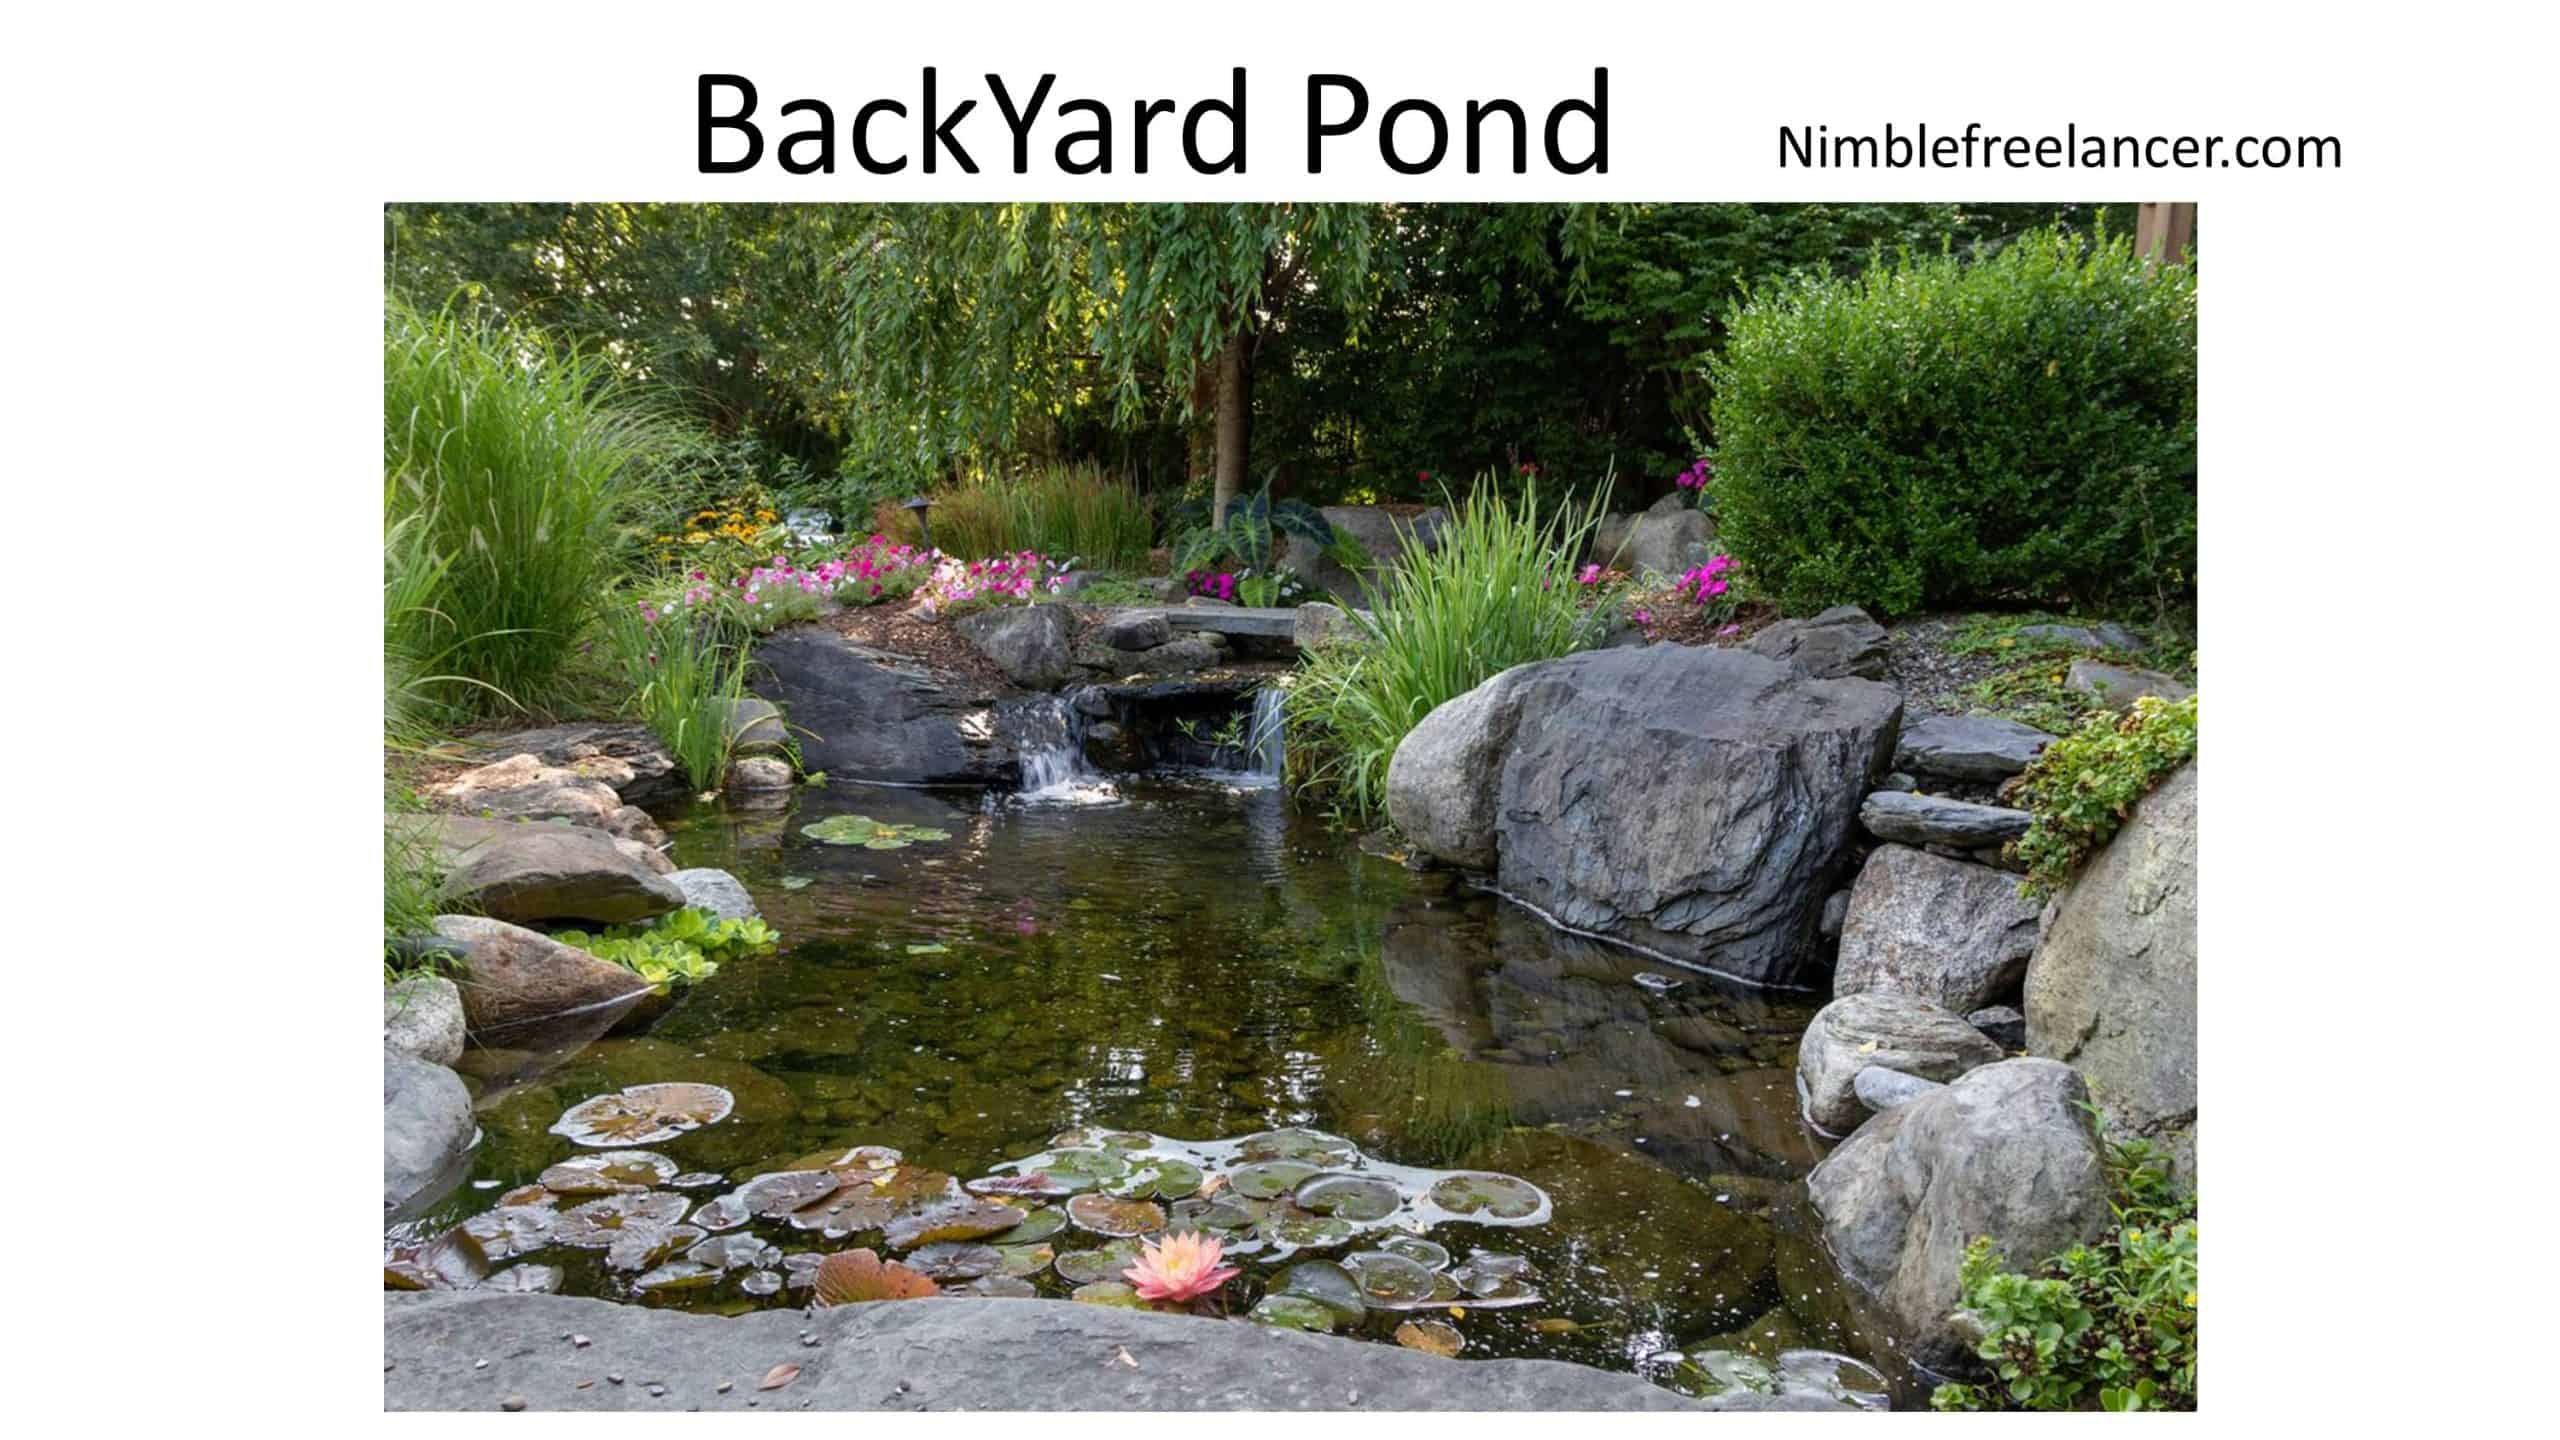
Digging a pond in the United States can be a great way to add beauty and tranquility to any backyard. With the right equipment, knowledge, and preparation, you can create a stunning water feature that will bring years of enjoyment. Before beginning to dig a pond, it is essential to choose the best location for it. Consider the space available and how much area you would like the pond to cover. Be mindful of nearby trees and other landscaping features that could affect its shape and aesthetics. It would help if you also considered sloping or high ground levels since this will influence how difficult it is to dig.
I think the best way to dig a pond is to use an efficient backhoe rental that costs $280 to $1,000 per day. For just $100-$200, you can rent a backhoe for a couple of hours and dig the perfect pond shape. However, if you do not have much money, you can dig a pond by hand. 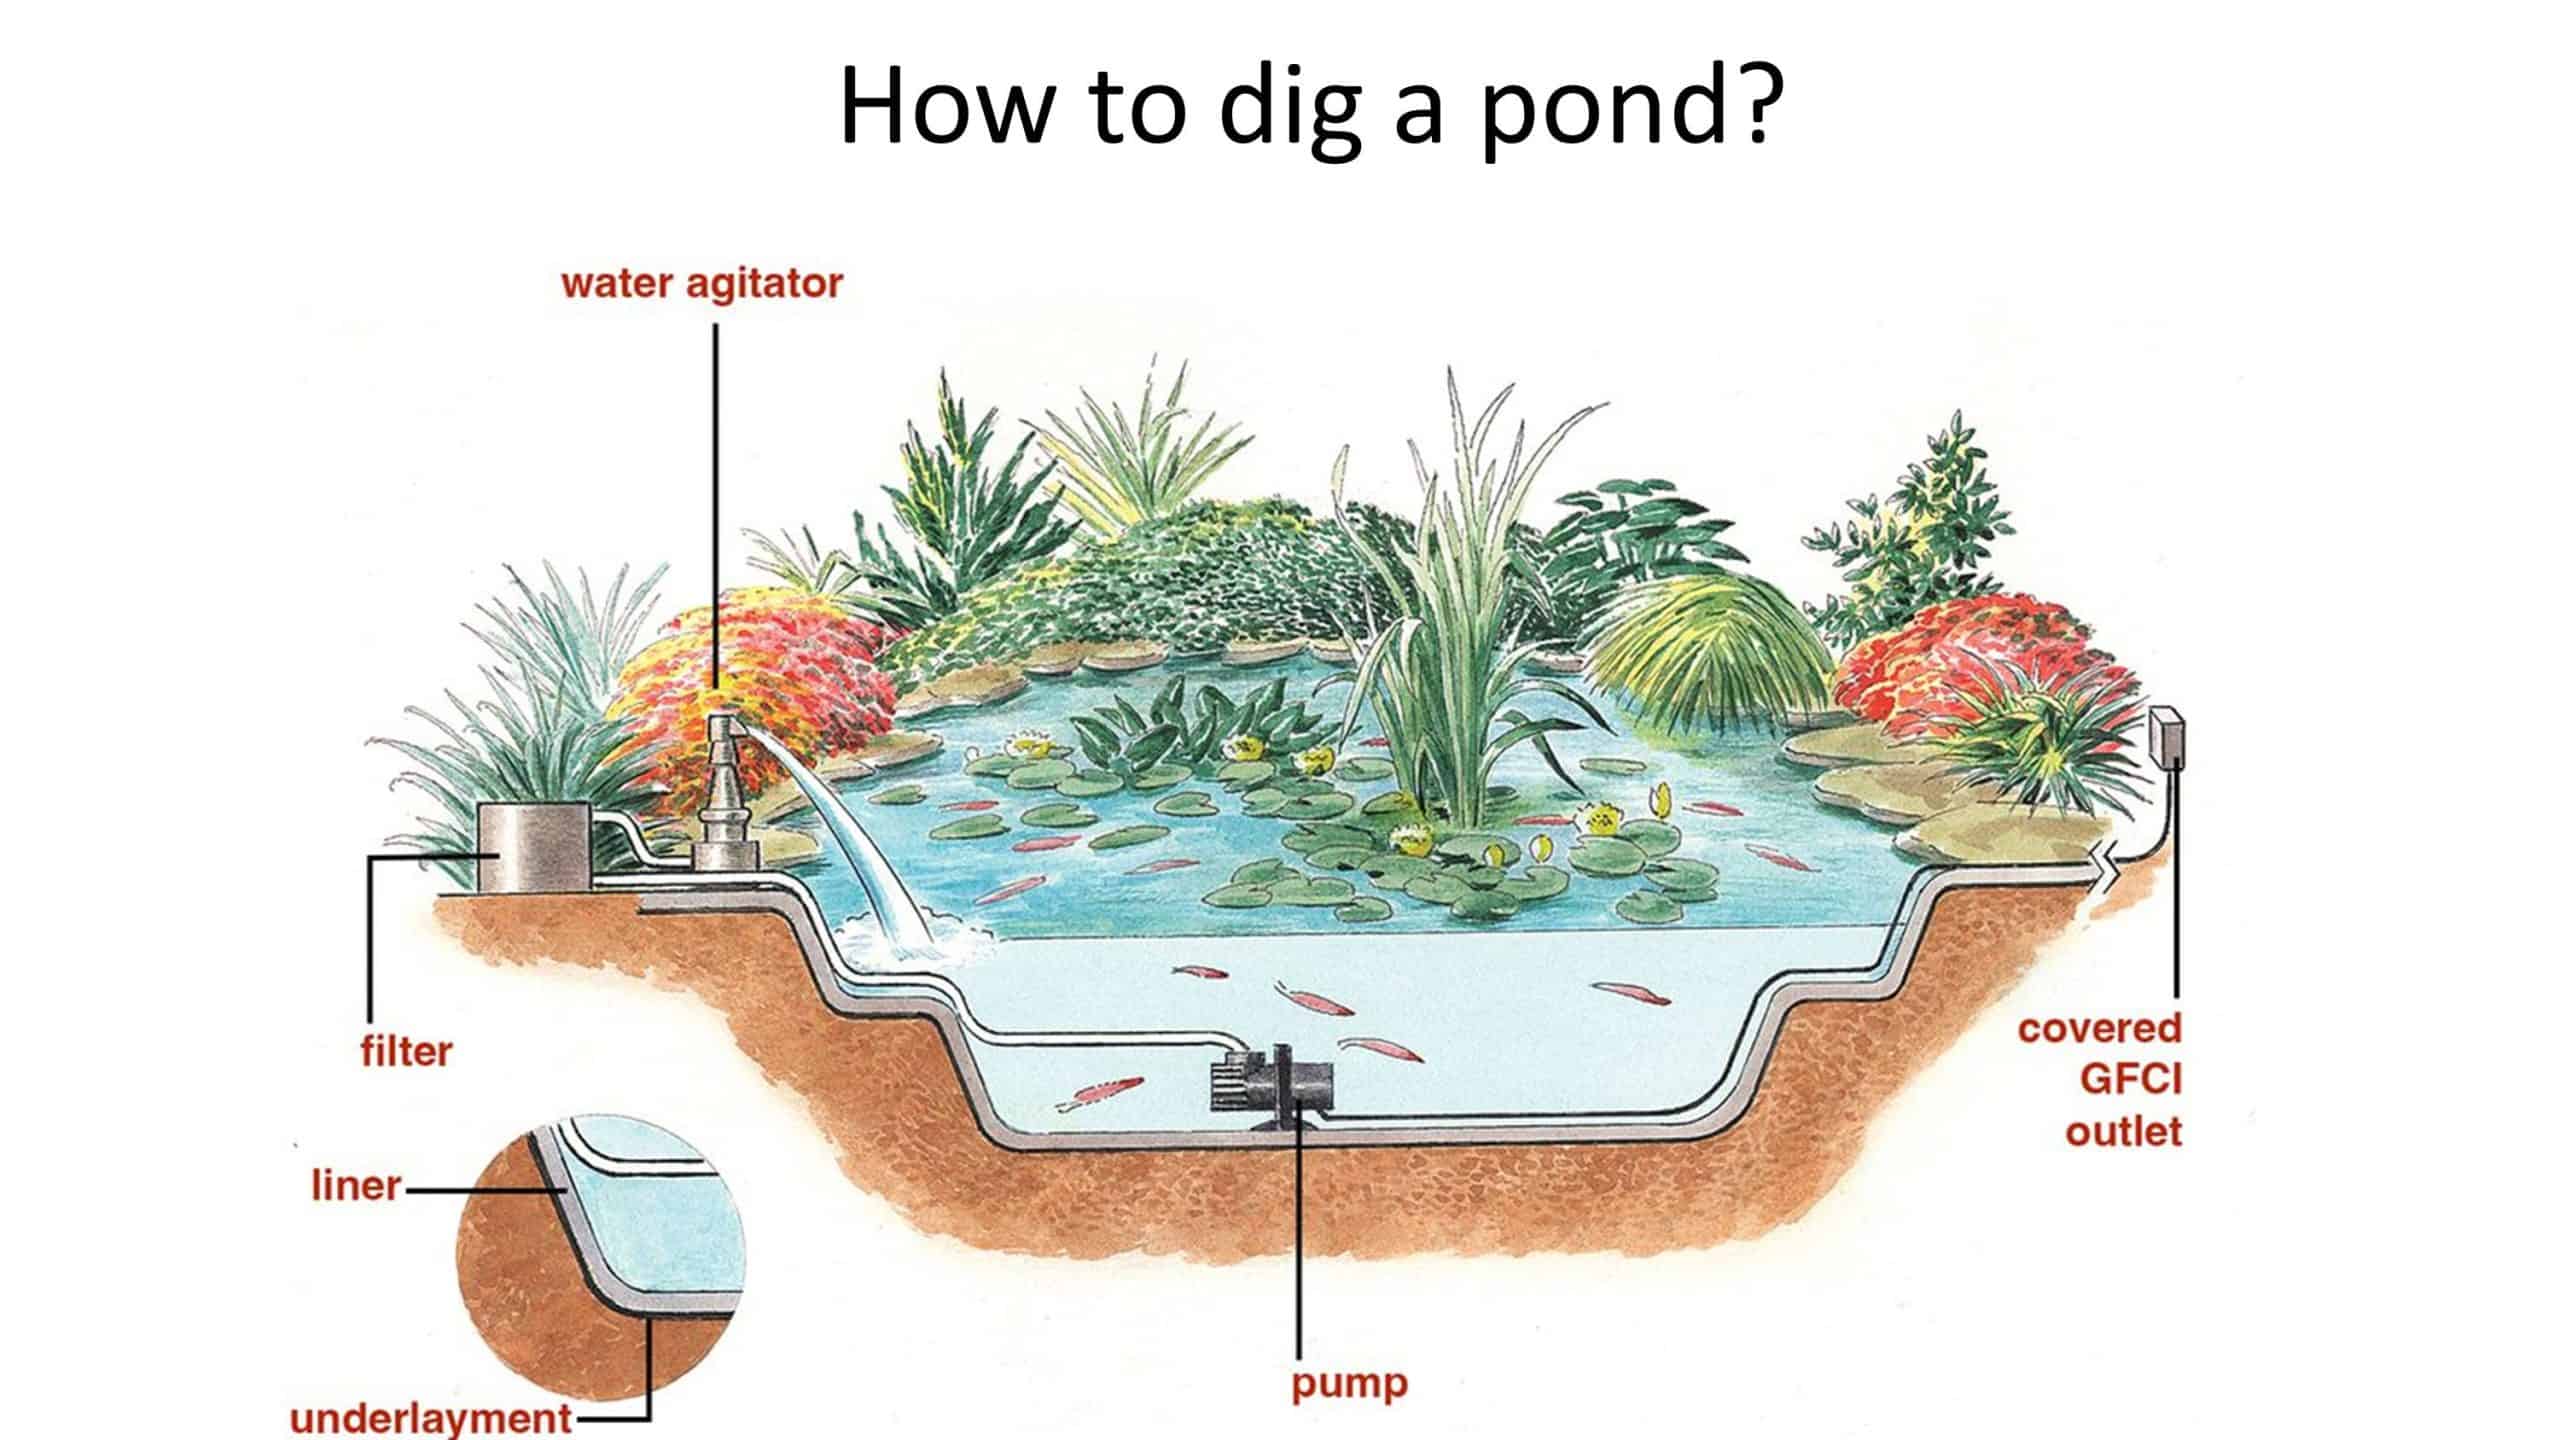


How to Dig a Pond?
- Obtain necessary building permits from your local municipality before beginning work on your pond construction.
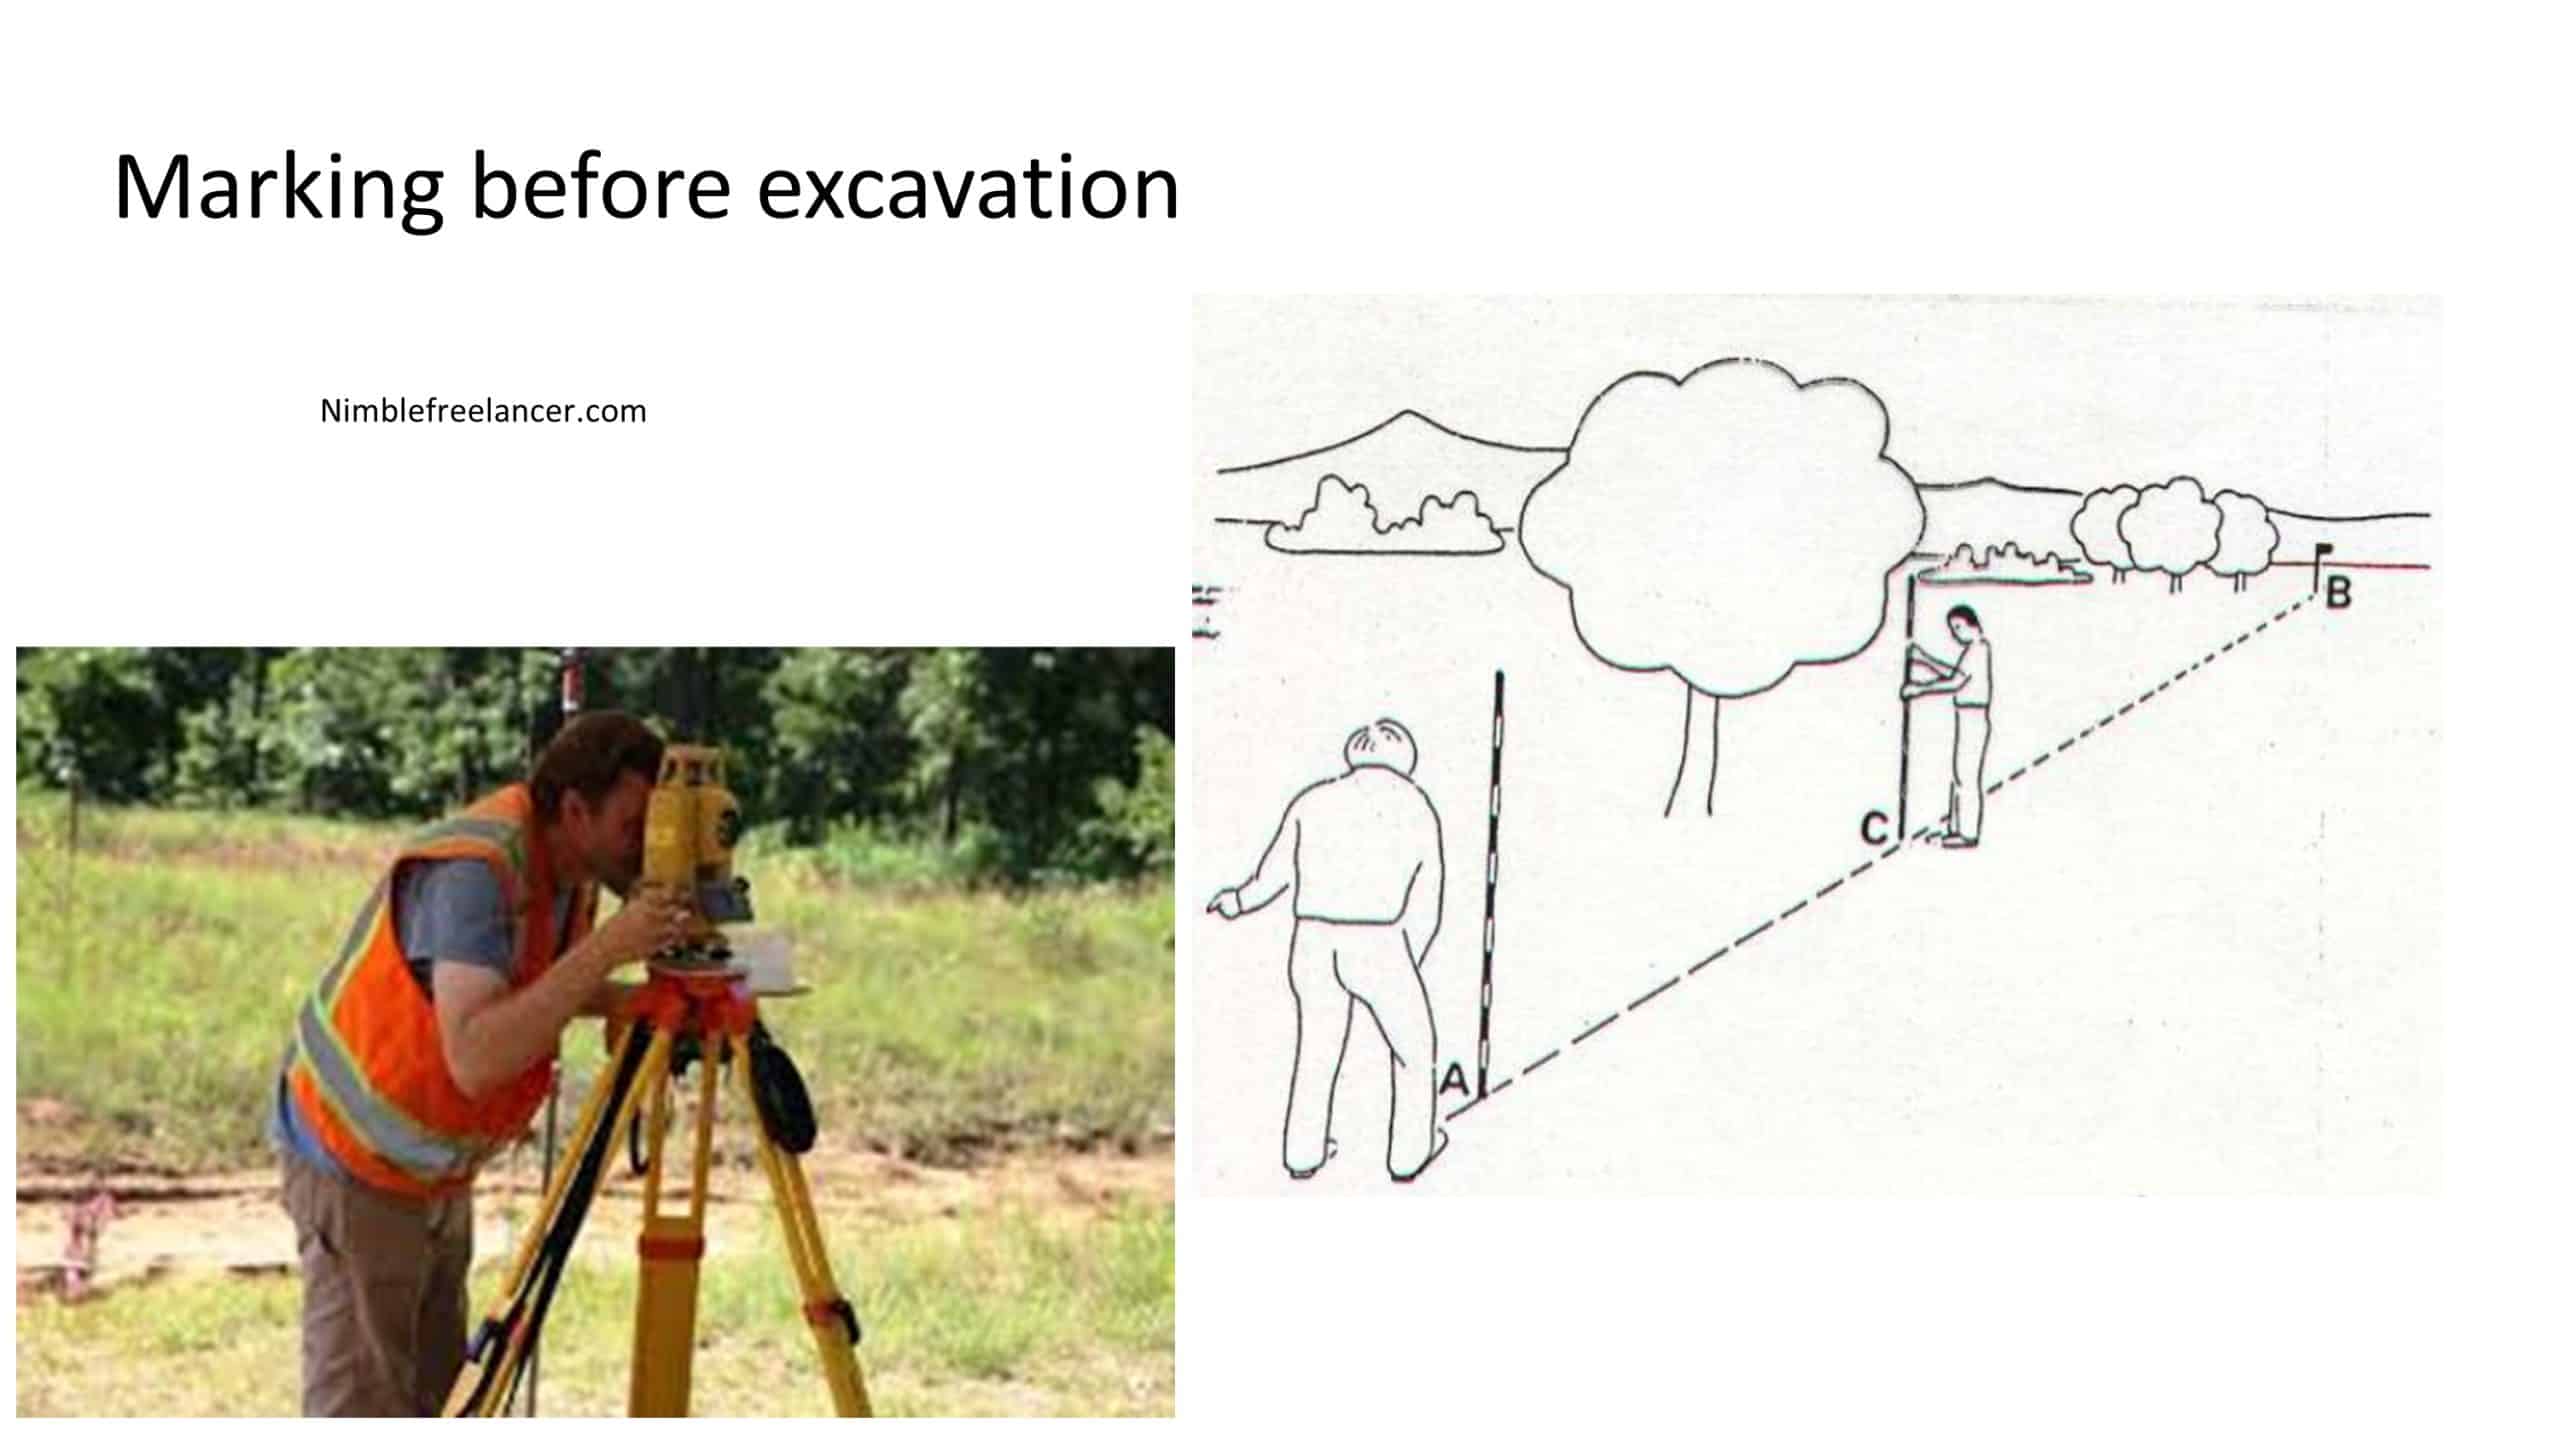
- Measure and mark the desired area for your pond and determine how deep you want it to be and its overall size.
- Use a shovel to begin excavating the soil in your yard and discard it in an area away from the pond location.
- Remove any large rocks, roots, or debris that may obstruct excavation.
- Dig the hole until it is the correct depth and shape for your desired pond size, ensuring you have dug around 1-2 feet beyond what you need for later liner installation.
- Line the bottom of the pond with sand or gravel for better drainage and to prevent punctures in any liner you may use later.
- Install a pre-formed plastic liner or rubberized masonry waterproofing, such as EPDM or butyl rubber, directly into the excavated area to form a watertight seal, or use a flexible liner purchased from a garden center to create a custom shape and size for your backyard pond.
- If desired, add additional layers of gravel or clay over the top of the liner for further insulation; however, this step is not necessary depending on climate conditions in your region at different times of year (i.e., if temperatures do not dip significantly during winter months).
- Fill up the pond with water while simultaneously watching out for any areas where leaks might appear due to improper sealing during installation; apply additional layers of sealant if needed at this point so that none are present upon completion of filling up the pool with water.
- Add aquatic plants inside and outside your backyard pond. These will help filter toxins such as ammonia out of the water while providing oxygen through their respiration process and adding beauty to your landscape design with their foliage colors!
Once you have chosen your desired location, ensure that everyone involved in digging has taken relevant safety precautions, such as wearing protective clothing and glasses and securely attaching extension cords when necessary. To help determine the layout of your pond, try using string or stakes with a rope connected around the perimeter of where the water feature will be situated. This will give you an idea of what shape your pond will take when finished.
It would be best if you prepared the following tools:
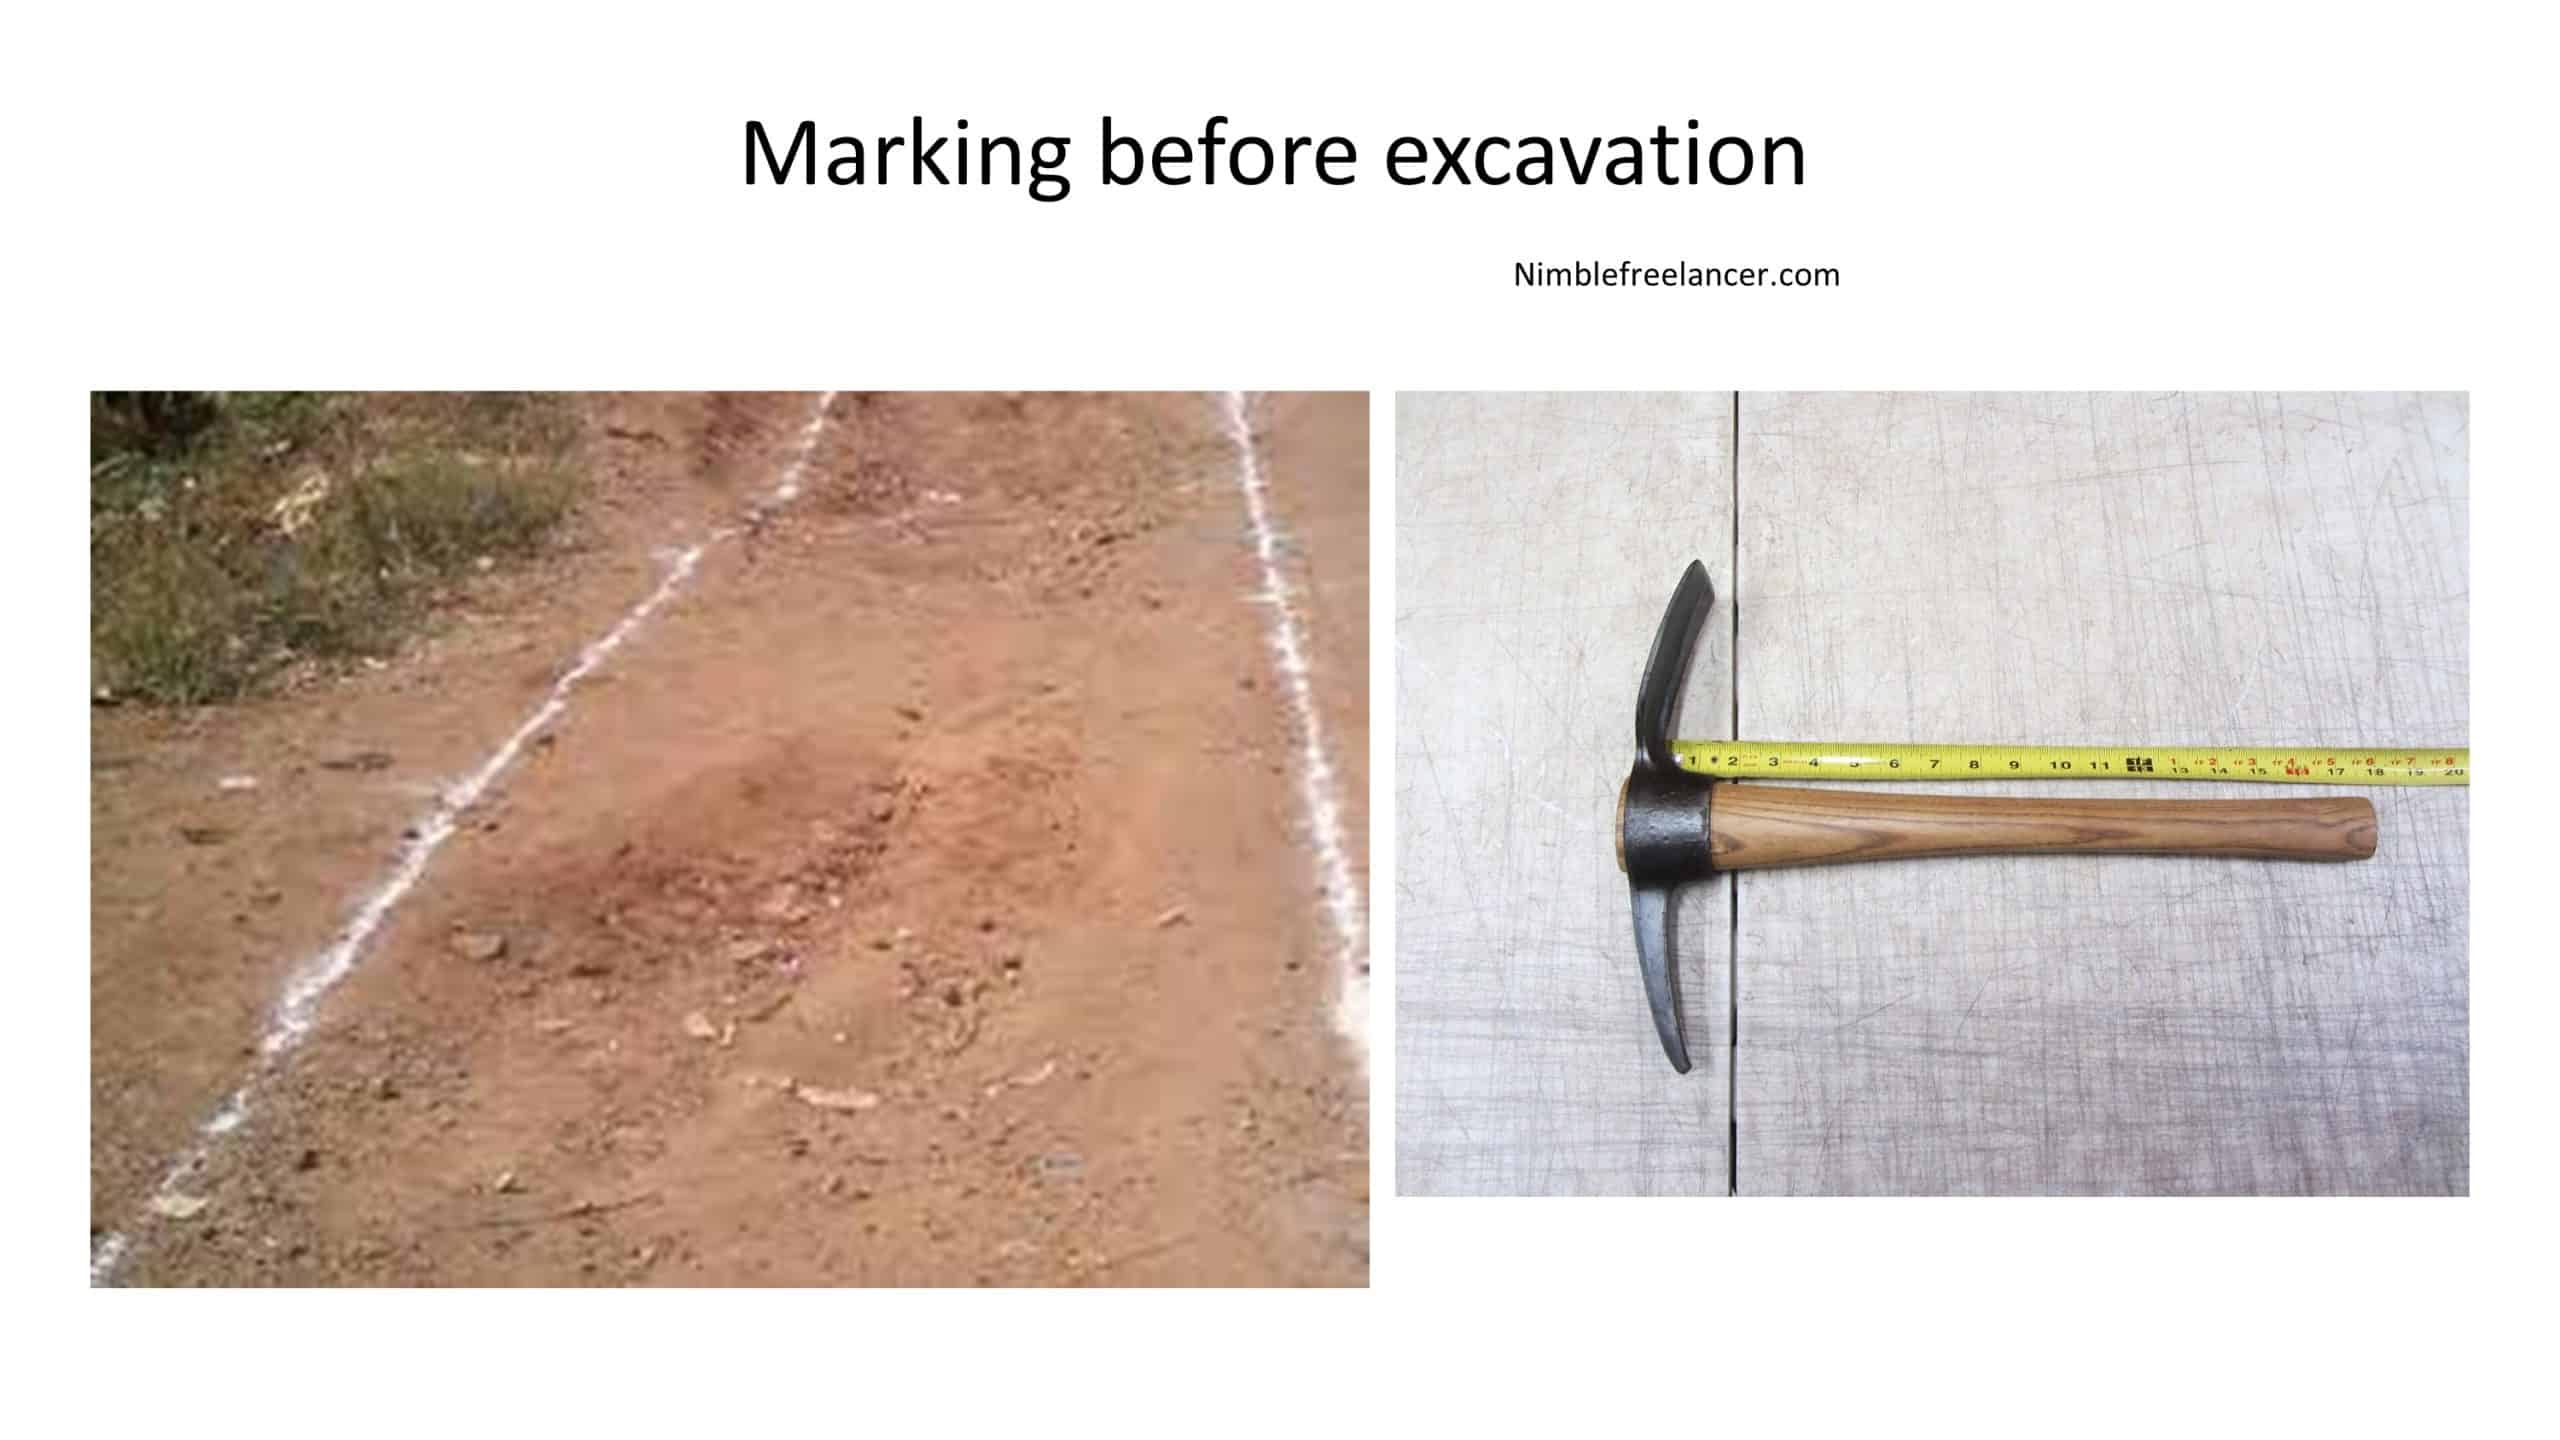
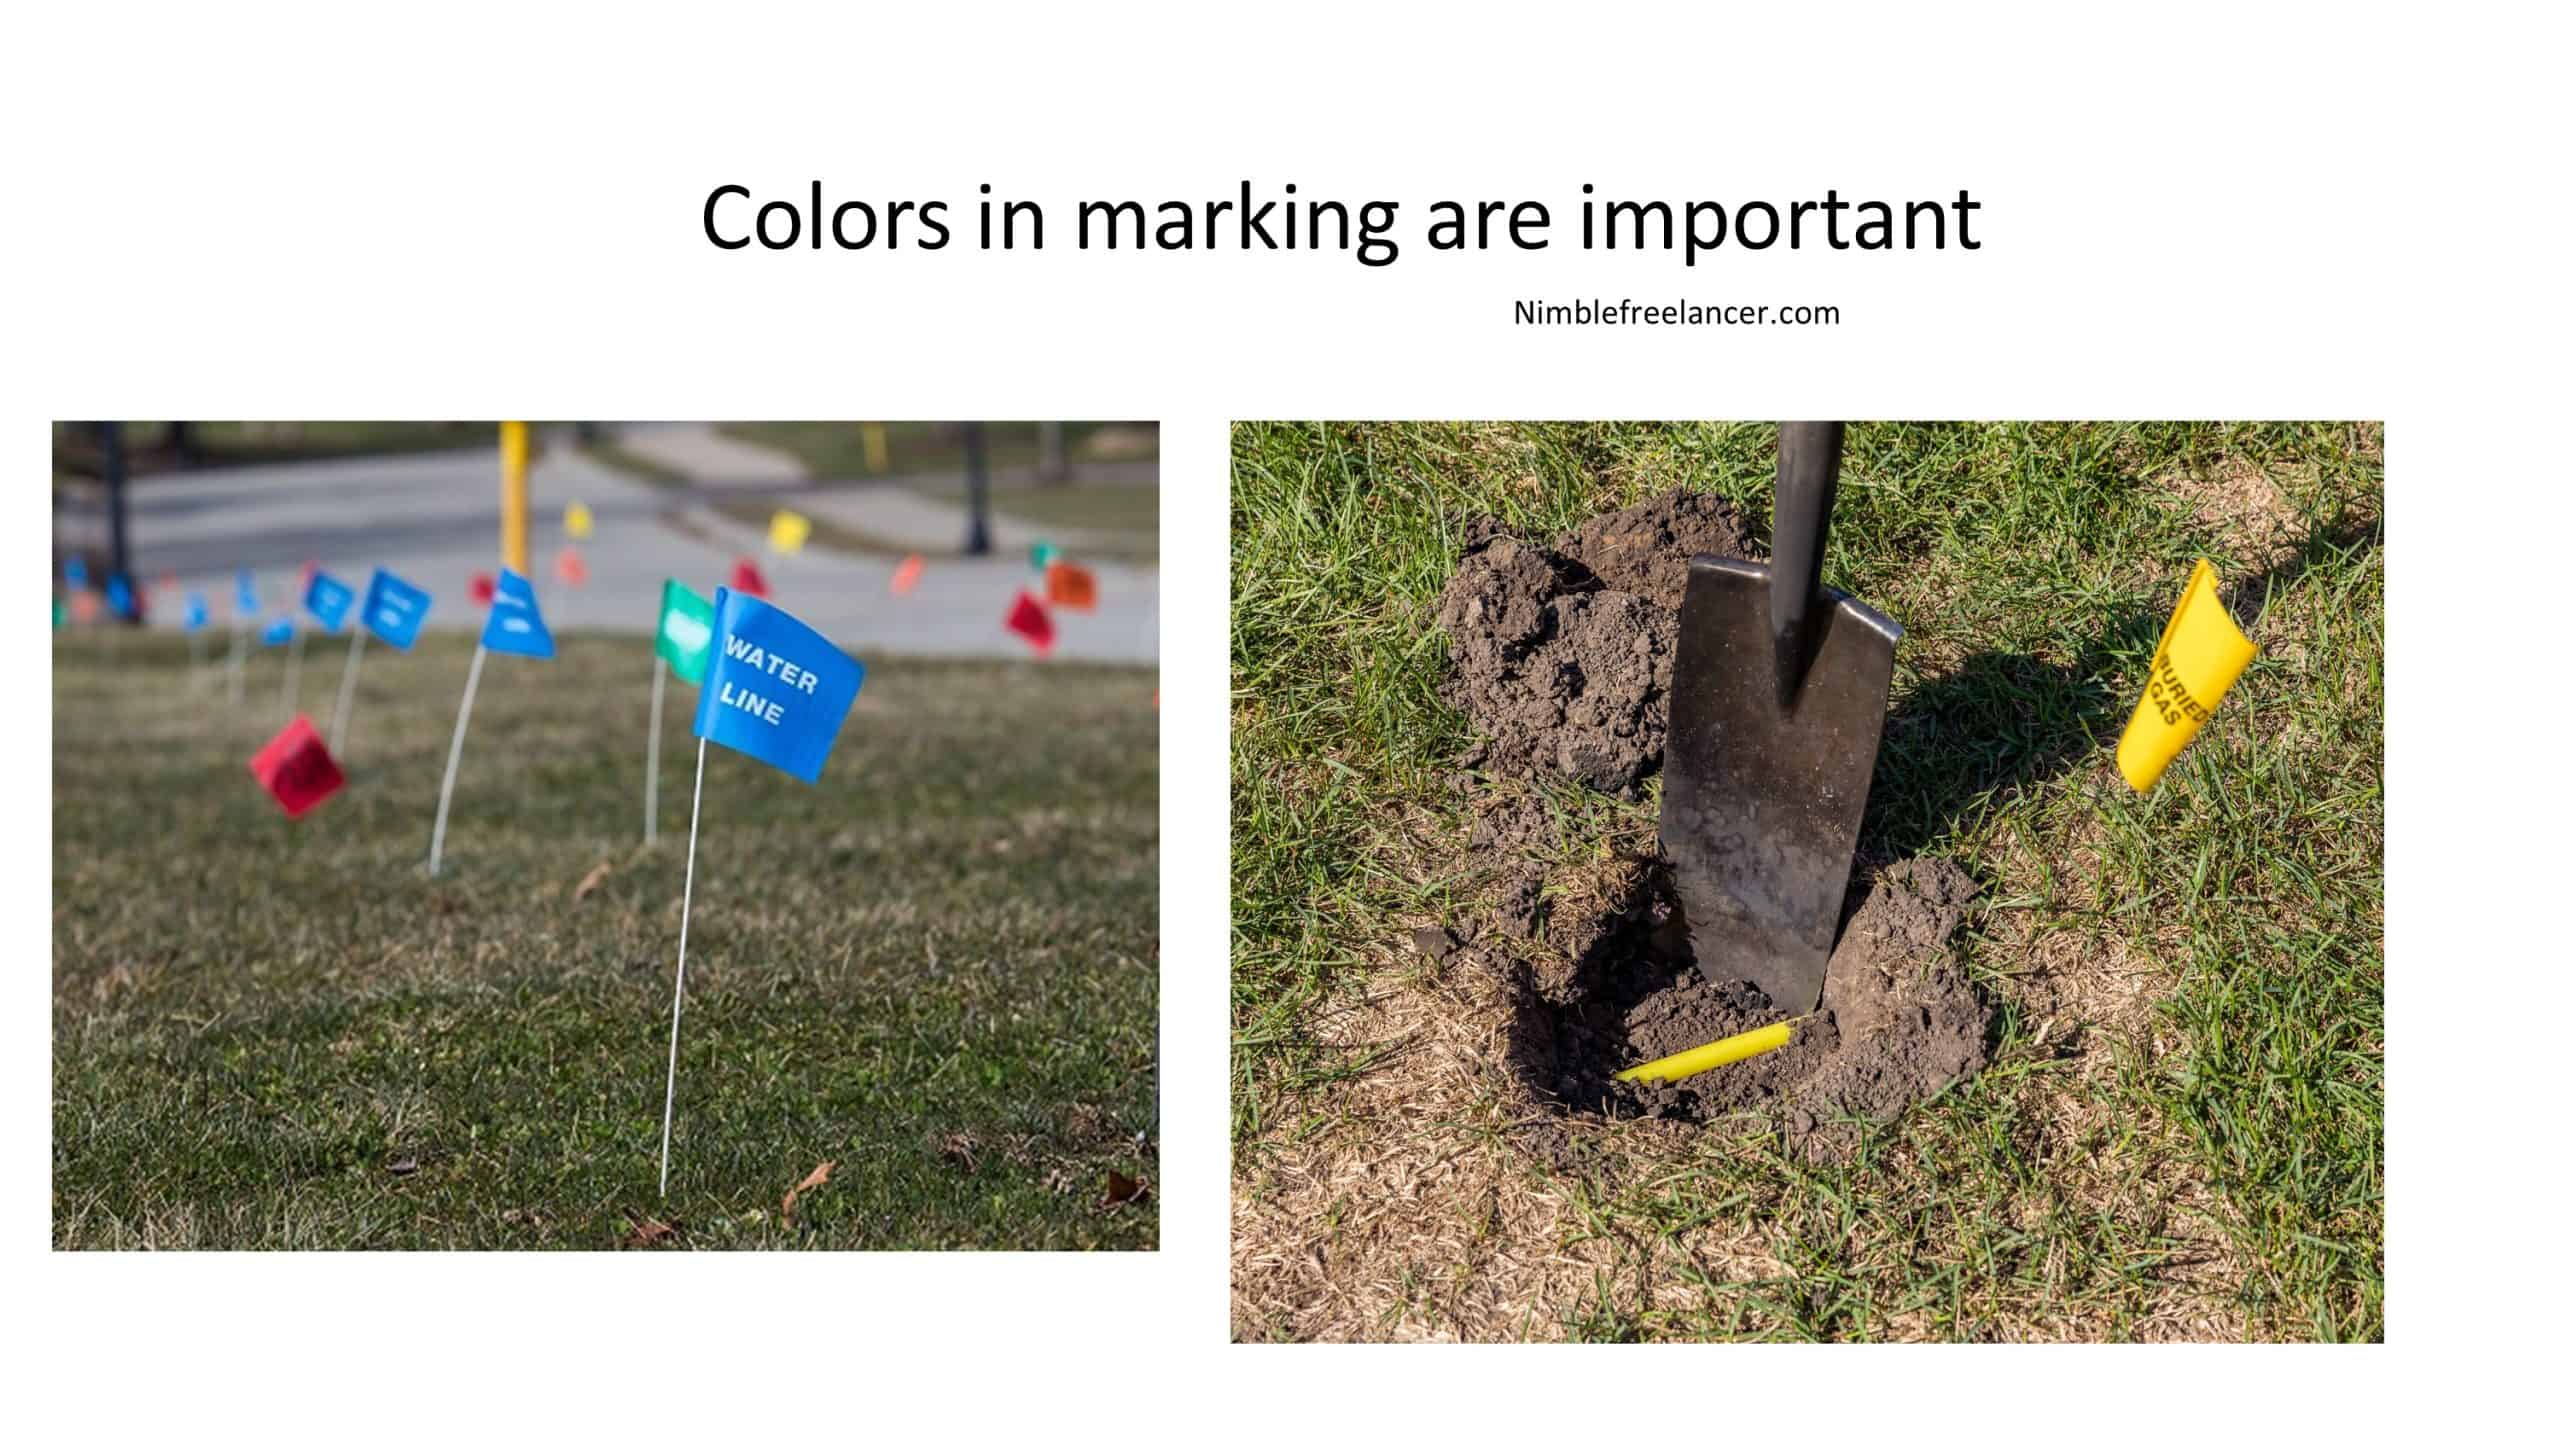
Colors for marking the area are:
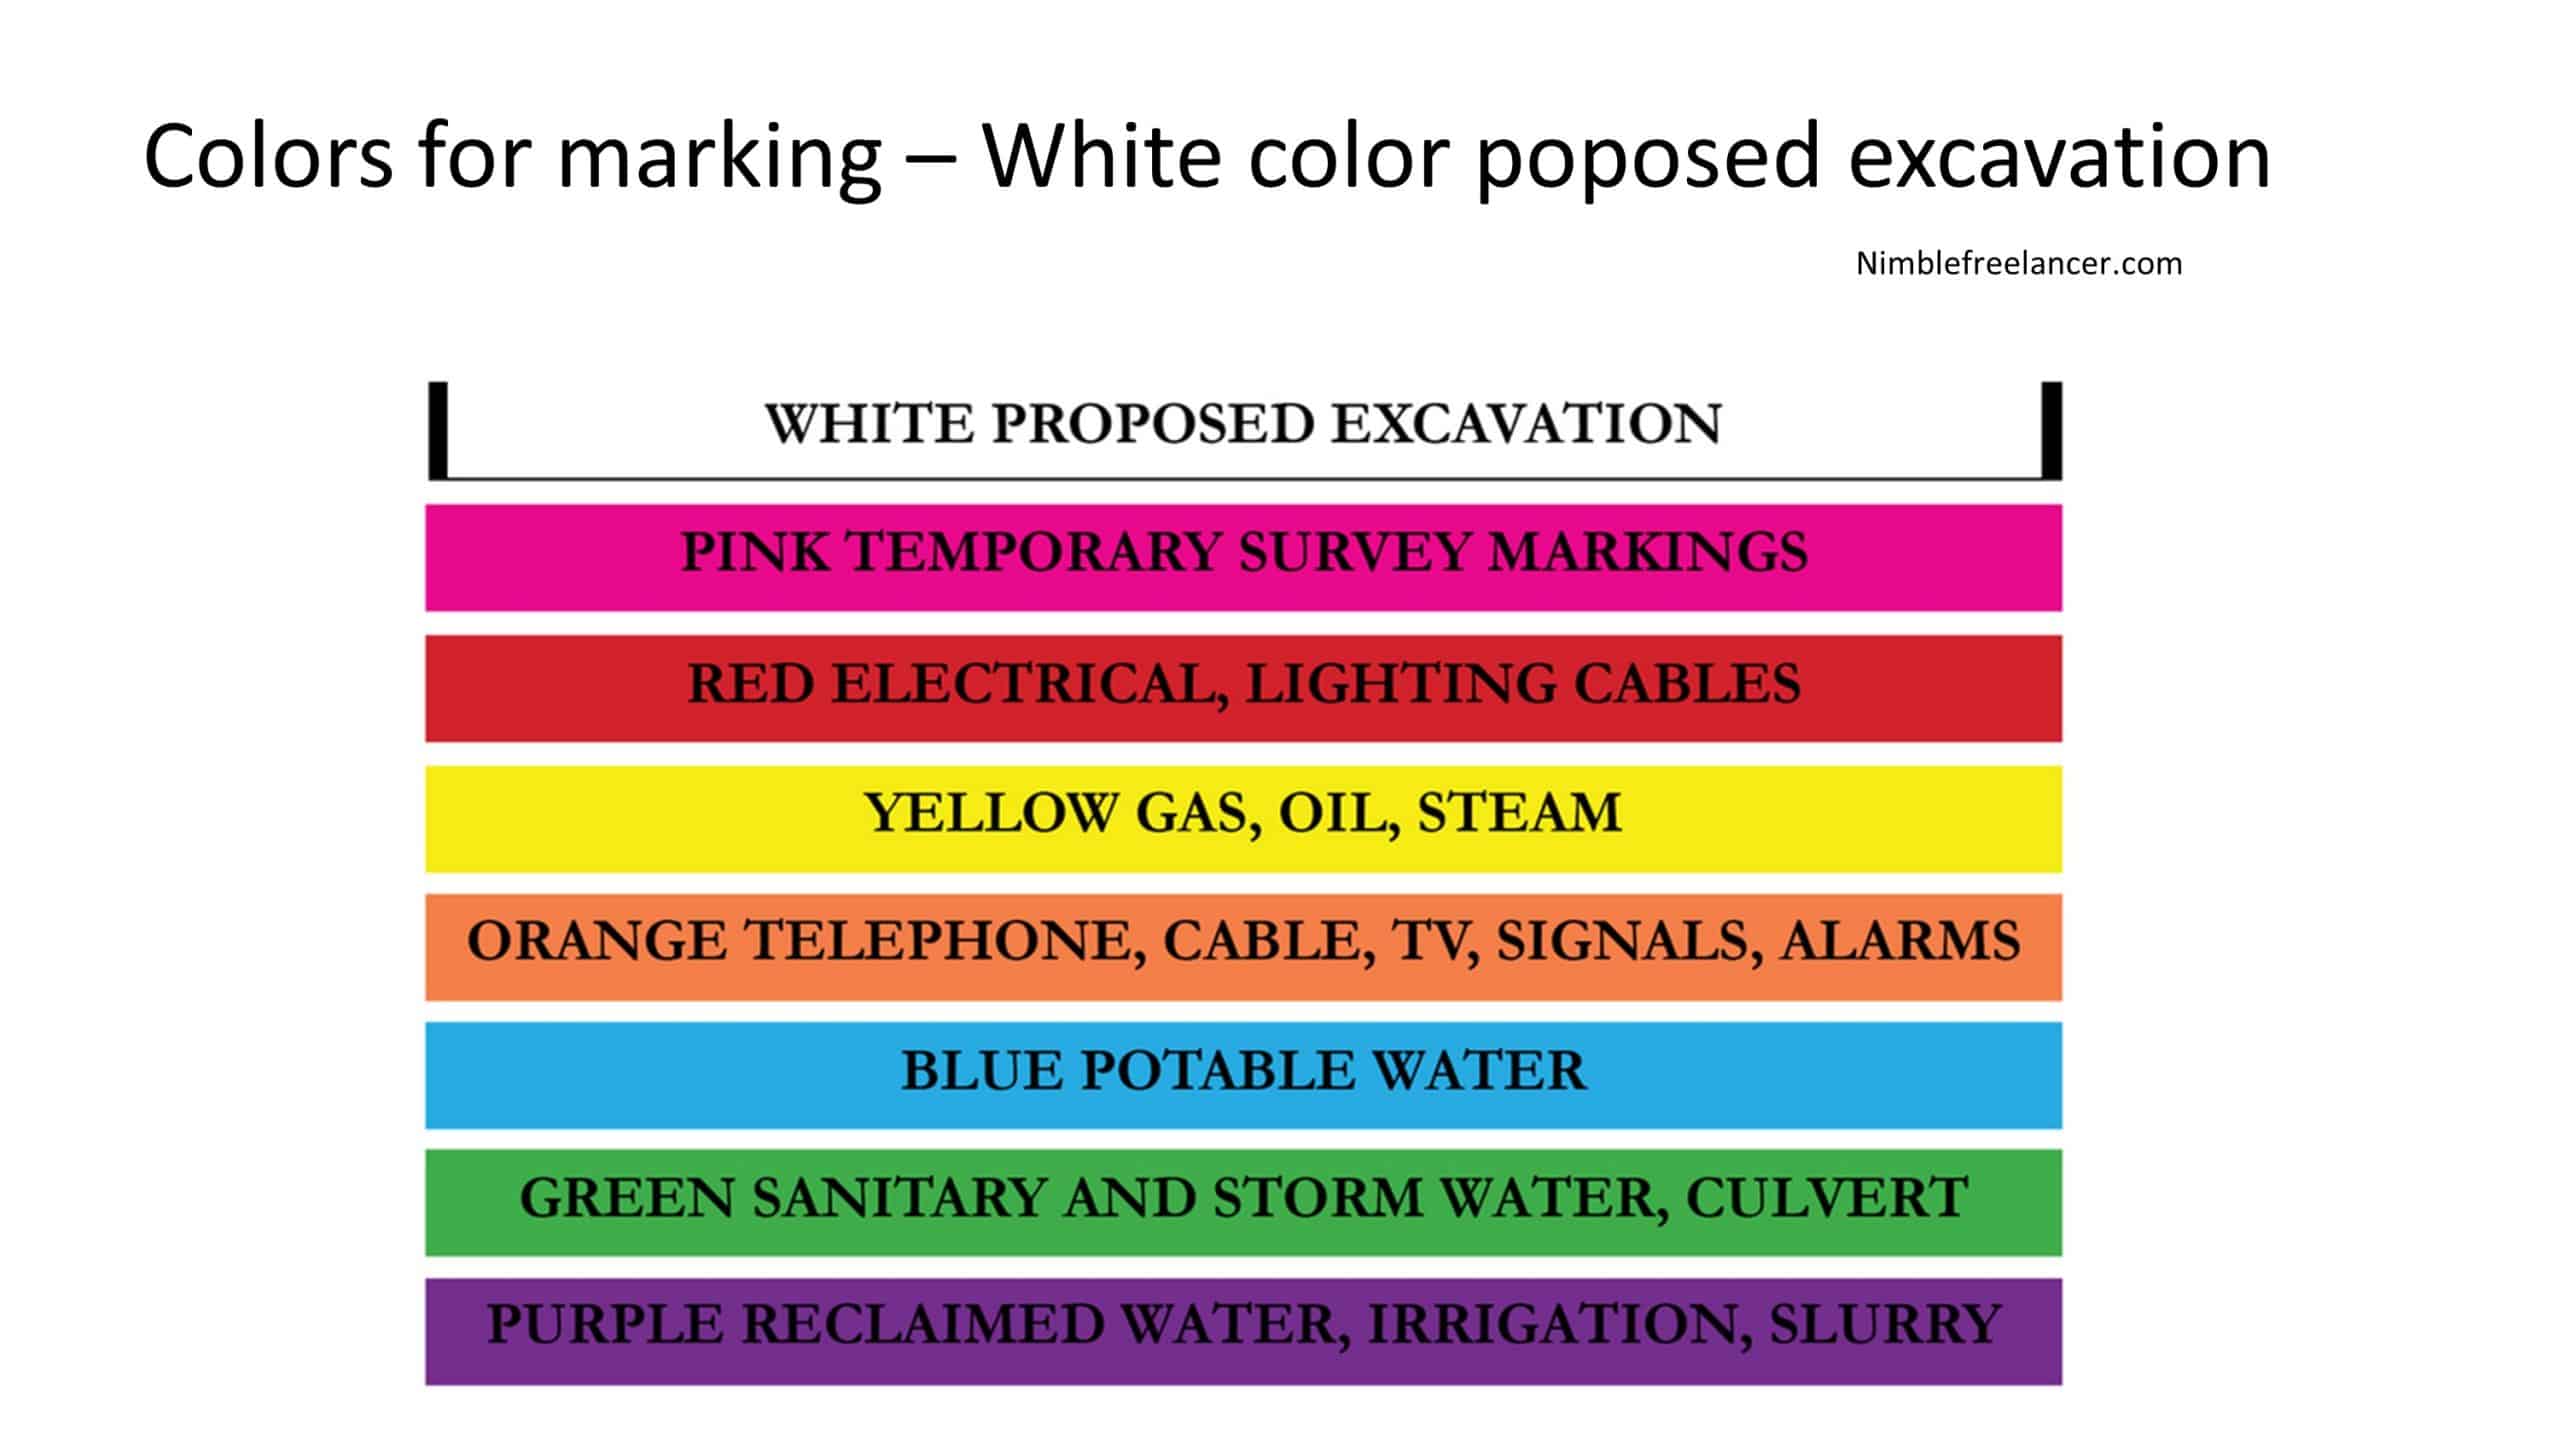
Do not make a mistake and cut the utility line :
For optimal water retention, consider using different types of rocks alongside boulders along your edges – large cobblestones are particularly effective due to their weight, which helps hold down liners more effectively while looking aesthetically pleasing! It may also be beneficial to contact local landscape architects who specialize in designing outdoor water features for additional advice on materials and techniques that may be used during construction.
When it’s time to dig out its pond, it’s carefully from the center outward until you reach your desired dimensions. As you excavate, keep an eye open for underground utilities like sewage lines or power cables—contact local authorities if necessary before digging! Afterward, begin lining up your hole with specially designed liners made from durable materials such as rubber or EPDM (ethylene propylene diene monomer).

These are designed to resist sharp objects that could puncture them during installation and hold back water pressure over time without cracking or splitting apart easily.
Using sandbags around edges can also provide extra security against punctures while at the same time providing more stability for walls surrounding the pond’s perimeter. Ensure the big ponds are securely filled with dry sand before placing them near the liner! Once everything is nicely lined up, finish by manually filling up the water feature with a hosepipe, or if there are access points nearby, pumps may be used instead. Remember, pumps need regular maintenance. Otherwise, they might clog up!
In conclusion, creating a beautiful body of water in one’s backyard can be quite a rewarding experience when done correctly! Digging a pond requires preplanning such as researching soil types, choosing the best location, selecting appropriate equipment, designing its shape, buying suitable liners, excavating the hole, protecting the liner from punctures, and filling up with water – all these steps must be completed carefully so make sure you follow instructions closely before starting the project! With all these factors considered, plus some patience & dedication, you’ll soon receive the rewards of your atmospheric spot for relaxation & entertainment!

From 2022 onwards, Mark has also been contributing author of home repair articles at nimblefreelancer.com.
Read more on Mark Brown's biography page.
Contact Mark: mark@nimblefreelancer.com