Digging footings requires some knowledge of the landscape and construction process. This guide will provide an overview of how to dig footings properly for those unfamiliar with the basics.
Before footing digging, call 811 to report digging and check the frost line by zip code. Your digging depth is correlated with the frost line depth for your area.


How to Dig Footings in Your Backyard?
- 1. Start by deciding what type of footing you need and how deep it should be. You need to draw a construction project.
- 2. Measure the area where you will be digging the footing so you know how much space to prepare for the excavation.
- 3. Make sure your equipment is ready, including shovels, picks, wheelbarrows, and other necessary tools. The best way is to have construction equipment such as excavators.
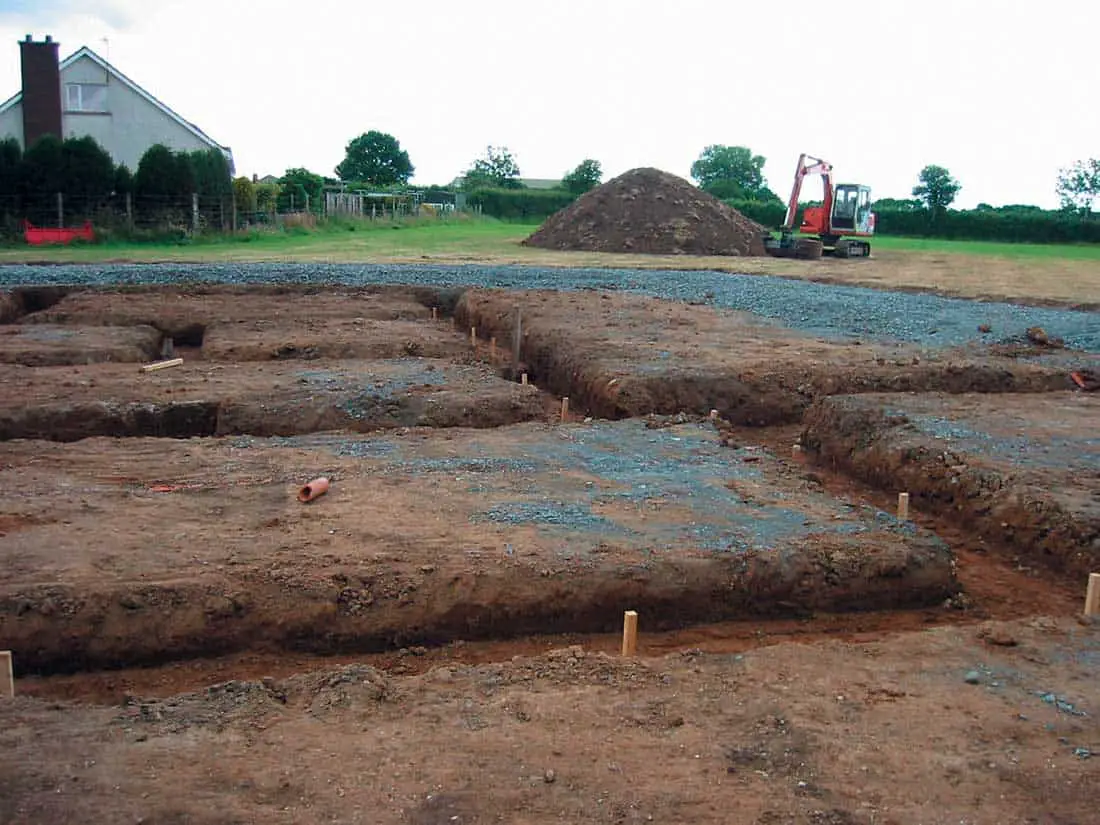
- 4. Excavate soil around where you plan to dig footings by digging a trench 8-10 inches wide along its intended length. Remove rocks or other debris as you go along to make digging deeper in each spot easier.
- 5. As you excavate further down, use a tape measure (or laser level) to check the depth of your trenches at regular intervals so that your footings are even in depth throughout their length.
- 6. Once you reach the desired depth for your footing, use a broom or rake to level out any unevenness in the bottom of your excavation before beginning to fill in around it with concrete or gravel-filled bags (depending on which material you are using).
- 7. To ensure your footing is securely set into its foundation, tamp down the material inside with a tamper or hand tamper at each end of the footing while gradually adding more material until it reaches its full desired depth and width around its perimeter.
- 8. After tamping down the material inside your footing, once construction has been completed, cover it with a waterproofing membrane before applying any surface finish, such as asphalt, concrete board panels, or pavers over the top.
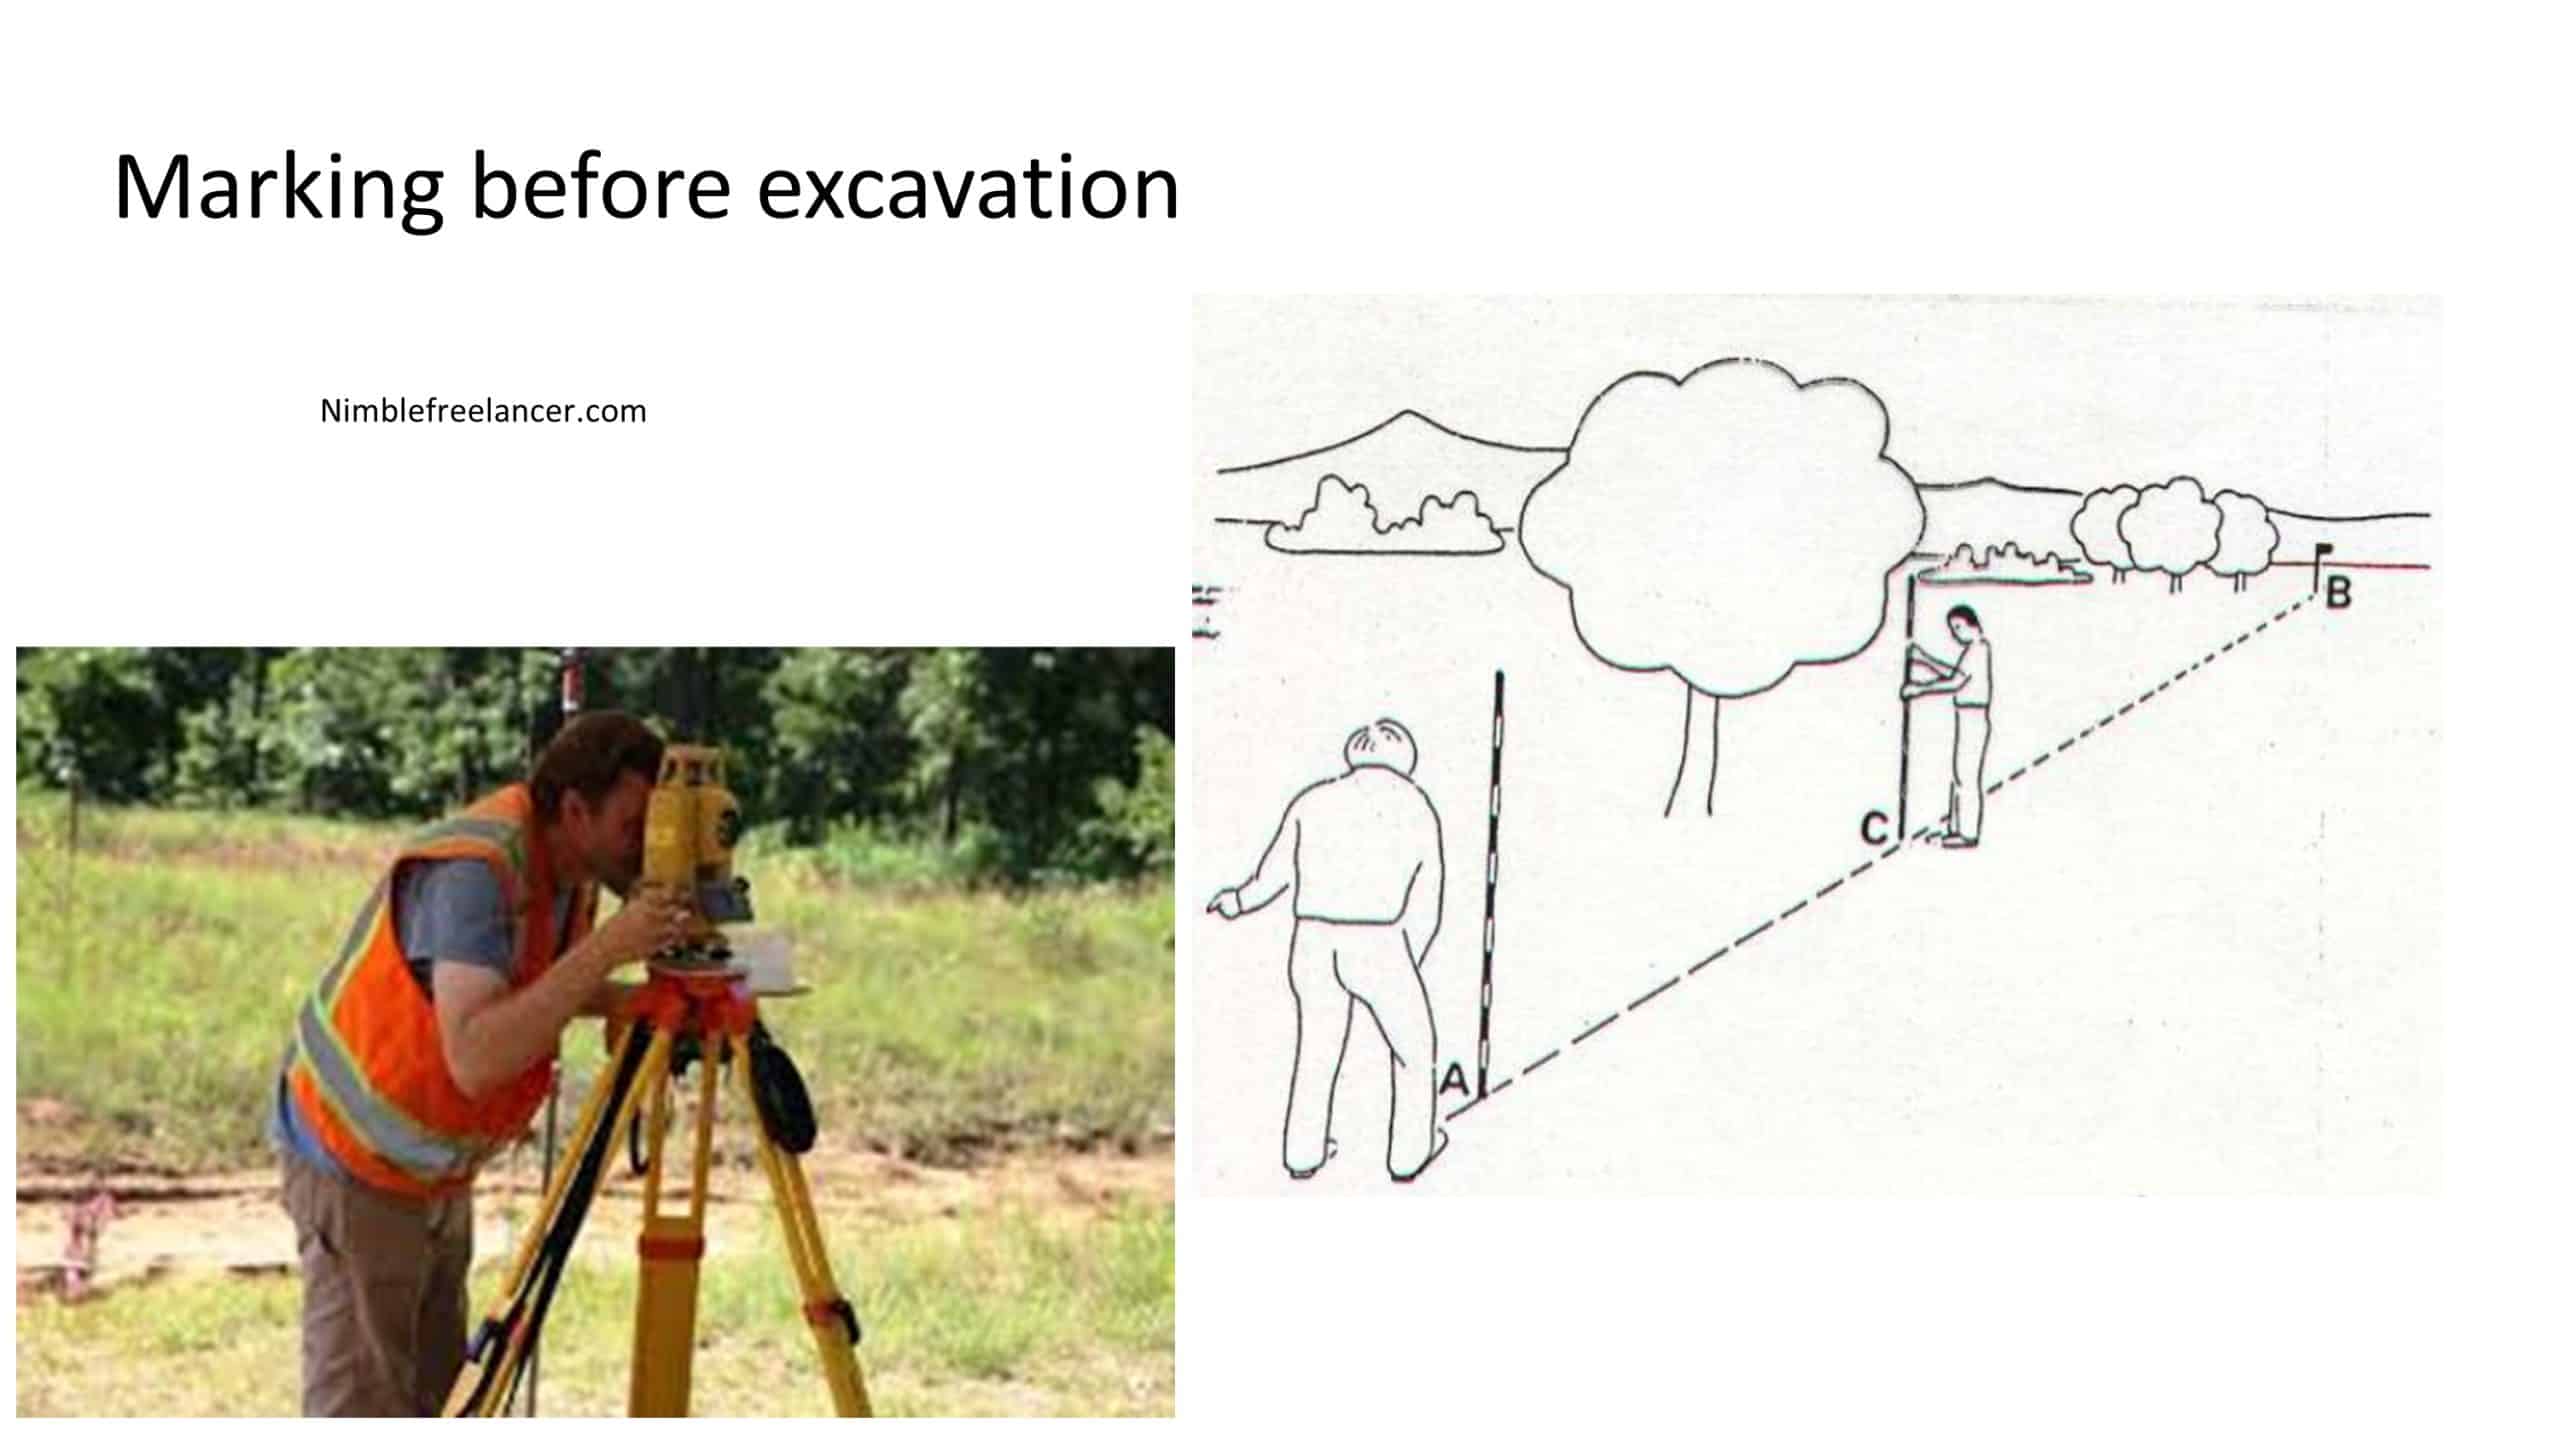
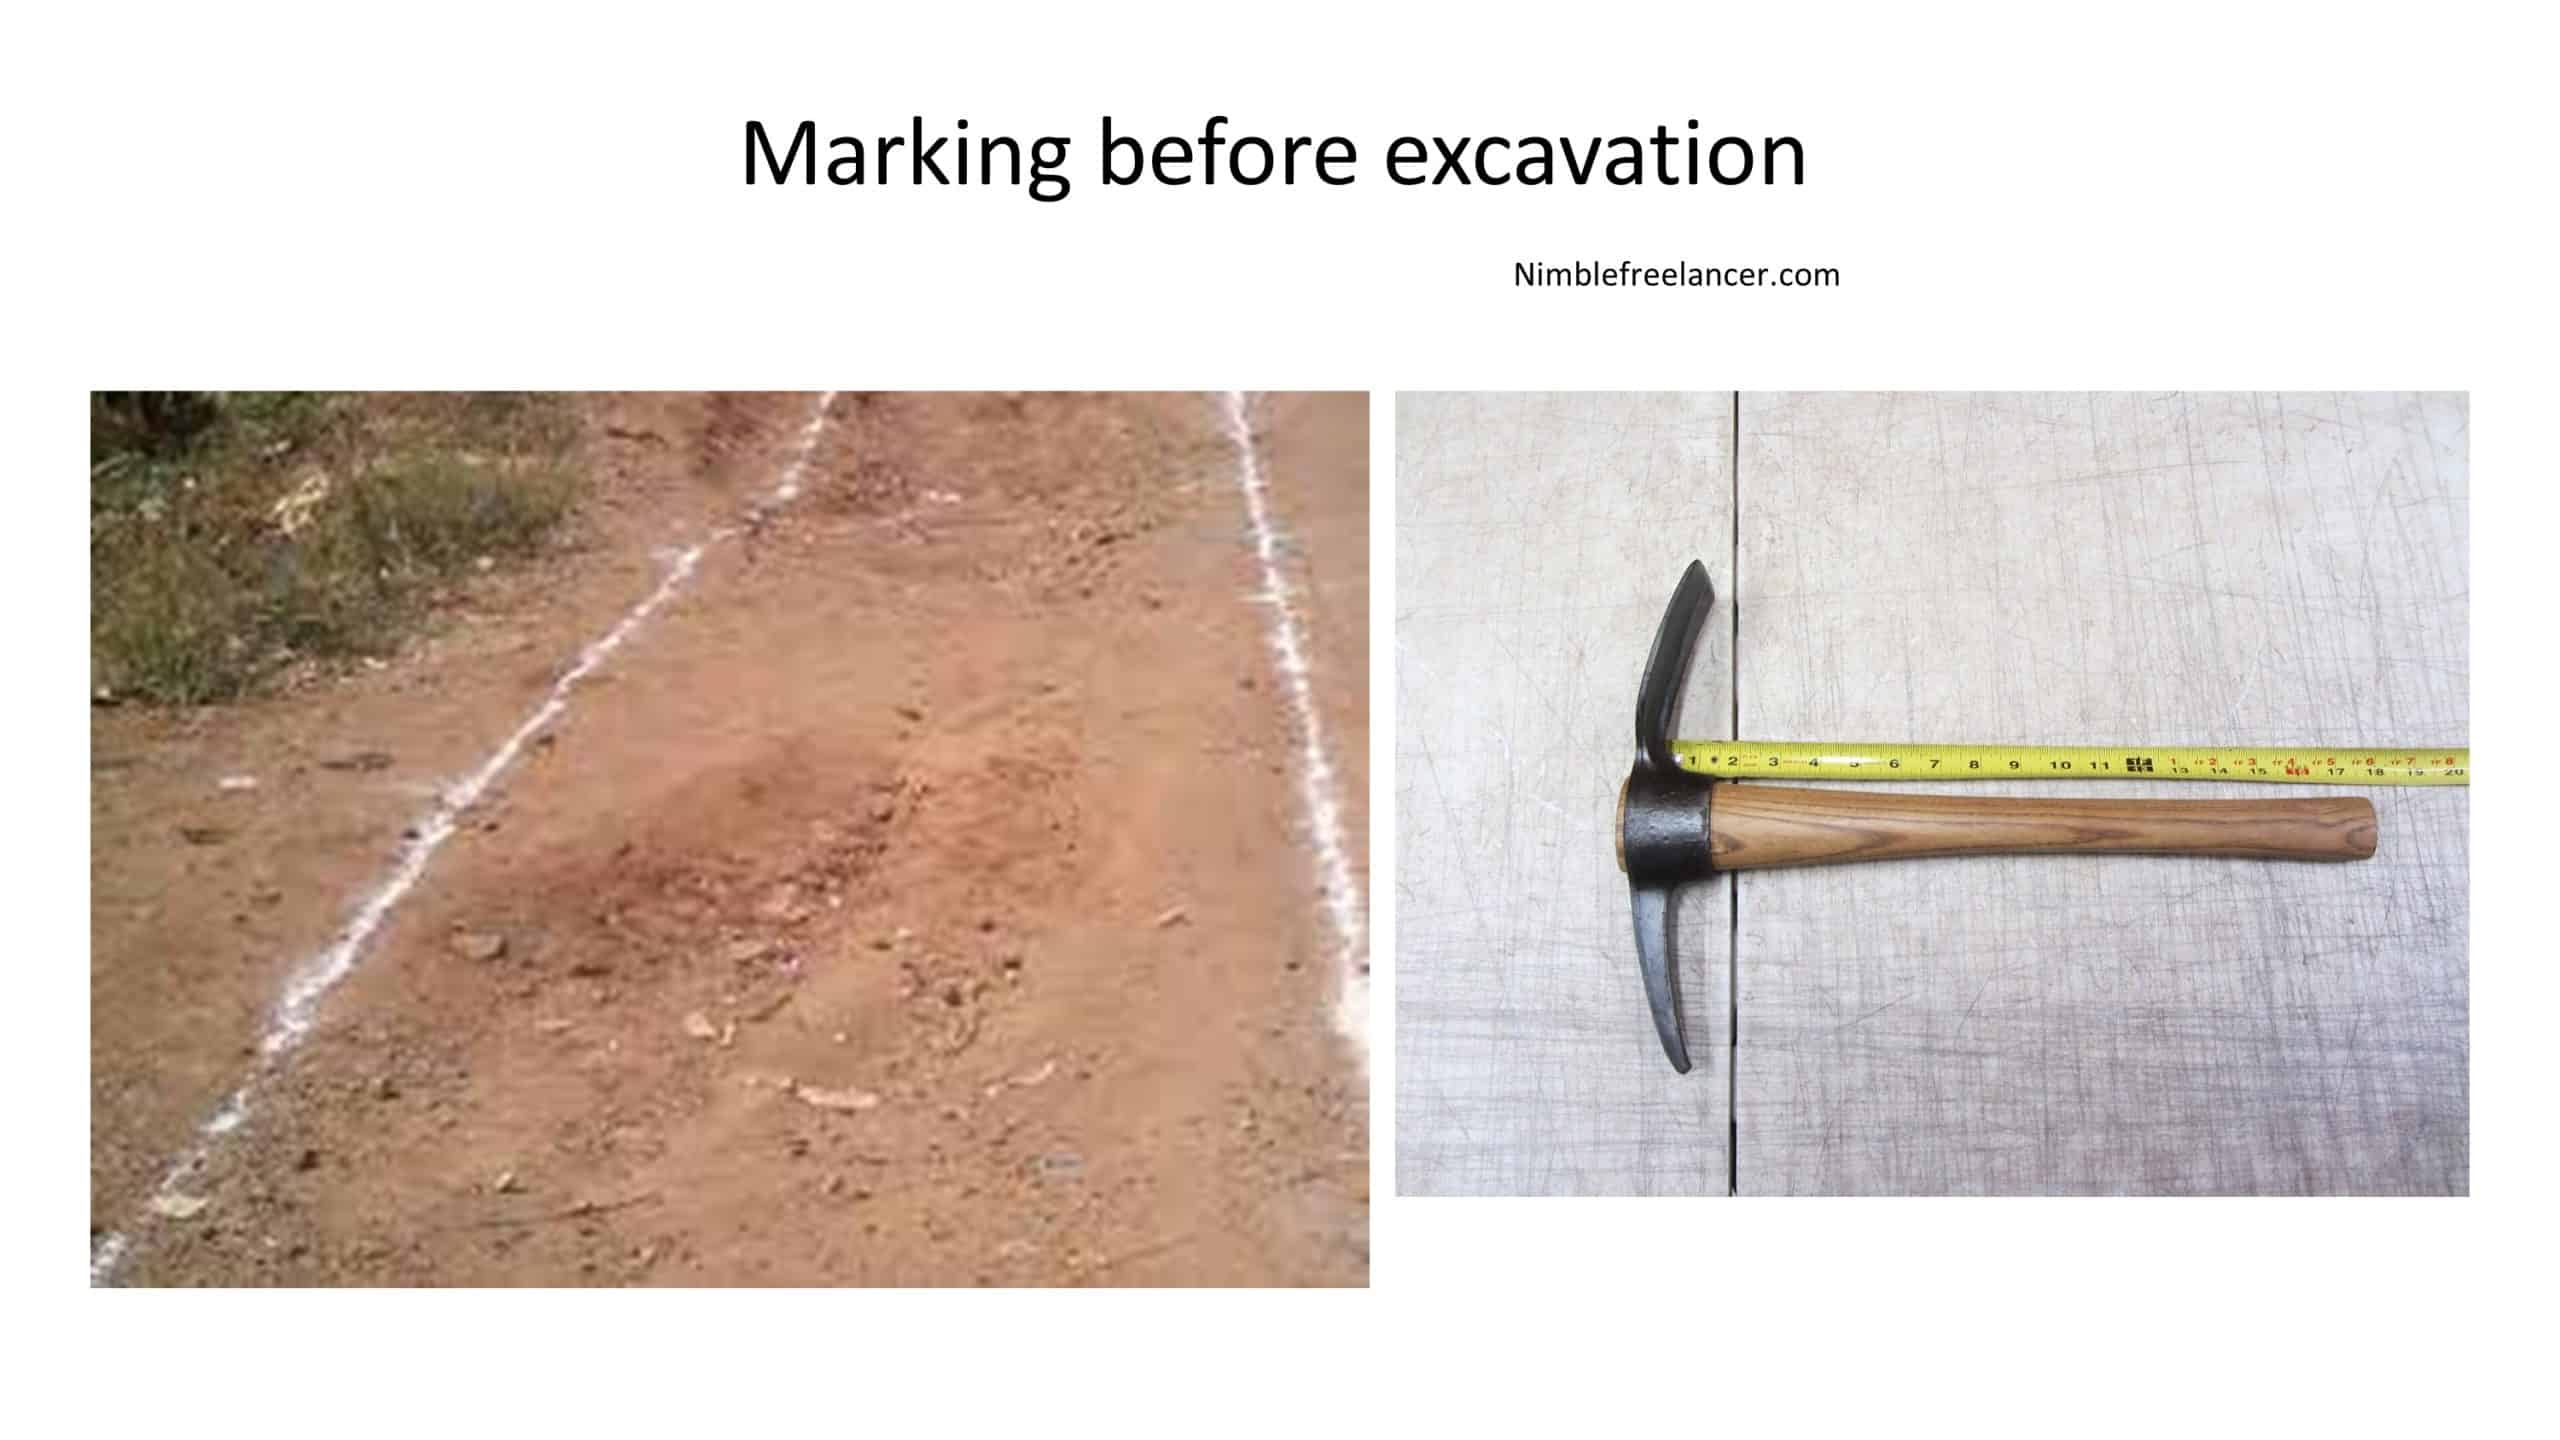
To begin, mark out the area where your footing will be dug. This can be done with stakes and string or a laser level. Using a level is essential to ensure that the hole you dig is level with the surrounding area and that your building materials will fit correctly in your footprint. Once marked out, use a shovel or mini-excavator to start digging. Remove all dirt from the area and keep it level as you go. Working in small increments is best to correct any irregularities quickly before continuing.
It would be best if you prepared the following tools:
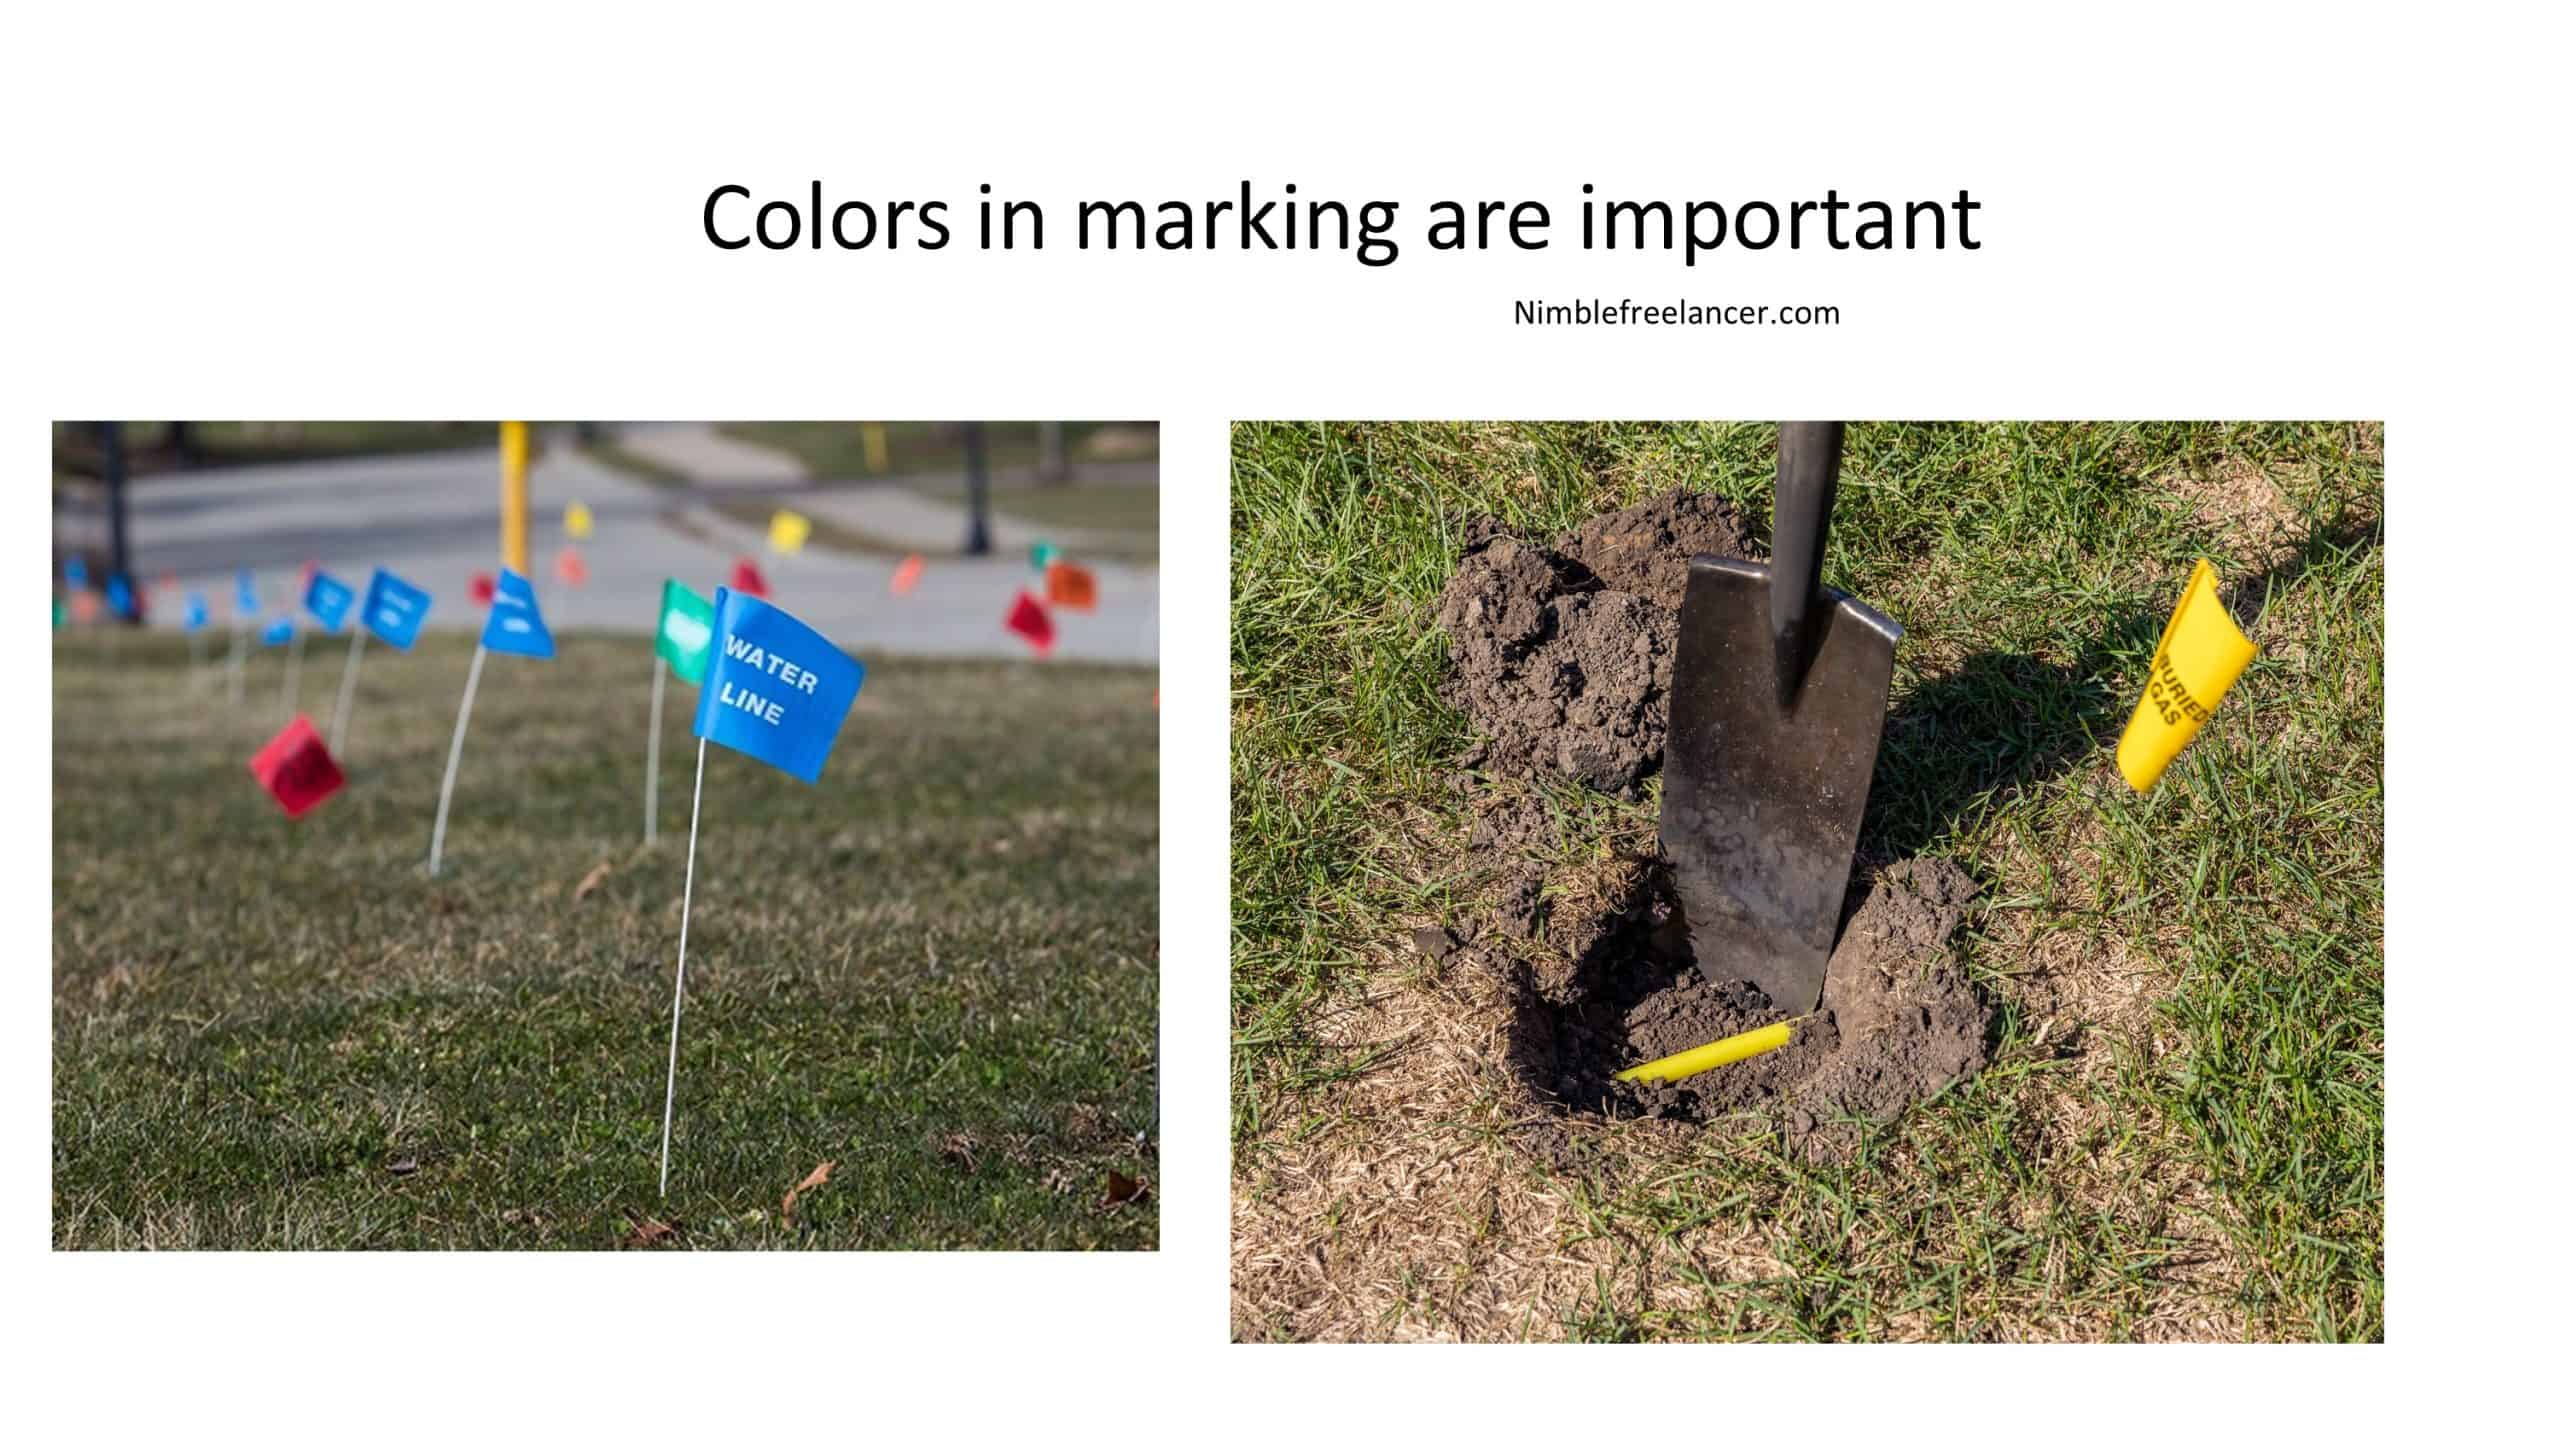
Colors for marking the area are:
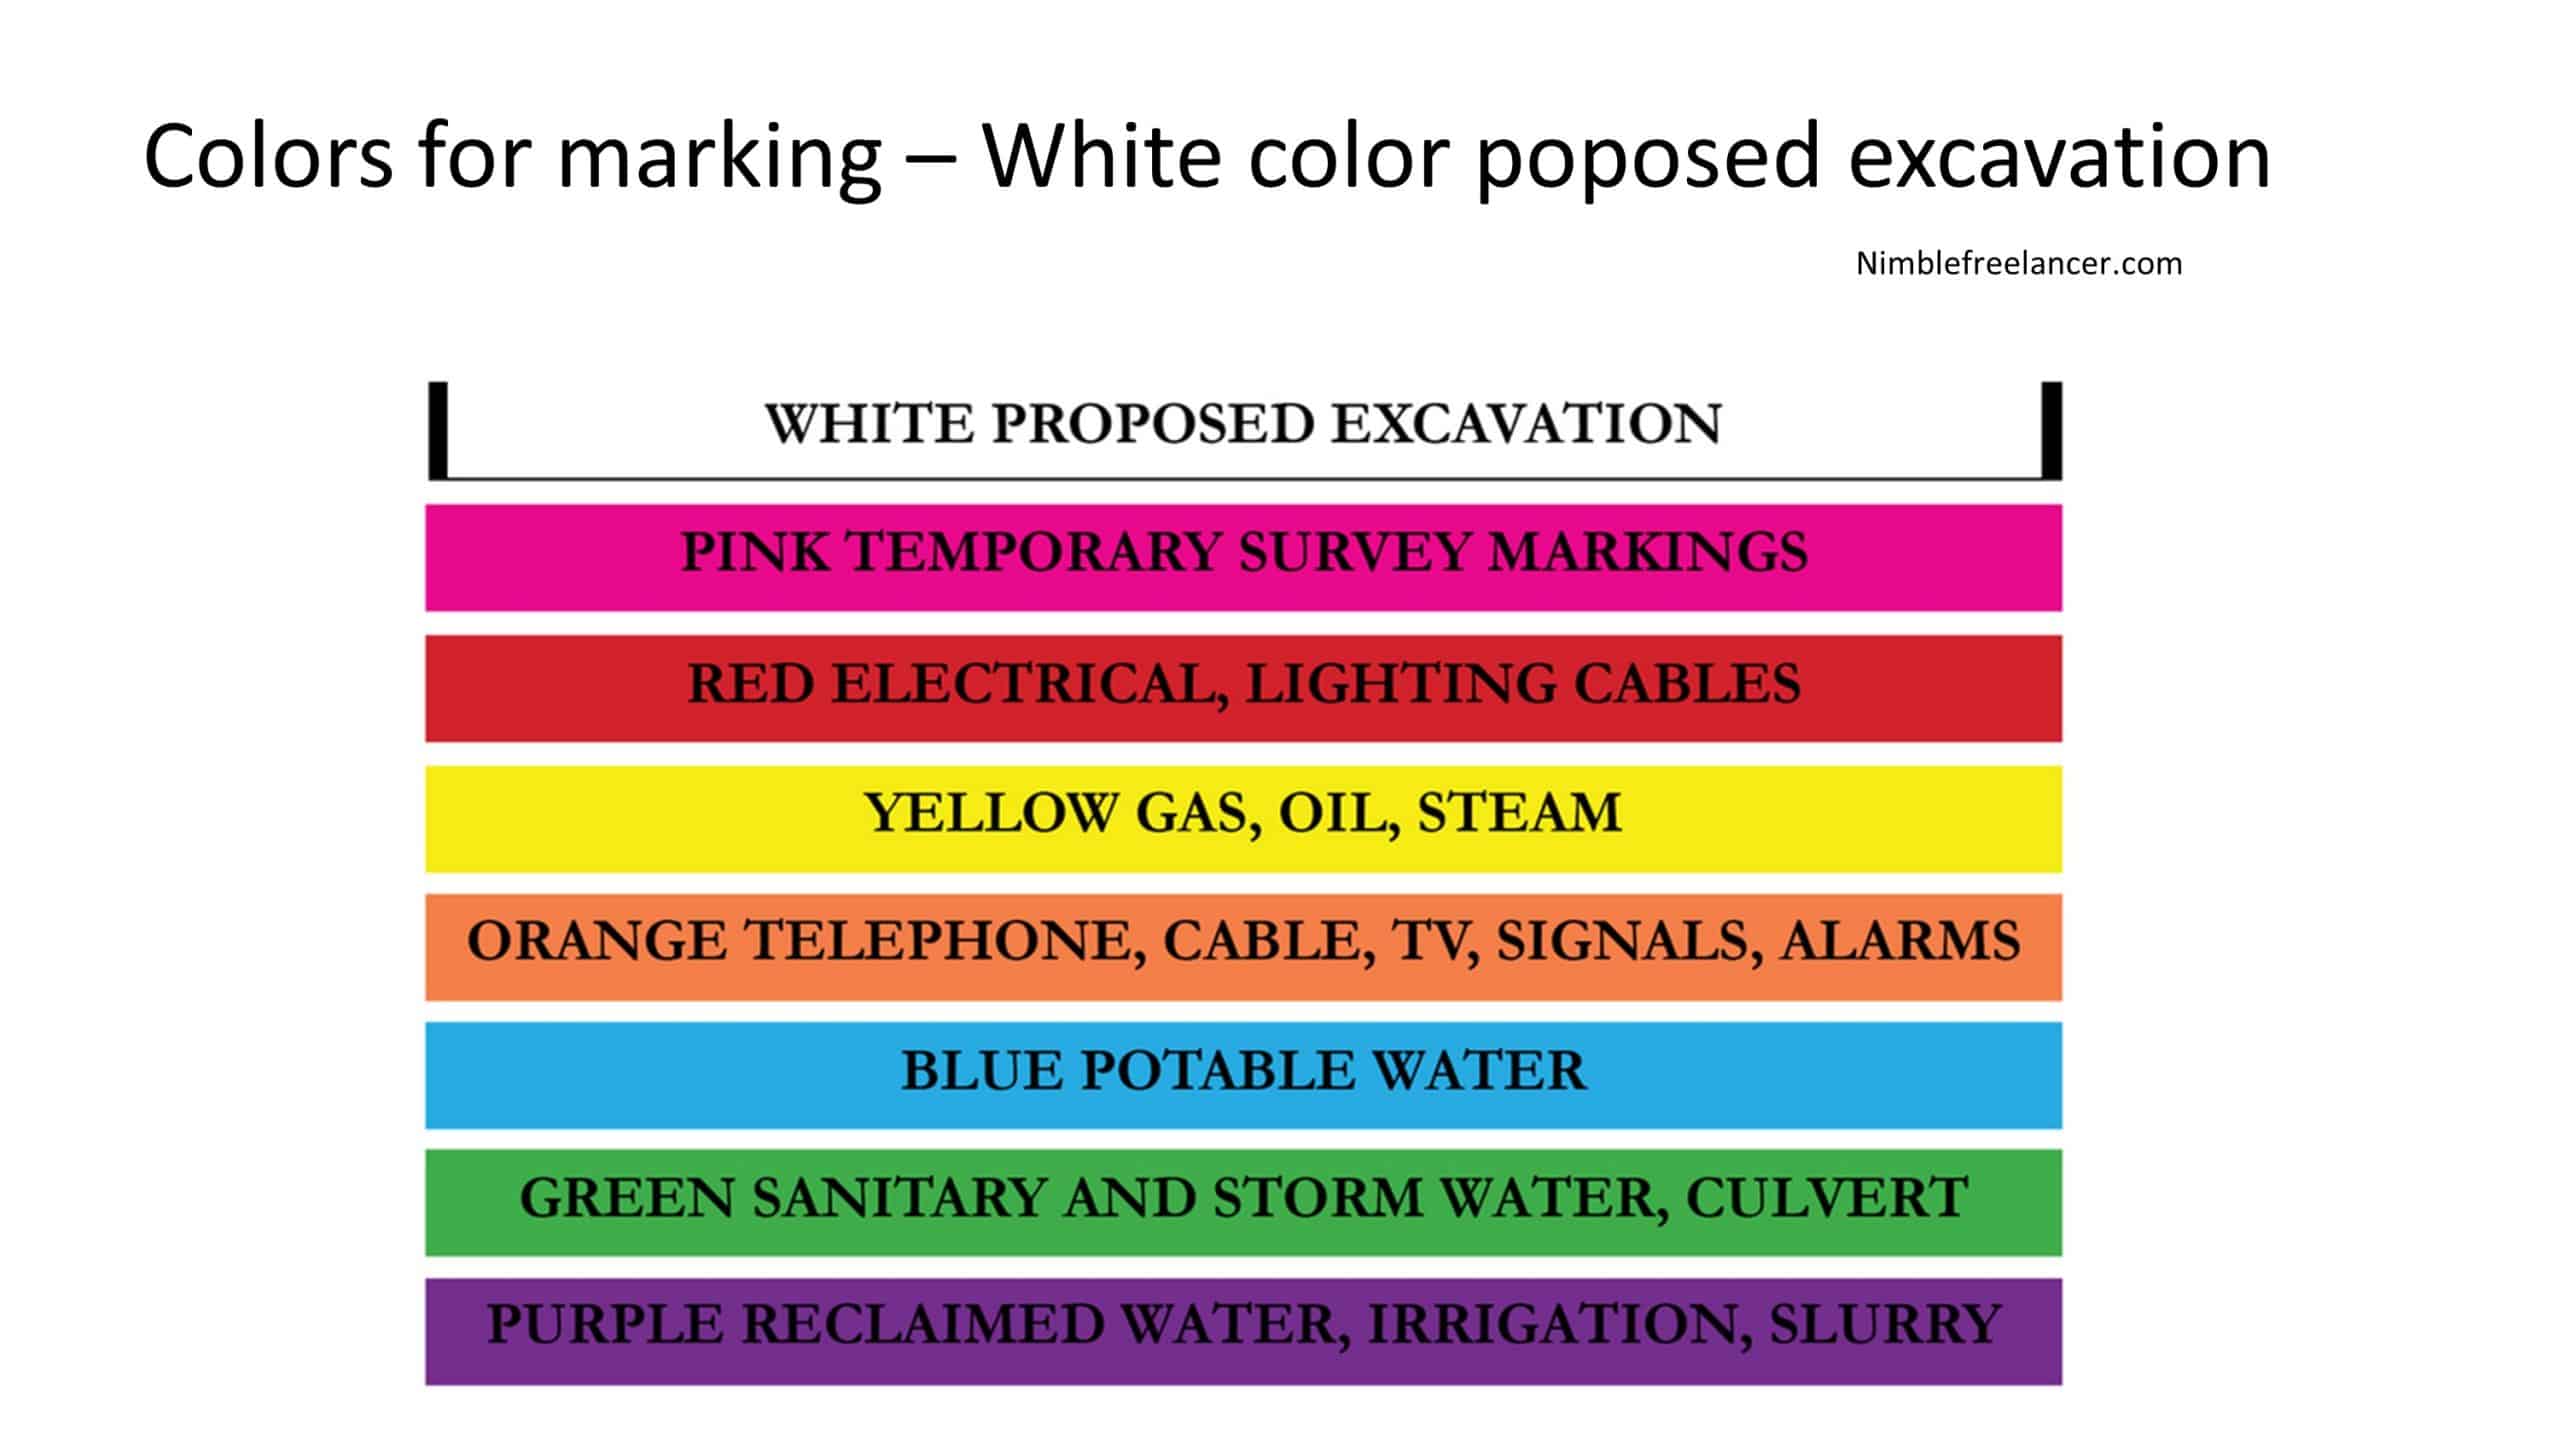
Do not make a mistake and cut the utility line :
Once you have finished excavating your footing area, it’s time to reinforce it with steel rebar. Start by laying down four pits around the edges; this will help hold them together when concrete is poured into the hole later. Secure each piece of rebar into place using clamps or ties so they don’t move once the concrete has been run in. Finally, check the depth of your trench to ensure that it meets local building codes for proper foundation support.
When mixing up concrete for your footing, you want to make sure that you use a ratio of one part cement to two parts sand and three parts gravel. This combination is known as “dry mix” and should be mixed well until all lumps are gone. Once mixed,” pour t” the mixture into your excavation area, use a trowel or hoe to spread it around evenly until you reach the ground level or above, if desired, for support purposes on sloped terrain areas like hillsides or embankments. It’s important not to let any air pockets remain during this process, as it could weaken your footing over time, so take extra care when mixing up and pouring concrete into place as much as possible.
Finally, allow your concrete at least 24 hours before walking on it, but wait 48 hours, if possible, before adding any other weight, such as building supplies or machinery, onto its surface for maximum strength retention over time due to curing periods associated with different types of concrete mixes available today in hardware stores near you! Following these steps closely will ensure your footings are secure and safely ready for more construction activities!

From 2022 onwards, Mark has also been contributing author of home repair articles at nimblefreelancer.com.
Read more on Mark Brown's biography page.
Contact Mark: mark@nimblefreelancer.com