My backyard has been home to a trench for many years. It’s an exciting piece of history I’ve enjoyed learning about, adding a unique touch to my garden. The trench was built initially by farmers in the 19th century to create an efficient irrigation system. Back then, they dug deep trenches into the ground and filled them with water, creating a continuous supply of runoff that could be used to water their crops.
Nowadays, the trench still serves an essential purpose – it provides drainage for my yard, ensuring water doesn’t overflow after heavy rains or storms. The depth of the trench varies depending on its location; it may be as deep as five feet in some places and only two or three feet in others. I often find minor artifacts inside the trench, such as old coins and buttons. This always fascinates me since these objects can provide clues about who used this system before I did.
The material used to build the trench is mostly soil and clay, which makes it very durable yet porous enough so that excess water can pass through easily without damaging its structure. To prevent washouts during high rainfalls or floods, I have added rocks along the sides of the trench, which also help trap sediment and stabilize its walls from erosion. As part of routine maintenance, I check on the condition of my trench now and then to make sure that no cracks or holes are forming, which could lead to an overflow of water during extreme weather conditions. Furthermore, surrounding vegetation, such as trees and bushes, is essential in keeping away weeds, which can disturb the structure’s integrity if left unchecked.


Let us see how we can dig a trench in these modern times.
How do you dig a trench in 7 steps?
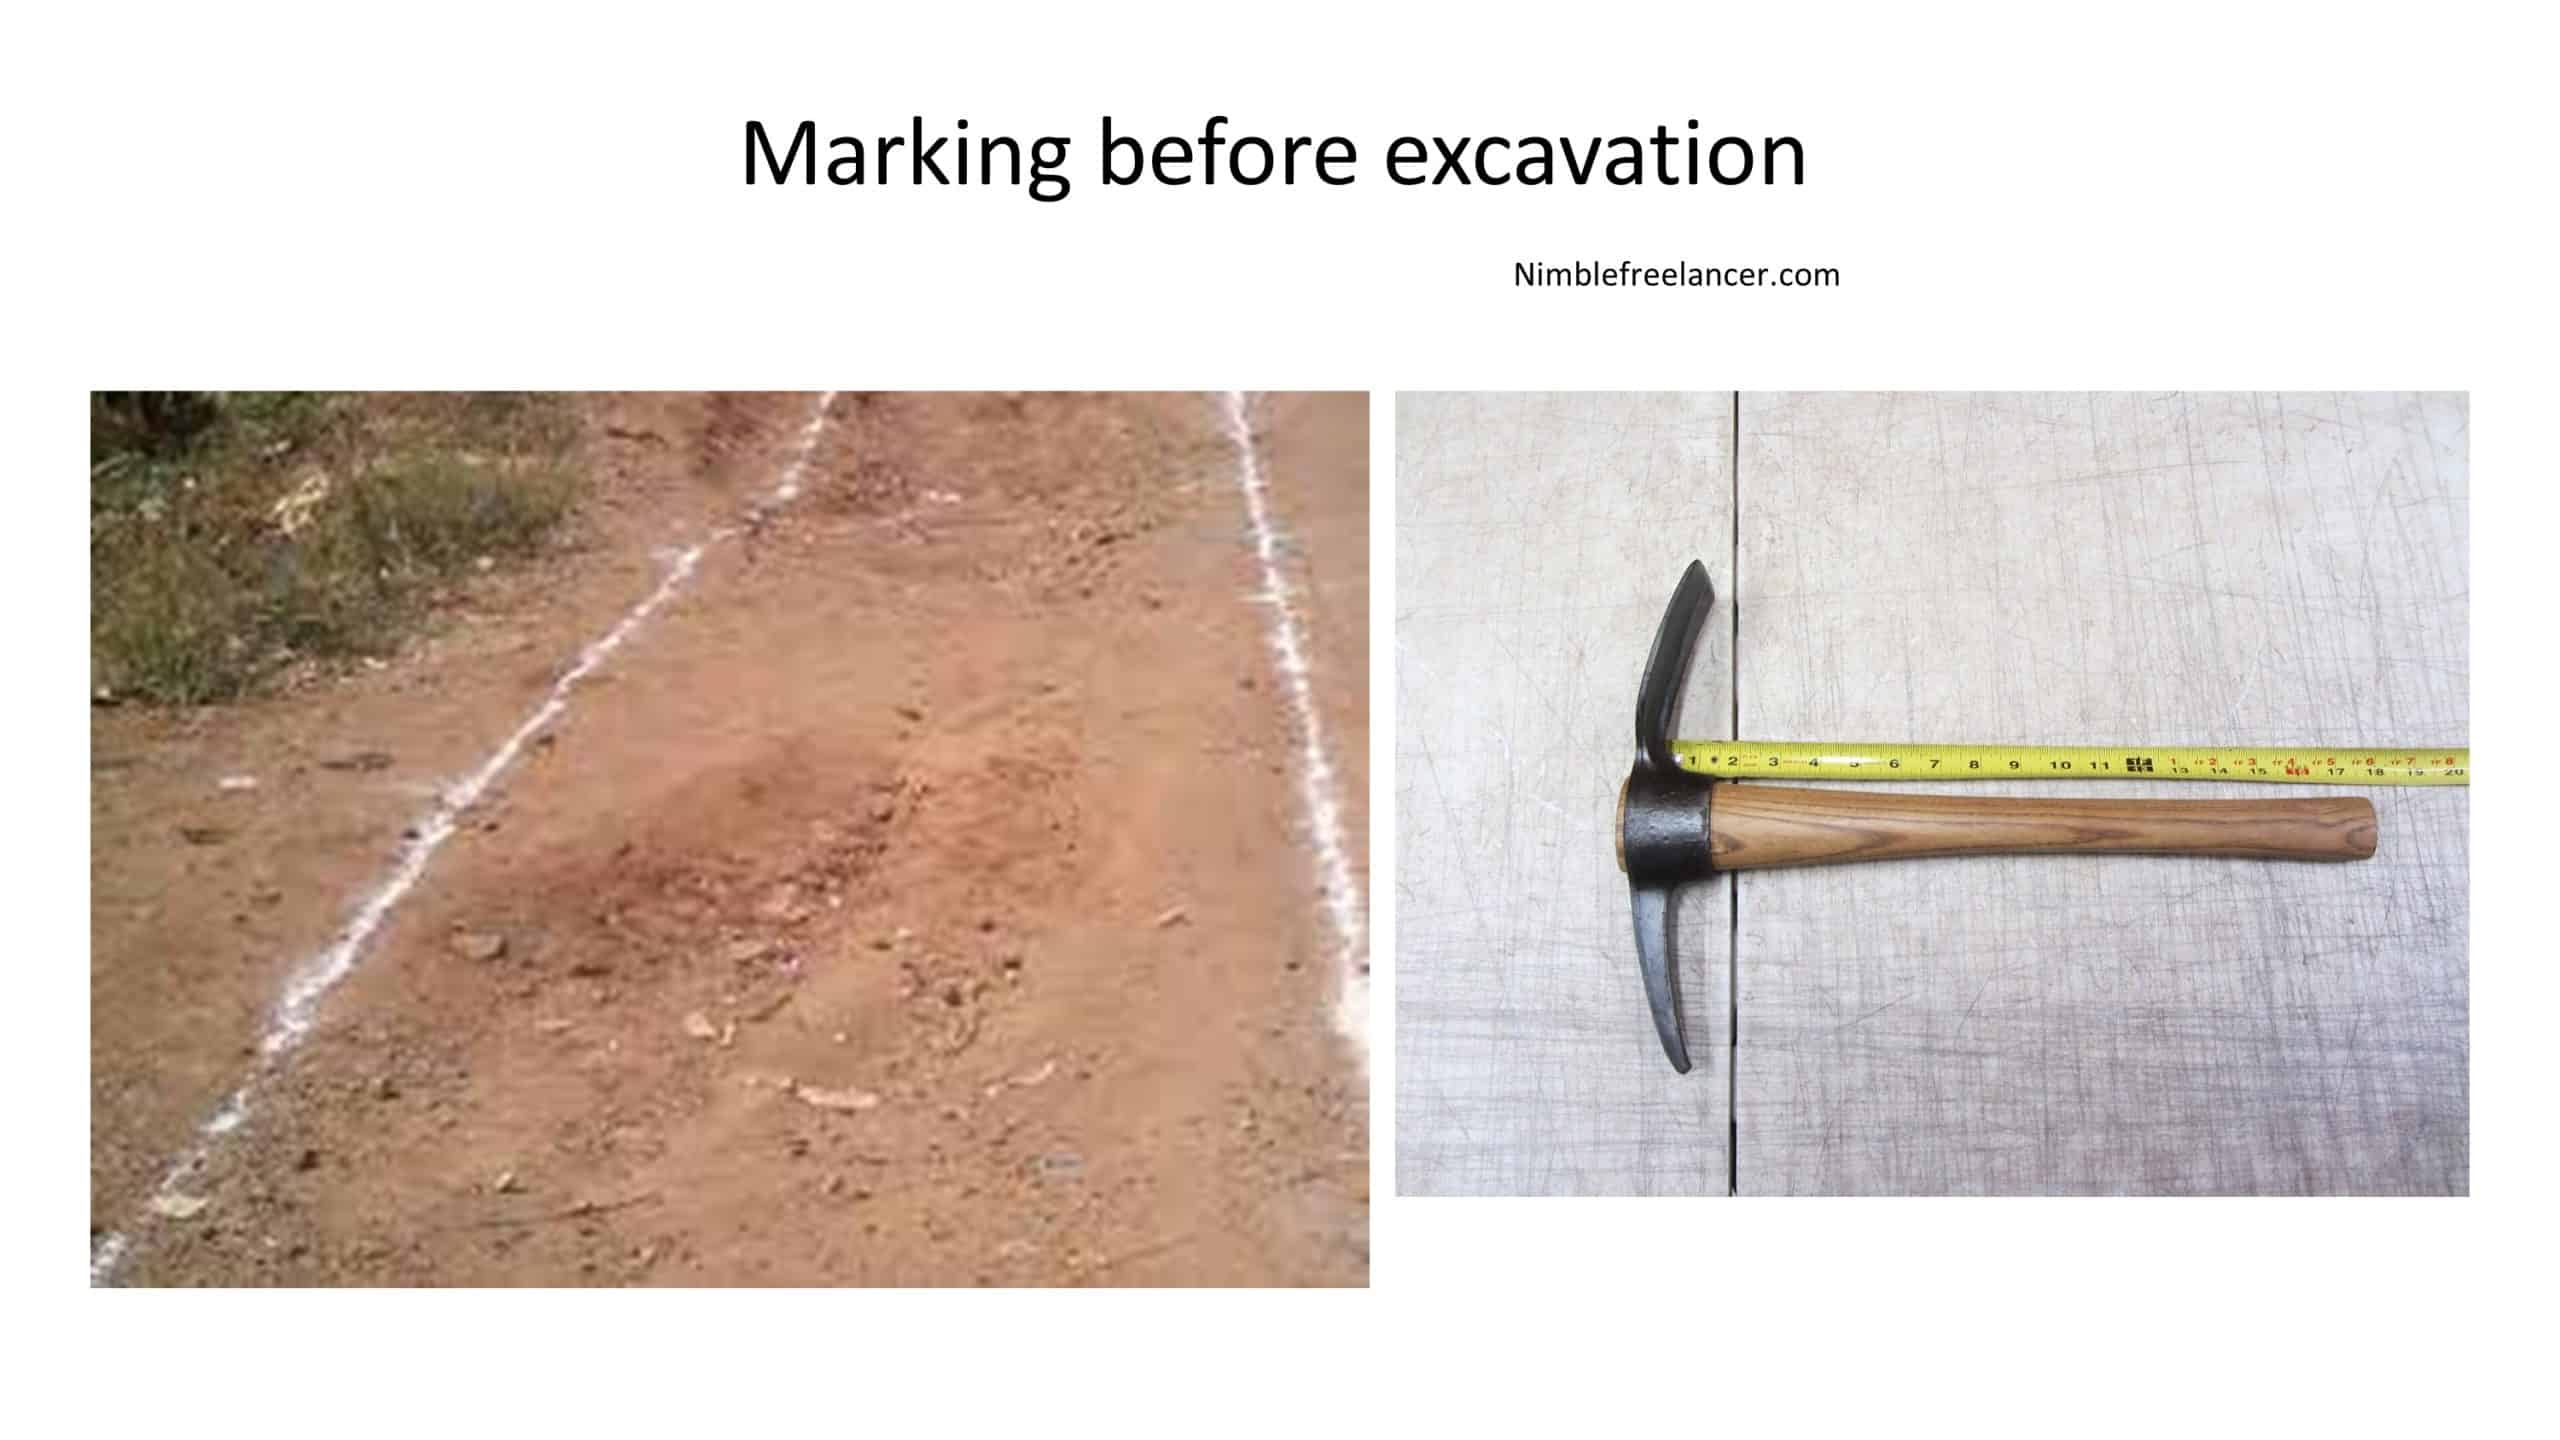
- Gather all the necessary tools for trench digging, such as a shovel, pickaxe, measuring tape, and any other heavy-duty equipment needed.
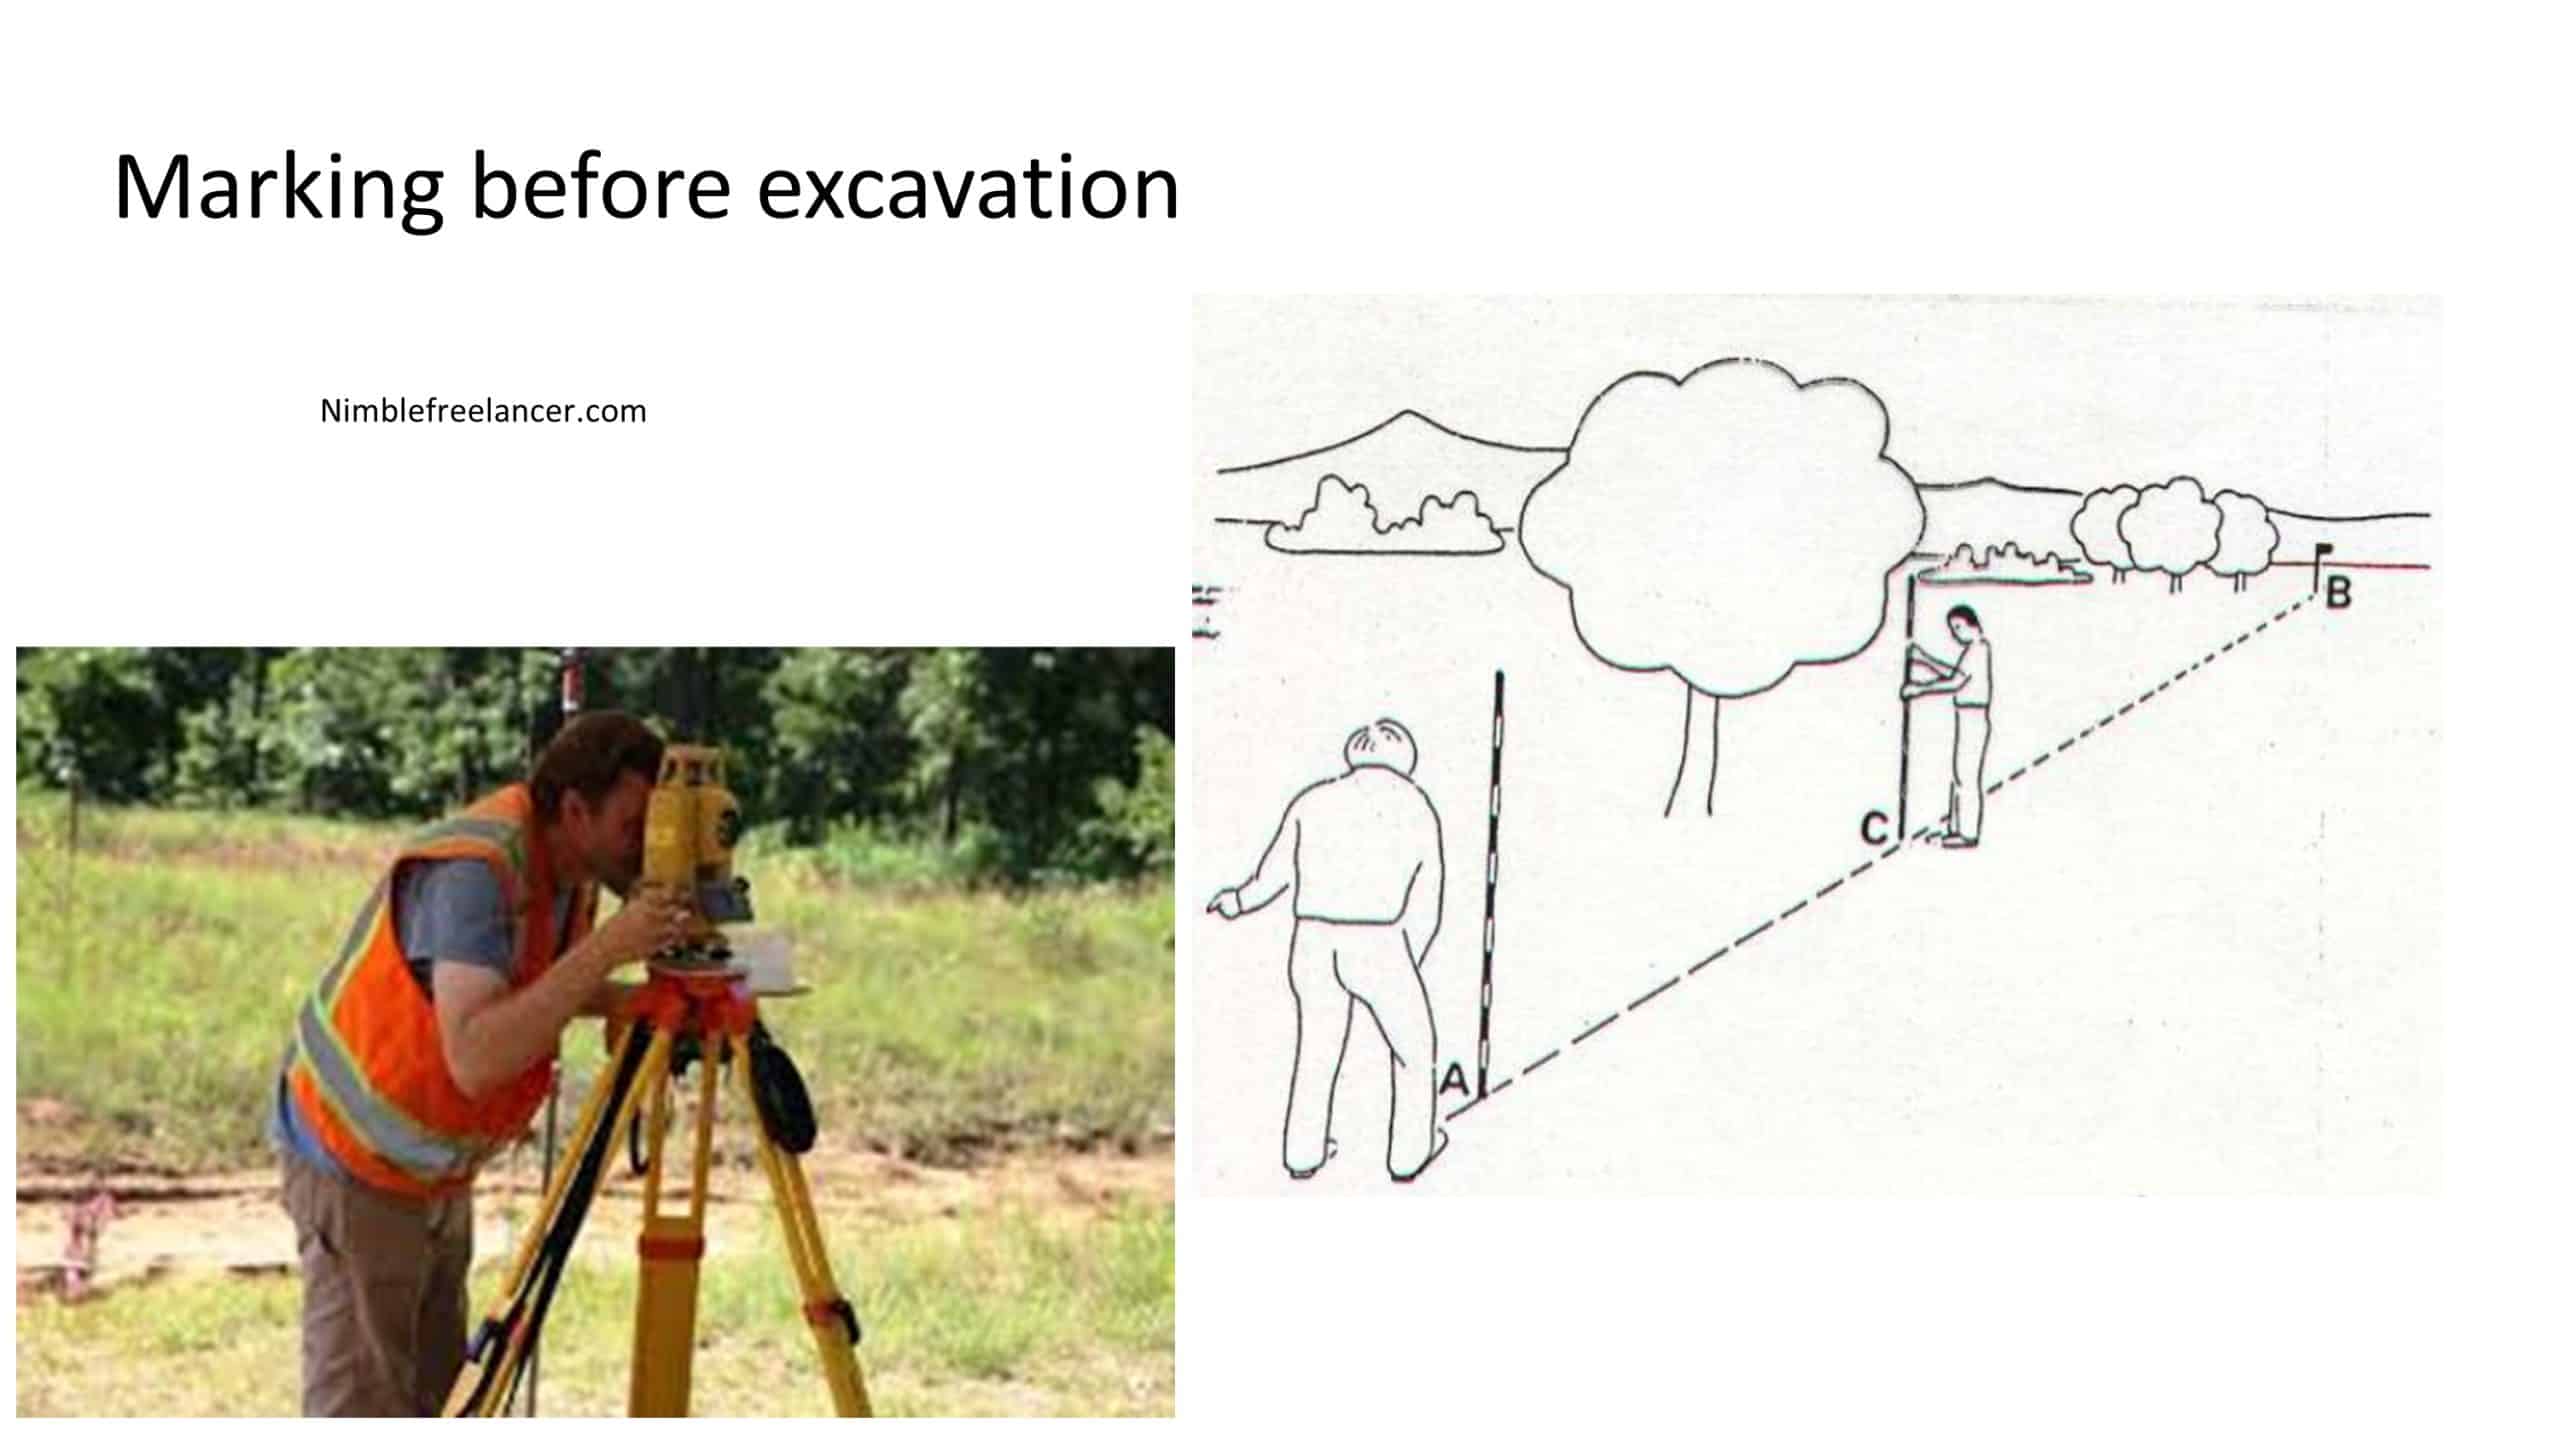
- Mark out where the trench needs to be dug using measuring tape and stakes to clearly define your work area.
- Begin at one end of the marked-out area and start digging with either a shovel or pickaxe, depending on the type of soil that needs to be moved. A pickaxe will be more efficient than a shovel digging in hard clay.
- As you dig further into the ground outward from your starting point, use your measuring tape to ensure that your trench is at an even depth and width. You can also use stakes or strings attached to pegs driven into the ground to mark off intervals along the size of the trench, making it easier to maintain consistency while you dig deeper down.
- Once you have reached your desired depth of the trench – usually between 1 and 2 feet – begin adding more soil from around it back into it to elevate one side slightly above the other side so water will drain away from whatever you will eventually put inside it (drainage pipes or cables).
- Use a rake or hoe to level out any bumps or uneven areas around your newly dug trench before adding more material from around it back in and compacting it with a tamper tool so that everything is level before you move on laying whatever material will be inside (drainage pipes or cabling)
- Finally, fill in gaps where one side of your trench meets another with dirt or sand, ensuring everything is level before backfilling and tamping around it to complete its construction process.
Digging a trench is a great way to lay the groundwork for any project that requires pipes, wiring, or other underground utilities. The process can be tricky, though, requiring specific tools and materials and knowing how deep and wide the trench needs to be. This article will look at the basics of digging a trench and discuss some tips for correctly completing the job.
The first step in digging a trench is determining the material you’ll be working with. Depending on the environment and soil conditions, this could range from loose sand to solid bedrock. Knowing what material you’re dealing with will help ensure your trench is dug properly and safely.
Once you know what material you’ll be working with, you must decide how deep and wide the trench should be. Most trenches are typically two feet deep or less. For wider trenches, like those required for plumbing or electrical work, it’s essential to ensure they are wide enough not only for the work being done but also to allow room for workers and any necessary tools or equipment.
The next step is gathering the necessary tools and materials for excavation. This includes shovels or picks if working with solid earth, wheelbarrows if needed for transferring dirt or debris away from the site, buckets or tubs if water needs to be contained during excavation, and protective gear such as gloves, goggles, dust masks, etc., if working in hazardous conditions.
It would be best if you prepared the following tools:
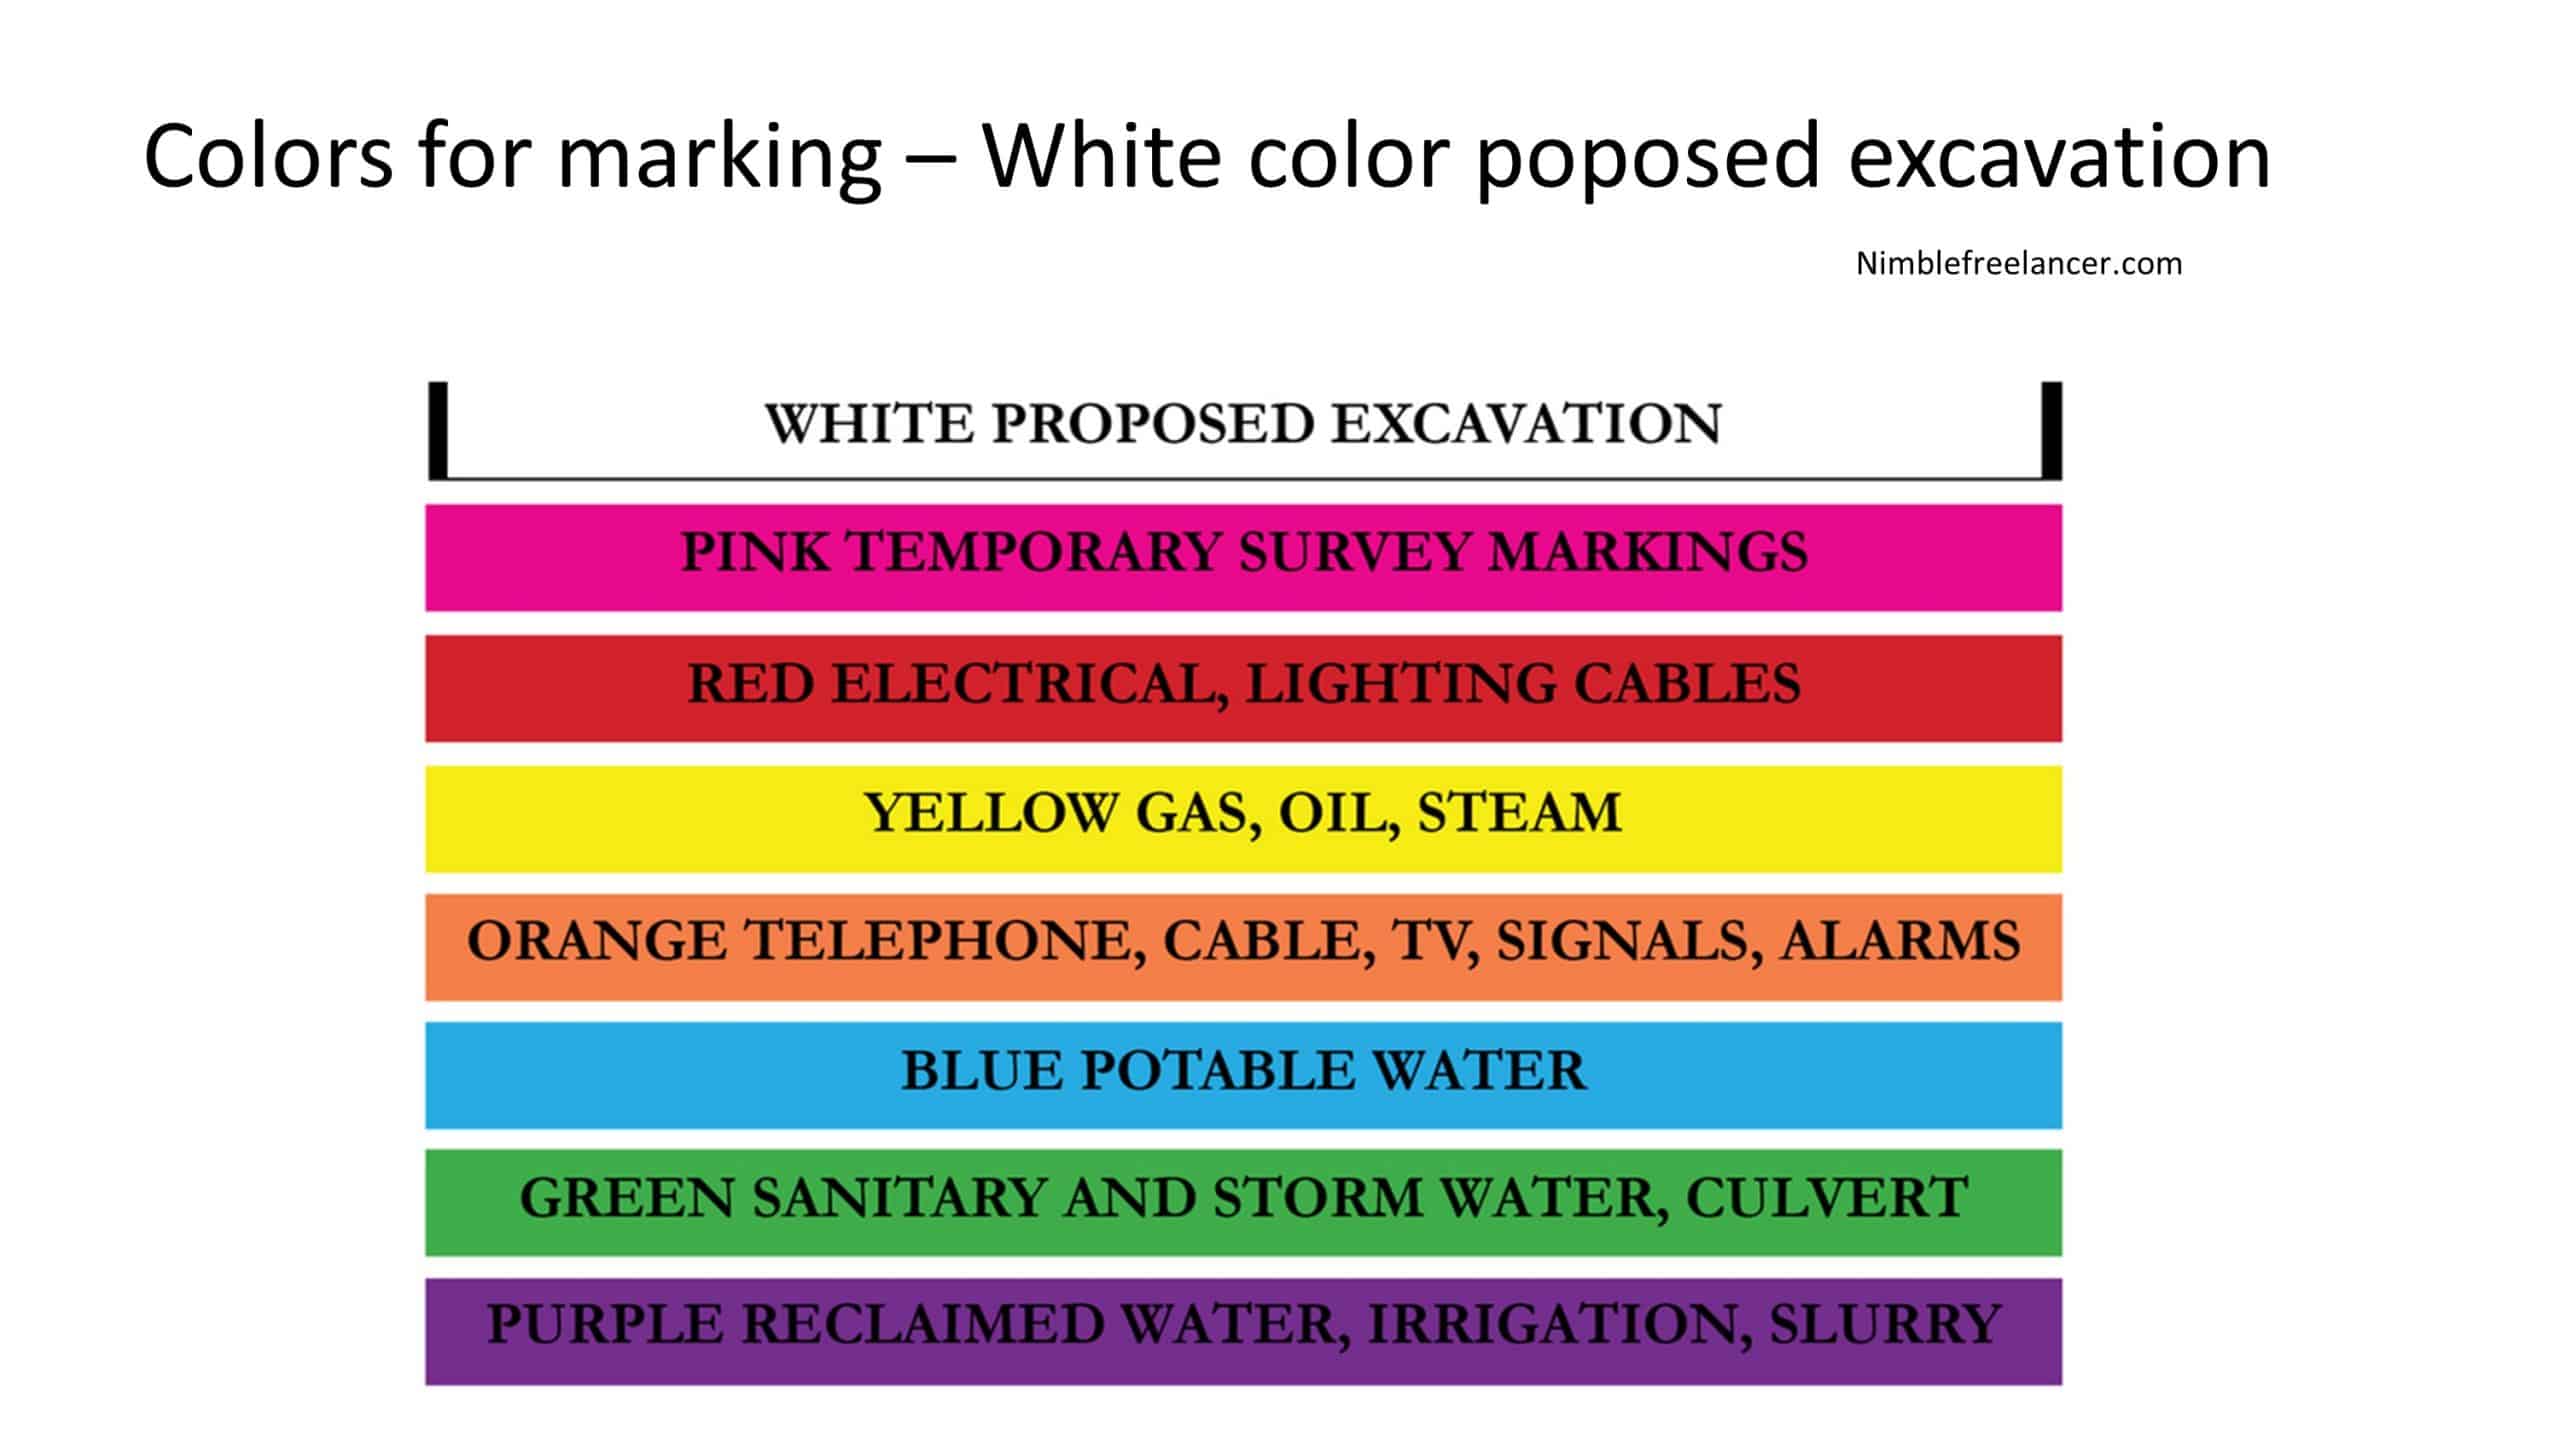
Colors for marking the area are:
Do not make a mistake and cut the utility line :
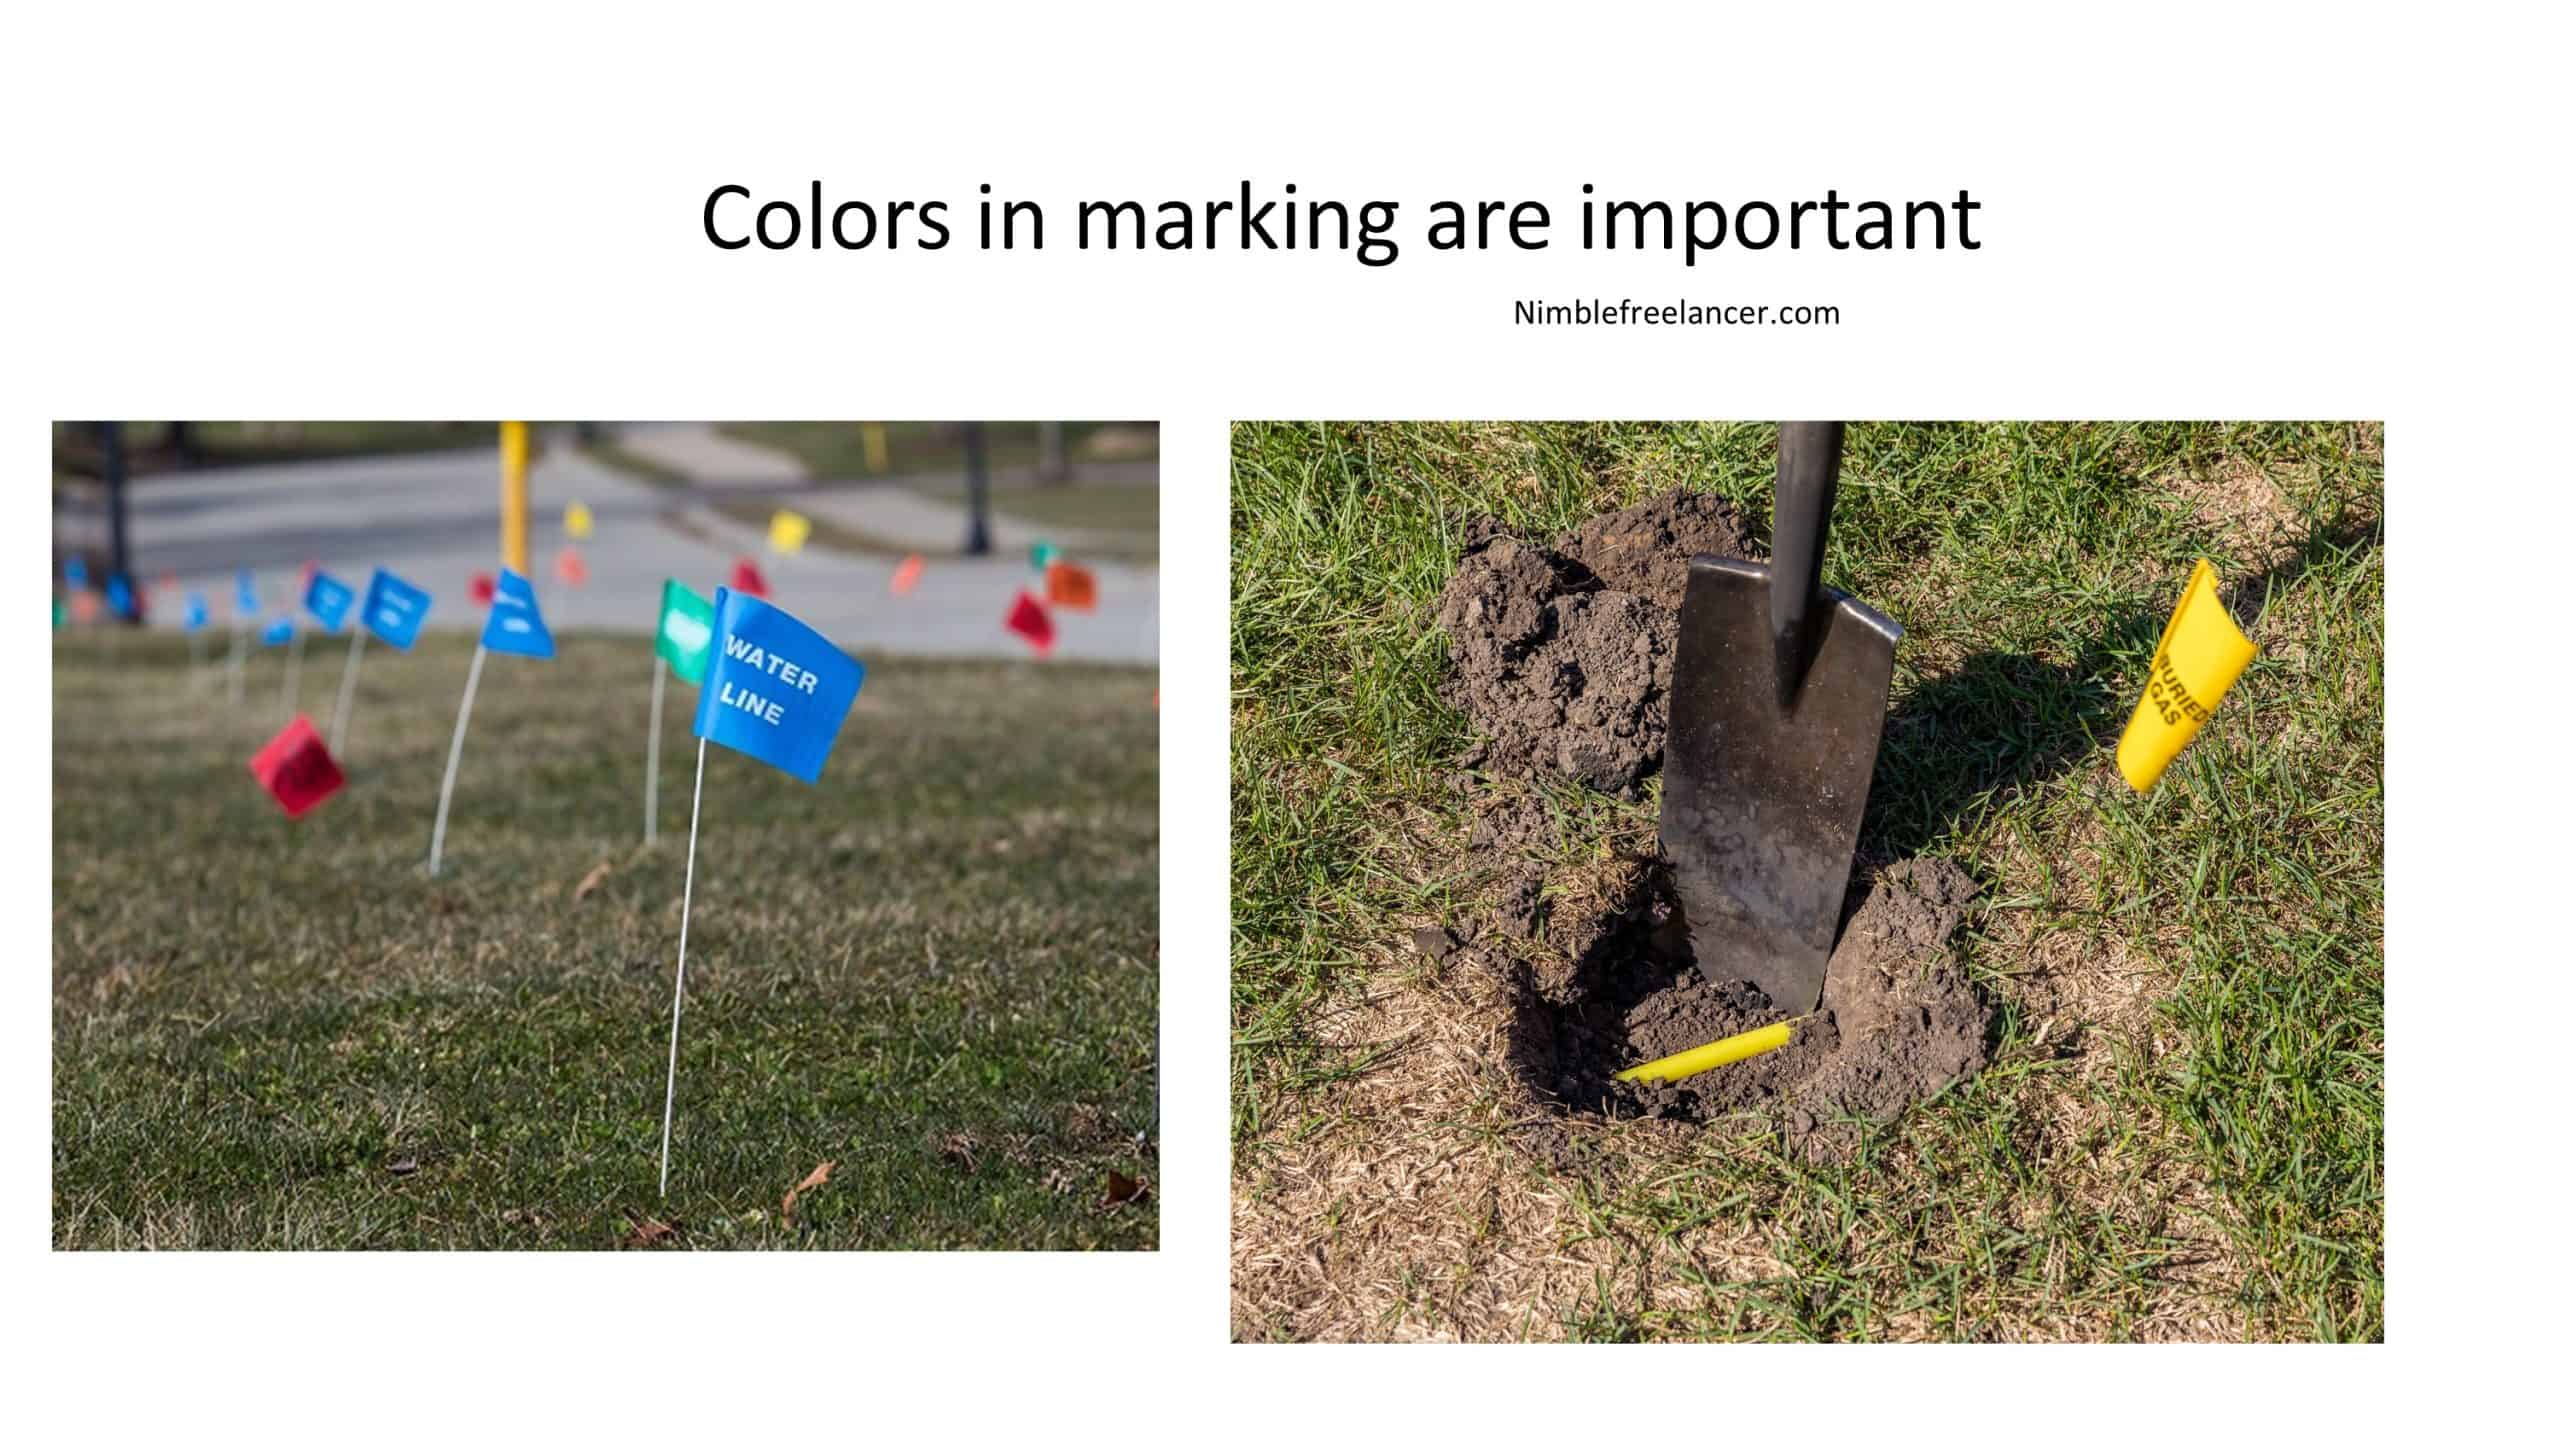
Do not forget to call 811 before any digging.

Always make a plan and calculate the digging depth before your work. Do not forget to check the frost line zip by code because you need to know your area’s frost level.
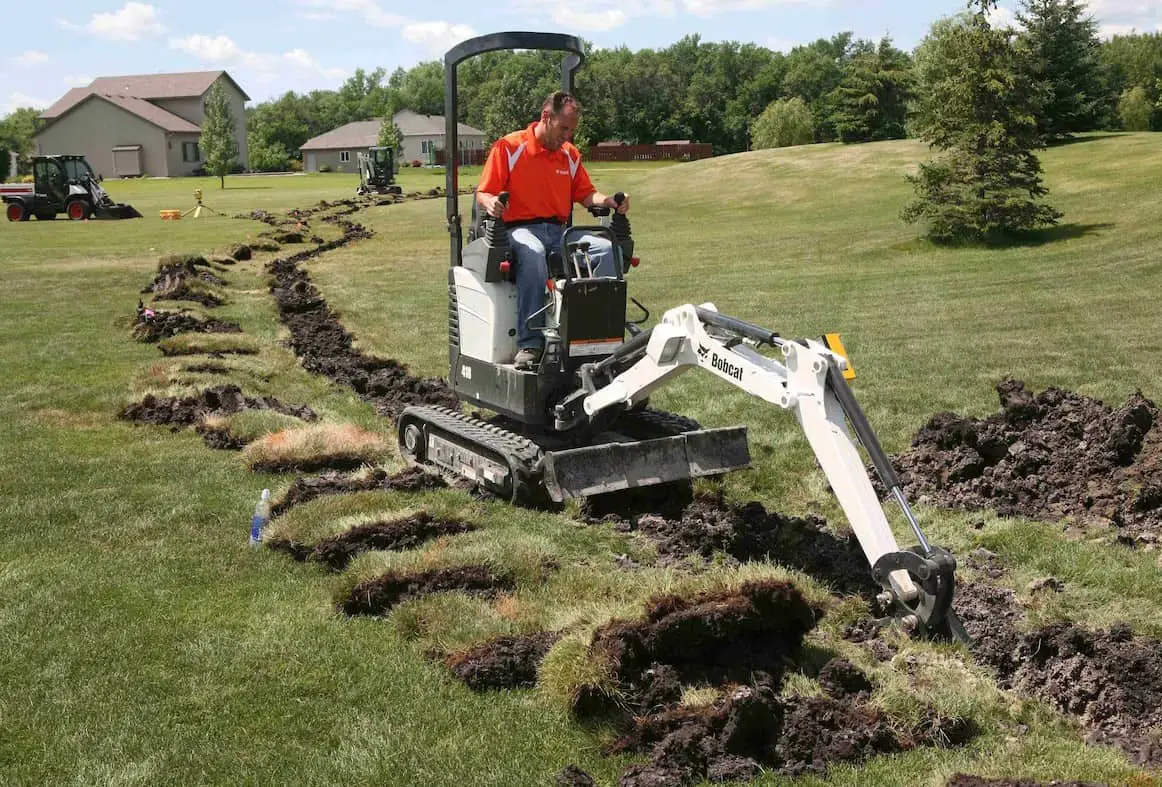
If you decide to use machinery, the best choice that you can use to dig a trench is a bobcat excavator like in the image below:
Once all these pieces have been gathered, it’s time to start digging! If necessary, begin by outlining the area that needs to be excavated using marking paint so it remains visible throughout the process. This will ensure that no part of the excavation falls outside its intended area, which could cause further problems down the road (or underground).
When beginning excavation starts at one end of the trench and works towards its opposite end, this helps maintain a consistent depth throughout its entirety without having any dips or bulges occur due to haphazardly digging back and forth across space given widthwise (which would likely cause an uneven bottom). As excavation progresses, make sure that each layer of soil being removed is inspected thoroughly, both by sight & touch, before moving on to removing additional layers (as this helps identify foreign objects/materials that may have found their way into your soil). Additionally, inspect each side wall post-excavation using a level/plumb bob, looking for any irregularities that could alter drainage paths within your new trench & lead to further problems later down the line.
Finally, when you reach your desired depth (don’t forget about accounting for potential settling), use additional grading rakes and shovels to smooth out the floor surface while simultaneously removing any excess material around edges & top surface which might impede proper drainage pathways within your newly created ditch/trench system; while also accounting for potential freeze-thaw cycles during winter months which could lead unwanted collapse issues in future due improper planning now.
So always remember: accurate planning & preparation always lead to productive results!

From 2022 onwards, Mark has also been contributing author of home repair articles at nimblefreelancer.com.
Read more on Mark Brown's biography page.
Contact Mark: mark@nimblefreelancer.com