Installing shiplap on a wall without nails is a great way to add style to any room while avoiding the mess and damage associated with using traditional nails. With suitable materials, tools, techniques, and patience, you can easily and quickly install shiplap on walls without nails. This article will explain how to properly install a shiplap on a wall without nails.
Materials Needed for Installing Shiplap Without Nails
Gathering all the necessary materials first is best before installing a shiplap on a wall without nails. For this project, you will need the following:
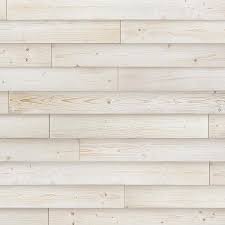
- Shiplap boards: Visit your local home improvement store and Choose your desired board size and type—such as pine or cedar.
- Wood glue – Make sure to choose an adhesive designed for wood products.
- Caulk gun – This tool can help quickly apply wood glue to your boards before installation.
- Sandpaper / Sanding Block – These tools are necessary for smoothing out any rough patches of wood before installation.
- Level & Measuring Tape – Both tools ensure that your boards are aligned correctly during installation.


How do you install a shiplap on a wall without nails?
To install a shiplap on the wall without nails, you must use construction adhesive (glue) on the back of each board. Painter’s tape can also help hold the board in place until the adhesive dries.
Please follow the presented steps to install a shiplap on the wall without nails:
- Gather materials: shiplap boards, construction adhesive, measuring tape, level, caulking gun, saw, and painter’s tape.
- Measure the wall to determine how much shiplap you will need.
- Purchase shiplap boards in the desired size and finish.
- Remove any baseboards or trim from the wall.
- Use a stud finder to locate the wall studs behind the drywall.
- Mark the location of the studs on the drywall surface.
- Cut the shiplap boards to size, if necessary.
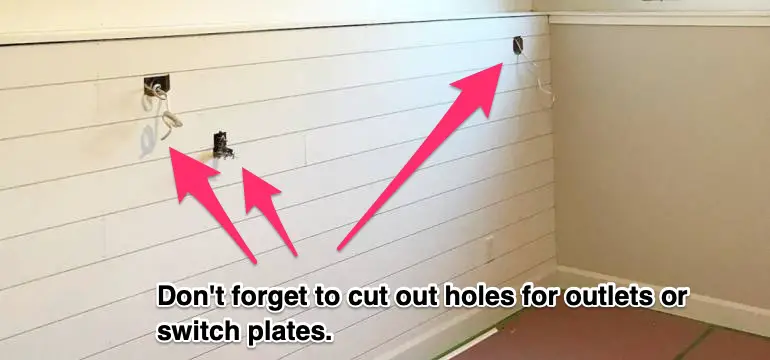
- Apply a generous amount of construction adhesive to the back of each board.
- Use painter’s tape to hold the board in place until the adhesive dries.
- Continue installing boards in this manner, leaving a small gap between each board to allow for expansion.
- Once you have installed all the boards, replace any baseboards or trim.
It’s important to note that installing shiplap without nails requires a strong adhesive and careful attention to detail to ensure that the boards are correctly aligned and securely attached. Follow the adhesive manufacturer’s instructions for proper application and drying times.
Conclusion
Installing shiplap on walls without nails can be relatively easy with proper preparation and technique! The key is having all necessary supplies ready beforehand, measuring accurately, and ensuring you do not rush through any part of the process. With these tips, installing shiplap on walls without nails should be a breeze!


Learn more about authors in Nimblefreelancer's team biography page.
- 6 Proven Ways SaaS Founders Actually Get Customers (With Real Examples) - December 17, 2025
- Facebook Ads to Get Followers! - December 27, 2024
- ClickUp vs. Slack - December 20, 2024