Water leaking from a wall or ceiling is a malfunction that happens to everyone at some point. Usually, water is leaking or dripping from a neighbor, or you can see a damp ceiling or a wet wall. All these are indicators that you have a problem in the water supply or sewerage network.
What causes leaks in ceilings?
If the leak is small and occasionally dries, it is caused by the sewer. However, if the leak is constant and does not stop and the wet stain only spreads, faulty plumbing is most likely the cause. Usually, ceiling leaks are caused by plumbing problems.
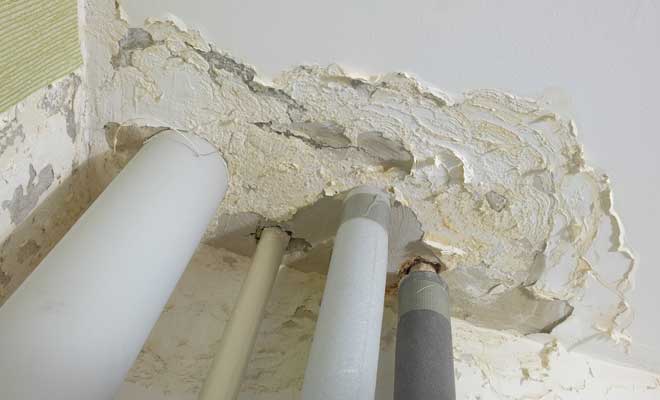


Wall repainting, retouching, and cleaning the ceiling are as crucial as other aspects of the house. Specific scenarios, such as a constant leak from the ceiling, may need prompt attention to prevent large-scale damage. Due to increased dampness or other unknown structural and architectural failures of the house, the ceilings may appear stained and cracked. In addition, the appearance of the top corners and the joints of walls and ceilings demonstrate an unpleasant picture and adversely affect the entire ambiance of the room. However, you can still address the crisis and get that striking appearance by enhancing the details of your ceiling.
How to Repair Water-Damaged Ceiling?
Stop the water source to repair a damaged ceiling and then dry the affected areas. Next, remove damaged ceiling sections and then use a joint compound to seal joints between the ceiling sheets to create a seamless base for paint. Finally, ventilation must be maintained, and the ceiling must be repainted.
Let us analyze the steps.
We need to make the inspection. Consistent inspections spot water damage on the ceilings. The apparent indications for water damage are leaking, peeling paint, and bulging the area. If evident signs are perceived, water has probably caused far-reaching impairment, which is unfavorable for other structural issues and undesirable mold growth.
Stop water source
You need to stop the water source. This step can be challenging because the water source can be at your neighbor’s. The best approach is to use Moisture Meters to Detect a Ceiling Leak like in the video below:
To refurbish the ceiling area, you must stabilize the region and identify the seepage. Next, remove furniture, decor items, and other prized possessions in the way and, with the help of a bucket and tarp, accumulate water that has been stored behind the ceiling. Typically, this leak is enclosed with drywall, known to absorb and disperse the water. For revamping the ceiling, you need to detect the source of water and then address it by creating a small hole in the middle of the leak with the help of an awl screwdriver and pliers to help water perforate through the small opening or hole and directly into the bucket.
Once the water has been collected, it is time to deeply evaluate the source of the water leak and revamp it by fixing the source. Water has the characteristics of spreading over long distances. Therefore, it can easily reach the roof, making it challenging to accumulate it. There are multiple sources of water outflow, even if the bathroom is directly above the water stain. The stains can appear due to a leaking drain, improper supply line, and missing caulk. The source revelation demands cutting a small hole in the ceiling to check where the water is coming from. Next, you must re-create the leak and save the room by spreading towels or paper sheets along the floor and ceiling joists. The spread-out toilet paper will react to moisture, which will help you narrow down the search for the leak and source.
Check for the following signs
• The ceiling looks wet during or soon after rainfall season
• Insulation remains wet in the attic area
• The water is brown-shaded: water is mixed with dirt.
For multi-story houses such as two-story houses, water damage observed and witnessed on the first floor is probably due to the frozen burst pipe or other hidden plumbing predicaments within the pipes.
Dry the ceiling
You must completely dry the affected areas and materials by repairing the leak source. The ceiling cavity area should be appropriately dried because a bit of moisture behind the drywall leads to other problems, such as mold development. If the leak is noticeable or of a small scale, then it is expected to dry on its own; however, for significant and highly noticeable leaks, expose the section ceiling with the help of air or a fan to dry it.

How do you fix condensation on the ceiling?
To fix condensation on the ceiling, you need to set proper ventilation. For example, the attic space is poorly ventilated and insulated if you have a roof above your condensate ceiling.
Repair the ceiling
Once the leak has been dried, it is time to patch up the ceiling professionally. This depends on the intensity of damage incurred due to the leak. You may be required to touch up with the help of paint or complete removal and replacement, and repainting of the entire ceiling may also be required. Technically, it is convenient and more accessible to take out damaged drywall and return it to air-dried material. However, this further exposes the ceiling joists exhibiting the hanging patches. Similarly, if painting is required, it is advised to paint directly on the larger area, or you may even paint the entire ceiling if the leak is significant.
In addition to that, you can maintain your walls and ceiling by occasionally repainting and removing stains and dust altogether. Rather than starting the job later, try keeping it with bits of effort, especially if they are dusty and covered in grime. It is good to start from ceilings as the dust may accumulate and settle onto the walls. With the help of a long-sized microfiber duster, accumulated dirt can be removed. To clean the walls, you need the proper material, tools, and cleaning detergents to choose the right kind of solution for paint, texture, or wallpaper.
In any case, a property restoration professional can assess the situation, recognize and categorize the water source, and find a long-lasting solution before you commence any simple repairs.

From 2022 onwards, Mark has also been contributing author of home repair articles at nimblefreelancer.com.
Read more on Mark Brown's biography page.
Contact Mark: mark@nimblefreelancer.com