Welcome! If you’re reading this, you must be new to Procreate and thinking of switching from your current painting app—or are intrigued by Procreate but don’t know where to start. Since 2019 is the year of the iPad (according to Apple), I figured now would be the perfect time for a blog post about how to use Procreate easily in 2022.
We’ll take a look at what Procreate offers. You’ll learn to navigate the interface, set up your keyboarding, and even use Photoshop brushes in Procreate. You might wonder why knowing how to use Procreate in 2022 is advantageous. Well, I’m happy to tell you that it’s become a popular tool among graphic designers because of how Procreate works and its ability to handle large files. This is convenient because Apple has been bringing graphics into the fold with their newer iOS (iPadOS) versions.


How To Color Fill In Procreate?
To color fill in Procreate, you may use your Marquee tool to select the area you want to fill. Use the magic wand to deselect any unwanted areas, then use your Fill tool to fill the selected area with color. However, other ways of color filling in Procreate will be discussed further below.
Procreate is a unique, multifaceted program that allows artists to create digital art on iPads. In this article, I will cover some of the basics of how to fill in color on Procreate.
- First, open a new canvas on Procreate and ensure you have selected the color of your choice in the Color Picker.
- Next, choose the Eraser tool from the menu and set the eraser size to something appropriate for your image.
- Now, use the Eraser tool to draw a few simple lines on your canvas.
- Select the Erase option from the menu and tap on one of those lines you drew in step 3 above. The area inside that line will be filled with the color you selected in step 1!
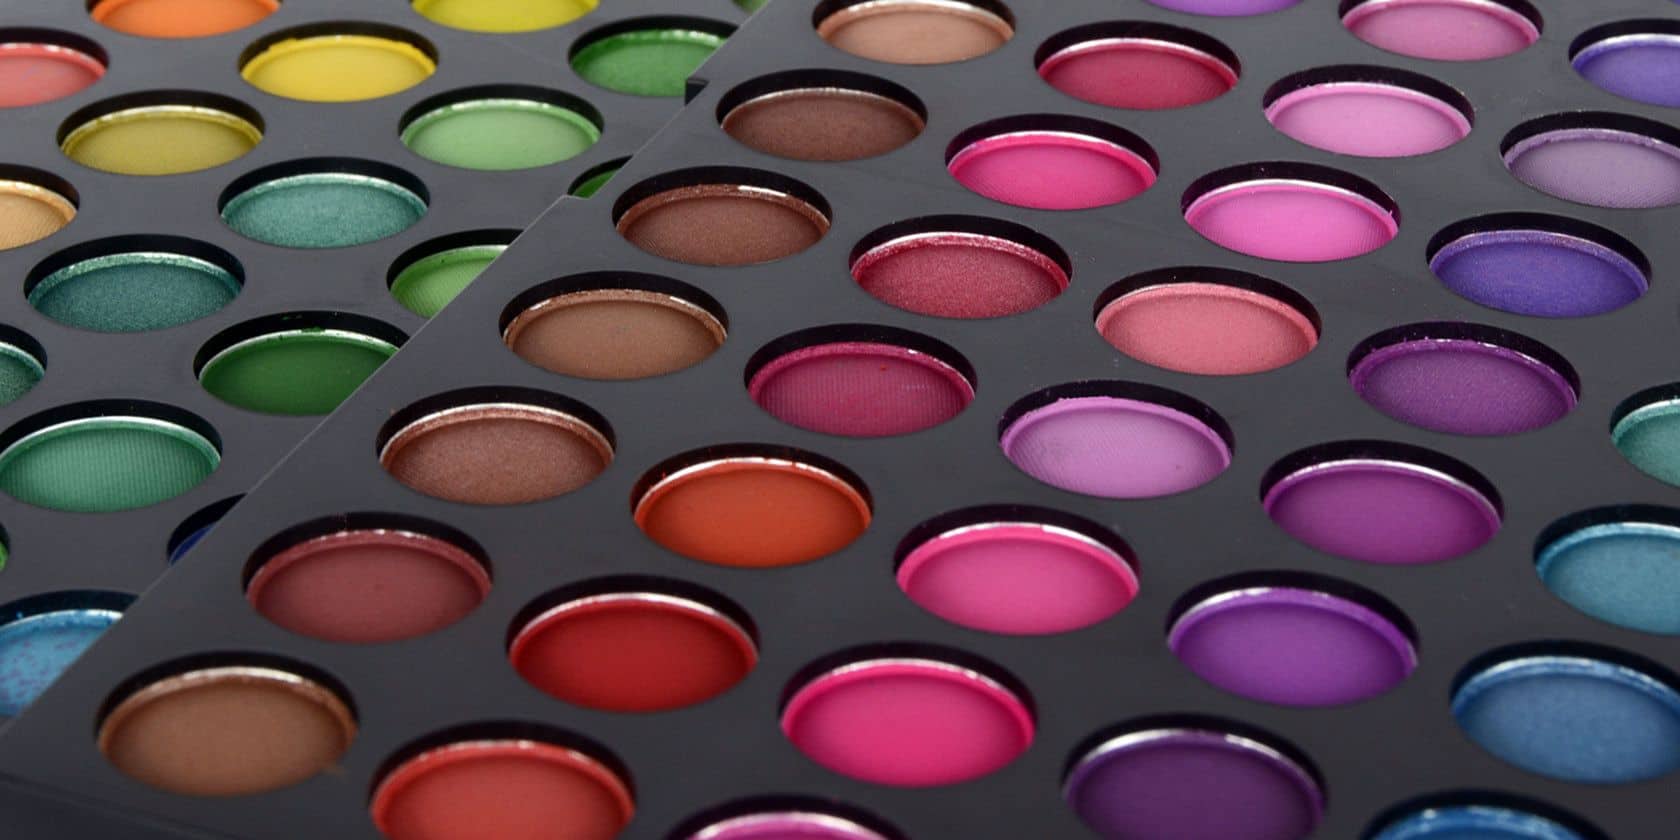
How To Delete A Color From A Palette In Procreate?
To delete a color from a palette in Procreate, choose the color you want to delete. Tap the color wheel on your bottom-left toolbar and then tap “Edit Palette” along the top of the screen. Then tap “delete.” You’ll be asked to confirm that you want to delete this color, and then you’ll be good to go.
In Procreate, deleting a color from a palette is simple and can be a valuable tool for streamlining your workflow. Sometimes, colors are added to palettes in error, or you might want to remove a color you’re not using. To delete a color from a palette, run your finger along the horizontal bar of color at the bottom of the screen. This will bring up a menu where you can select “delete” to remove the unnecessary color.
At the last minute of this video, we can see how to delete a color:
If you’re wondering why it’s better to start with a smaller palette of colors and delete colors you don’t use, it reduces the decisions that need to be made. If you start with an extensive palette and then delete colors, you’ve already had to make those decisions. It’s harder to remove a color from your mind than it is to just not have it in the first place.
For example, if you’re using an 18-color palette and then delete ten colors, you’ve already decided which colors are used. It’s harder to remove those colors from your mind than if they were never there in the first place.
By starting small, you can focus on making a limited number of decisions. And when those decisions are made, they’ll stick because no other choices are cluttering your mind.
How To Only Color Inside The Lines On Procreate?
You can color only inside the lines on Procreate (for iPad) by using “Clipping Mask” to create a stencil that limits your brush strokes to an area of your canvas. Once you’ve made the stencil, you can use any brush from your library or add any new ones you want—but they will all be restricted to coloring within the boundaries of your stencil.
Here’s how to do it:
- Create a drawing with black lines on a white background
- Import it into Procreate and open the Layers menu
- From this menu, tap Add and then select Clipping Mask
- A prompt will appear asking you to confirm that you want to turn your imported layer into a Clipping Mask; tap Convert
- This will create a new layer on top of your original one that is empty except for a white rectangle in the shape of the original drawing—and this is your stencil.
- Now, when you use any brush on this stencil, it will be restricted to painting only within the boundaries of the stencil!
How To Use Paint Bucket In Procreate?
Click the pencil tool and drag it across the canvas to use a paint bucket. To clear the bucket, click on the bucket or press’ x.’
Even though Procreate has a great feature that allows you to use a paint bucket to edit your photos, it is not easy to understand how it works. Here is an explanation of how you can use the paint bucket in Procreate:

The paint bucket tool takes the colors from your brush and then adds them to your photo. You can adjust the colors on top of your photo by changing the colors you add or the opacity level. Because there are many different ways to use this tool, experiment with each one until you find the best way.
Which Command Is Used To Set Up The Pen Color?
The Eyedropper tool is used to set up the pen color in Procreate. To set up the pen color in Procreate, you can use the command Shift+C. This will open a color picker on your screen, where you can choose your desired color.
If you want to change the color of your pen in Procreate, you’ll need to be in the “Adjustments” tab, which is the button that looks like three sliders. Once there, select the icon that looks like a pencil. Then, click on the option that says “Color.”
Once done, you can pick a new color from the palette or add your own. If you choose your color, it will automatically be added to your palette, so you can use it again later if desired.
How Do You Use The Color Dropper In Procreate?
The simple answer is that the color dropper is used to pick colors from a photo or take the color of a color I want to use. The dropper allows users to select the color they wish to use and apply it to a chosen canvas area.
In Procreate, you can use the color dropper tool to pick colors from within a color palette. This tool allows you to easily choose colors from within your artwork and place them on your canvas. You can also edit the colors in a variety of ways, including:
- Using the color dropper to select colors from a palette and then dragging them around on the screen to change their position
- Selecting colors with the color dropper and using the tools in the toolbar at the top of your screen (the pencil, brush, eraser, etc.) to paint over another area of your artwork
- Selecting colors with the color dropper and using the tools in the toolbar at the top of your screen (the pencil, brush, eraser, etc.) and choosing an option from one of our built-in palettes or creating a custom palate
Can You Color Match On Procreate?
You can color match on Procreate using the Eyedropper tool. You may also select the Bucket Fill tool in the top-right corner of the screen.
Procreate is iPad-based art and design software that allows users to draw, edit, and manipulate images using their fingertips. The program can be purchased through the App Store on iPads, but a free version can be downloaded.
One of the main features of Procreate is its ability to color match, which can help you create more accurate designs.
Color is a vital part of any piece of art. For some artists, color matching can be difficult since it requires them to match their work with a designated color. The human eye is not always accurate when it comes to color, and sometimes, the mind can play tricks on us, leading us to believe that two colors are alike when they are not. This is where color matching becomes a valuable feature for artists using Procreate.
When creating art by hand, you must match your colors manually with a color wheel or other tools to help you determine the best colors. However, when using Procreate, you can do this automatically as long as your device has access to the internet.
How Do I Color A-Line In Procreate?
Coloring a line in Procreate is a straightforward process. You can easily color an a-line in Procreate using the “fill layer” option.
First, click on the layers icon on the top right of your screen. This will bring up a list of all the layers in your current project. Click on the layer you want to fill and select “fill layer.” This will open up several options for how you want to fill the layer. You can fill it with one color or different gradients. You can also use images and patterns to fill your layers.
Once you’ve selected how to fill your layer, Procreate will automatically fill it! The default setting is for Procreate to automatically choose the color of your swatches palette and fill in that color. If you don’t have any colors selected, Procreate will use white as its default color for filling in your layers.
If you’d like to change this setting so that when Procreate fills in your layers, it uses whatever color is currently selected in the swatches palette, go into settings and select “fill with current swatch” under preferences.
How Do You Color Without Going Over Lines?
Coloring without going over the lines is nearly impossible. However, you can avoid this by using the eraser tool to erase the excess color outside the line.
If you are starting with Procreate, then the first thing you will probably notice is that there is no way to color outside of the lines. I have heard This biggest complaint about Procreate from people just trying to figure out how to use it.
Many people ask how to color without going over lines in Procreate. And I am sure that many of you who have been using drawing software for years also wonder why this isn’t an option.
There are two reasons why there is no way:
- Because Procreate doesn’t allow you to color outside of the lines, you can only draw inside them, and if you try drawing outside them, it will erase whatever was previously drawn there.
- It would be very confusing for people who don’t know what they’re doing since there’s no such thing as having too many colors on screen at once–especially if they’re trying to make something like a painting where each color needs its layer (which means even more layers!)
How To Change Color In Procreate?
If you’re looking to change the color in Procreate, you don’t have to look far. You need to open the Color Wheel in the Procreate app on your iPad and make your selection.
Procreate can be a bit complicated at first. Fortunately, it doesn’t take long to learn the basics. Here’s how you can change colors in Procreate:
- Launch Procreate and tap the (+) icon on the top right corner of your screen. Select ‘New Canvas.’
- Ensure you have selected the brush tool from the toolbar at the bottom of your screen. If not, select it now.
- Now, go to the color palette by tapping the color wheel icon next to the brush tool icon you selected in step #2.
- Tap on the color chip at the bottom of your screen to open the color picker window. You can now choose whatever color you want by using any of the methods listed below:
- RGB Sliders & Hex Code
- Palette Swatches & Presets
- Color Wheel & Gradient
- Once you have selected your desired color, tap anywhere inside your canvas to paint with that color. Alternatively, you can also use your finger or Apple Pencil to draw directly onto the canvas if you want more flexibility and control over what colors will appear where.
Can You Use Procreate On A Mac?
Procreate was originally an iPad application, so it is available via the App Store and is compatible with Apple products like the iPhone, iPad, and iPad Pro. However, you can use Procreate on a Mac if you have an iPad running the Procreate app.
To use Procreate on a Mac, you must use a third-party program such as Duet Display or Astropad. These programs connect your device to your Mac computer, allowing you to use your iPad as an additional screen for your Mac. You can then open apps like Photoshop or Procreate and use your Apple Pencil (or another stylus) with the app.
You can also get a similar experience by using a Luna Display program, which turns any PC or Mac into a second workstation for your iPad. This will give you more flexibility when connecting different devices and allow you to run multiple apps simultaneously without switching between them in separate windows.
Why Can’t I Fill Color In Procreate?
If you’re using an iPad Pro, your screen could be set to a different color than the actual colors in your document. Open “Settings.” Select “Display.” Select “Color Space.” Go to the bottom and select “RGB Color.” Adjust the setting so that Procreate matches the actual colors in your document.
If you’re having trouble filling in colors on your Procreate app, it could be an issue with your iPad.
If you’re using a first-generation iPad, it’s possible that Procreate is not supported on your machine. You can test this by trying to open the app. If the app opens but still has trouble filling in colors, try closing any other apps running in the background and restarting the app.
If you’re using a newer iPad, make sure that you have updated it to the most recent version of Procreate and that you have also updated your operating system. Sometimes, color fill issues can be solved by updating your software to the current version.
If these solutions don’t work for you, it may be an issue with one of Procreate’s features or settings.
Why Is My Color Drop On Procreate Not Working?
There is more than one reason why your color drop isn’t working correctly on Procreate. One is that locked layers are turned on, and the other is that one of your apps runs in the background.
The color drop tool allows users to select colors from outside the Procreate color palette by dragging and dropping them into a canvas. This tool can be beneficial if you’re trying to match colors from an image or pick colors from a photo you like.
Unfortunately, there are many reasons that the color drop tool might not be working correctly.
For example, if you have locked layers turned on for your canvas, the color tool will not work because it won’t work through locked layers. If you have turned on the ColorDrop setting, but it still isn’t working, ensure you have no layers locked in your canvas.
Another problem that could cause this issue is if one of your apps runs in the background while using Procreate. This can cause Procreate to freeze, so your color drop won’t work either. It would help if you tried closing all other apps before using Procreate again.
Can You Color Pick From Reference In Procreate?
Yes, you can use the eyedropper tool in Procreate to select colors from your reference images. It’s a handy tool that most artists use.
Using this tool, you’ll see a little eyedropper icon. Tap it, then tap anywhere in your reference image. The color of that particular pixel will be selected as your new brush color.
You can also use the eyedropper to select colors from anywhere on your canvas, including other layers and previously used brush strokes.
The eyedropper tool is part of the Color Pickers category, including the CMYK Color Picker and the Hue/Saturation Color Picker. To access these options, tap the color wheel icon at the top right of your screen and choose which option you’d like to use.
How Do You Set A Color Picker?
A color picker is a tool for selecting a color from various color models. Depending on the model and your preferences, you can set the color picker in many different ways.
Choose a color model.
Many kinds of color pickers are available, which is why you can view colors in several different ways. The most common models include HSV (Hue, Saturation, and Value), HSL (Hue, Saturation, and Lightness), RGB (Red, Green, and Blue), CMYK (Cyan, Magenta, Yellow, and Black), and hexadecimal codes. Each has its advantages and drawbacks, and they all incorporate the same base colors but in different quantities or mixes.
Use the slider.
Most color-picking tools include a slider that allows you to change the saturation of your selected hue; this usually relates to how light or dark it is. For example, an RGB model might increase or decrease the amount of Red in a selected mix of colors; for HSV/HSL, it would be about how much of each color you add or subtract.
Conclusion
Procreate has proven itself to be an integral tool in my creative arsenal. Whether you’re a concept artist, a comic book artist, a designer, or something else entirely, I’d recommend you try out this app, if only as a drawing tool to keep on your iPad. If you get past its simplistic first impressions and learn to take advantage of all it has to offer, I think you’ll find much the same thing: an exciting way to add more depth to your digital artwork.


Learn more about authors in Nimblefreelancer's team biography page.
- 6 Proven Ways SaaS Founders Actually Get Customers (With Real Examples) - December 17, 2025
- Facebook Ads to Get Followers! - December 27, 2024
- ClickUp vs. Slack - December 20, 2024